 Save to Pinterest
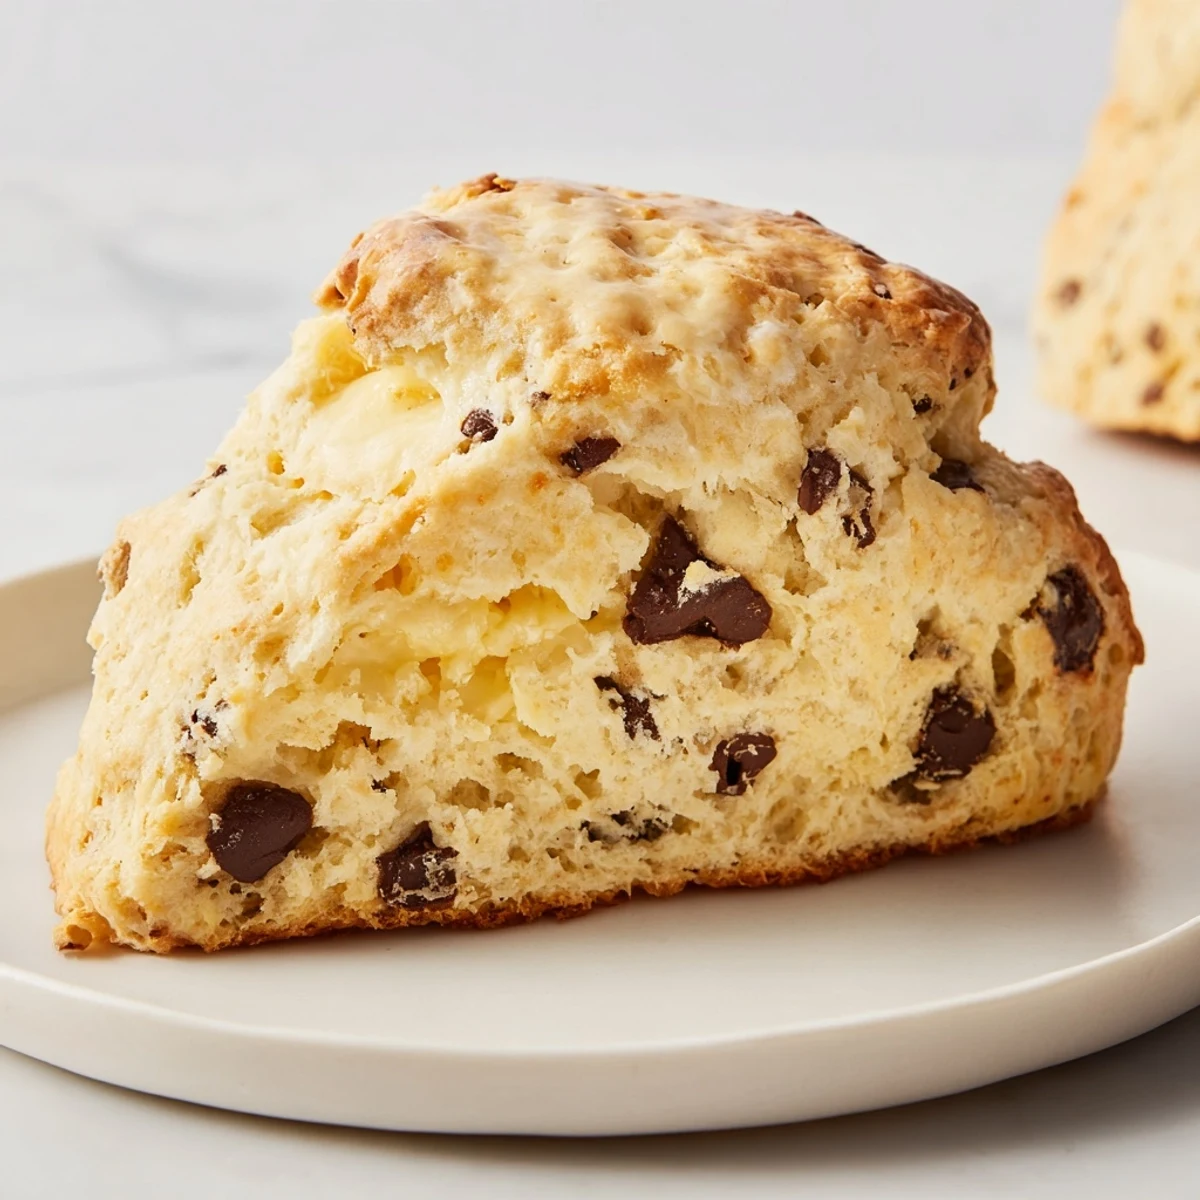
 These scones offer a tender, buttery texture enriched with semisweet chocolate chips for a sweet, melty finish. Combining simple dry ingredients with cold butter and cream, the dough is gently mixed and shaped into wedges. A quick brush of cream before baking ensures a golden crust. Perfectly crisp outside and soft inside, these scones suit morning meals or teatime indulgences. Variations like adding cinnamon or switching chocolate types let you customize flavor. Bake fresh or store for later enjoyment.
The snow was falling sideways when I decided these scones were the only logical response to a grey Sunday. My kitchen smelled like butter and vanilla within minutes, which is honestly my favorite kind of aromatherapy. These chocolate chip scones have become my go-to when I need something that feels fancy but comes together faster than I can finish my first cup of coffee.
Last month my sister stopped by unexpectedly and I threw these together while she made the tea. She took one bite and asked if I had been secretly taking pastry classes, which I took as the highest possible compliment. Now whenever she visits, there is an unspoken expectation that there will be warm scones waiting.
Ingredients
- 2 cups all-purpose flour: The foundation of everything good in life, measure by weight if you can for consistency
- 1/3 cup granulated sugar: Just enough sweetness to make these feel like a treat without overshadowing the chocolate
- 2 tsp baking powder: This is what gives you that beautiful rise and light texture
- 1/2 tsp baking soda: Works with the baking powder for extra lift and tenderness
- 1/2 tsp salt: Do not skip this, it balances the sweetness and makes all the flavors sing
- 1/2 cup cold unsalted butter, cubed: Cold butter is nonnegotiable here, it creates those flaky layers we are after
- 2/3 cup cold heavy cream: Keep this ice cold too, it is the secret to tender scones
- 1 large egg: Adds structure and richness to the dough
- 2 tsp pure vanilla extract: Because vanilla makes everything better, it is just science
- 1 cup semisweet chocolate chips: The star of the show, though I have been known to use dark chocolate when I am feeling sophisticated
Instructions
- Get your oven ready:
- Preheat to 400F and line a baking sheet with parchment paper so nothing sticks and cleanup is effortless
- Mix the dry ingredients:
- Whisk together the flour, sugar, baking powder, baking soda, and salt in a large bowl until everything is well combined
- Cut in the butter:
- Add those cold butter cubes and work them into the flour with a pastry cutter or your fingertips until the mixture looks like coarse crumbs with some pea sized pieces remaining
- Whisk the wet ingredients:
- In a separate bowl, combine the cold cream, egg, and vanilla extract until smooth
- Bring it together:
- Pour the wet ingredients into the flour mixture and stir gently with a spatula just until combined, the dough will look shaggy and that is perfect
- Add the chocolate:
- Fold in the chocolate chips being careful not to overwork the dough
- Shape the scones:
- Turn the dough onto a lightly floured surface and pat it into a 1 inch thick circle, then cut into 8 wedges like a pizza
- Prepare for baking:
- Transfer the wedges to your prepared baking sheet and brush the tops with a little extra cream for that gorgeous golden finish
- Bake to perfection:
- Bake for 16 to 18 minutes until the scones are golden brown and your kitchen smells like heaven
- Cool and serve:
- Let them cool slightly on a wire rack, though I won not tell anyone if you eat one warm with melting chocolate
 Save to Pinterest
 My neighbor texted me at 8am last week saying she could smell them baking from her driveway and showed up with butter and jam twenty minutes later. We ate them standing in the kitchen while the steam still rose from each bite, and honestly that is exactly how scones are meant to be enjoyed.
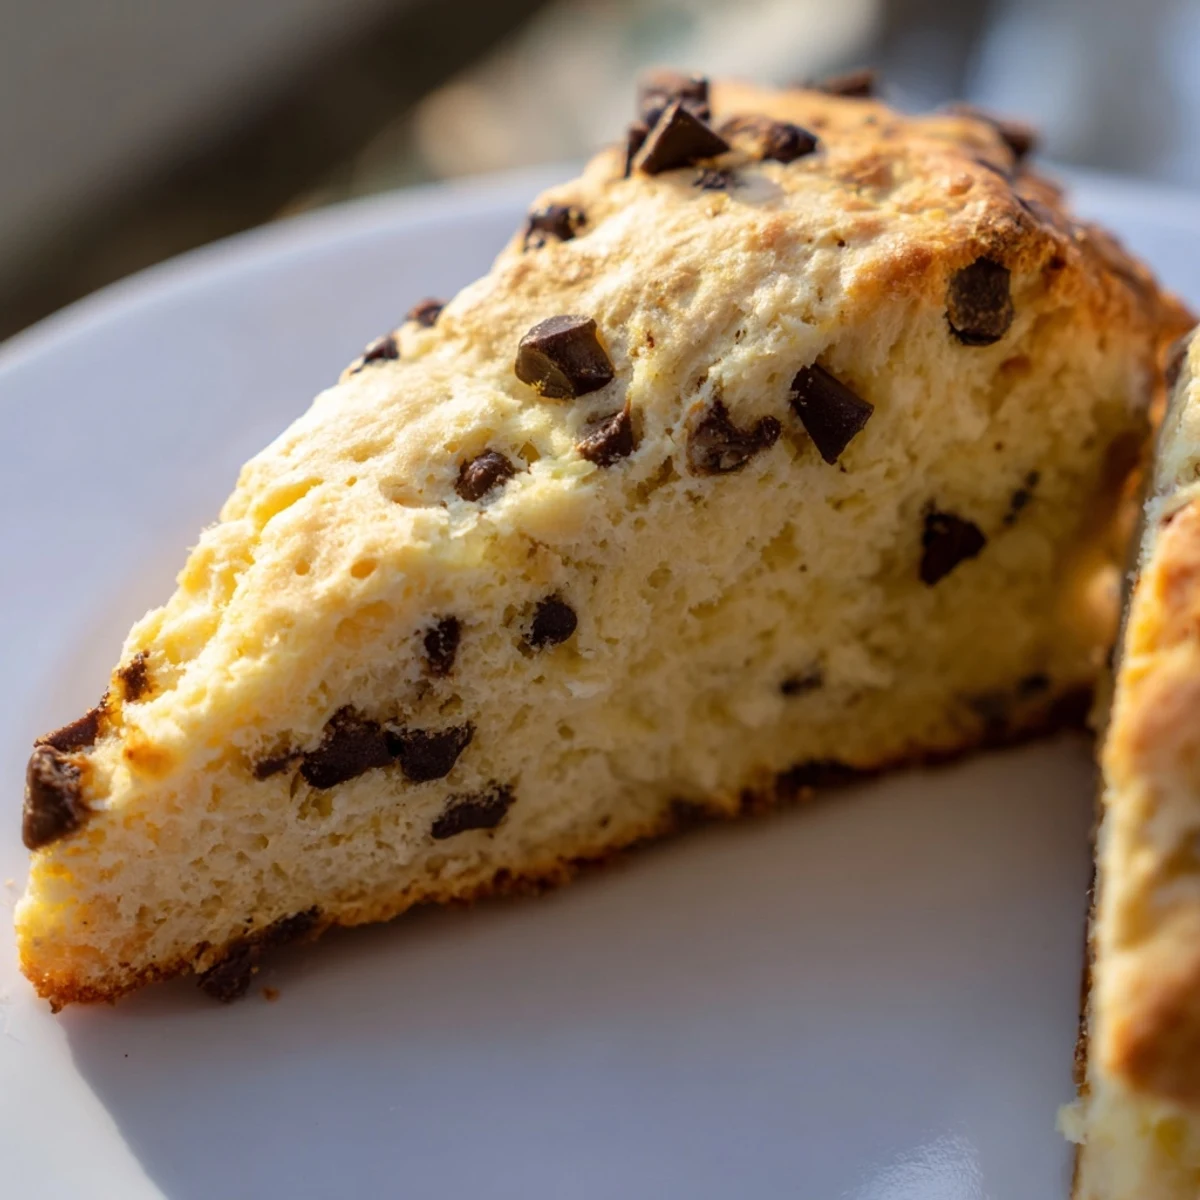
Getting The Texture Right
The difference between a scone that melts in your mouth and one that feels like a hockey puck comes down to how you handle the butter. Those visible flecks of butter in the dough turn into steam pockets in the oven, creating all those wonderful flaky layers. Work quickly and keep everything cold, even your hands.
Make Them Your Own
I have made these with orange zest added to the dry ingredients, and let me tell you, chocolate orange is a combination that deserves more attention. A pinch of cinnamon in the flour mixture gives them a cozy warmth that is perfect for fall mornings.
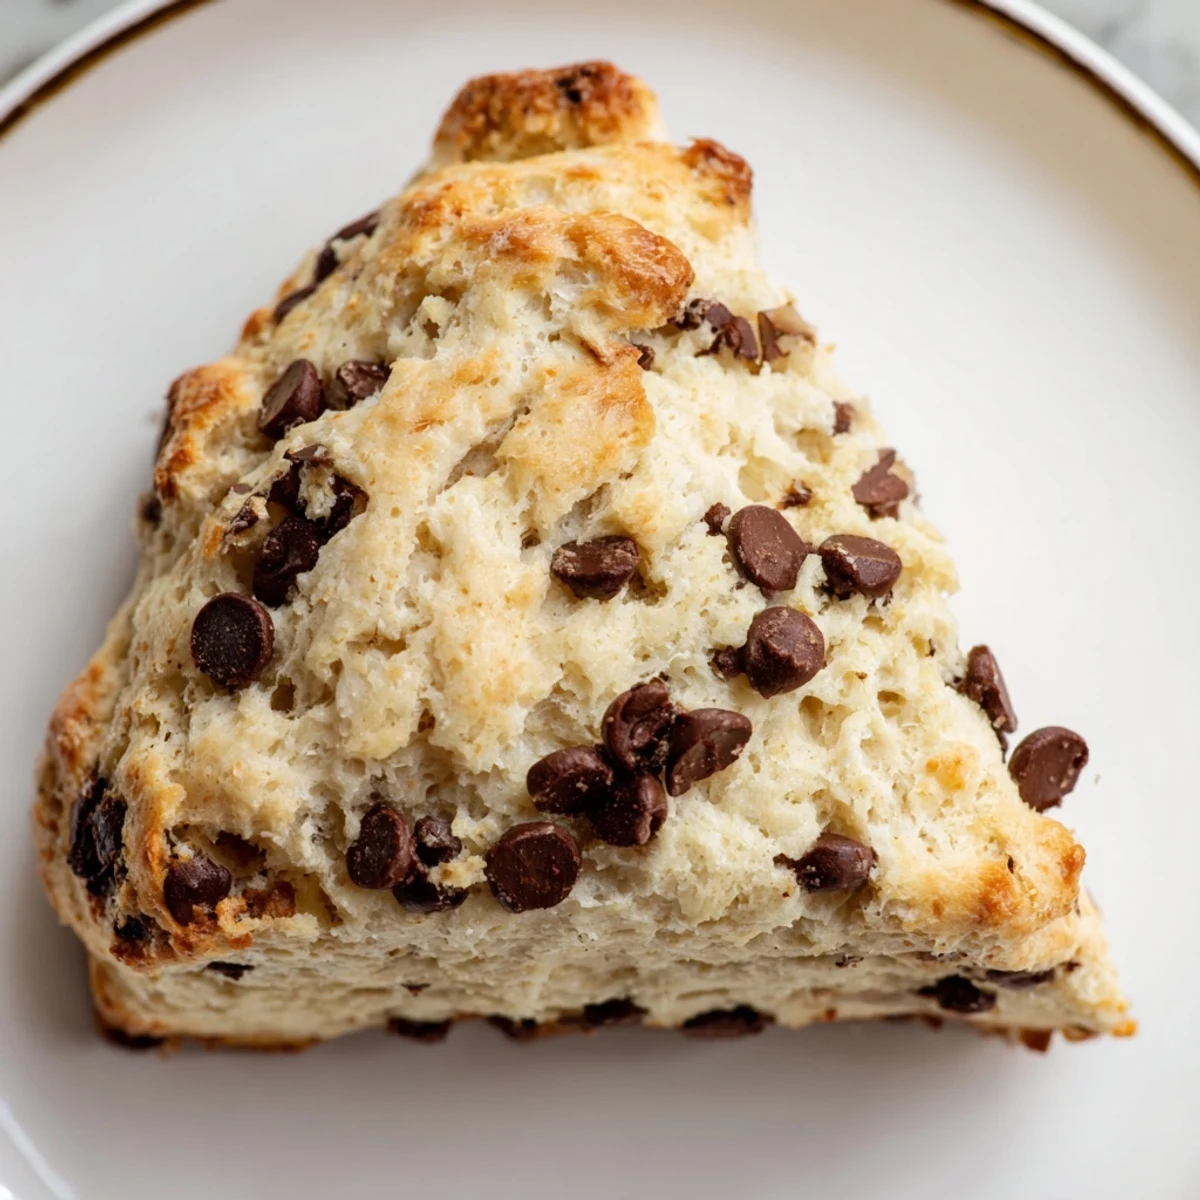
Serving Suggestions
These are incredible served warm with salted butter and maybe a little jam if you are feeling fancy. I have also been known to split them and toast them under the broiler for a minute when they are a day old.
- Clotted cream and strawberry jam turn these into a proper cream tea experience
- A smear of Nutella never hurt anyone
- They pair beautifully with a strong cup of English breakfast tea
 Save to Pinterest
 There is something deeply satisfying about pulling a tray of warm scones from the oven, especially when chocolate is involved. Hope they become a regular part of your baking rotation too.
Recipe FAQs
- → What type of flour works best?
-
All-purpose flour provides the right balance of structure and tenderness for these scones.
- → Can I use different chocolate chips?
-
Yes, feel free to substitute semisweet chips with dark, milk, or white chocolate to suit your taste.
- → How do I achieve a flaky texture?
-
Cutting cold butter into the dry ingredients until crumbly helps create layers that bake into a flaky texture.
- → Is it necessary to brush cream on top?
-
Brushing cream before baking promotes a golden, slightly glossy crust but can be omitted if desired.
- → How should scones be stored after baking?
-
Store scones airtight at room temperature for up to two days or freeze them for up to one month to maintain freshness.
