
 Save to Pinterest
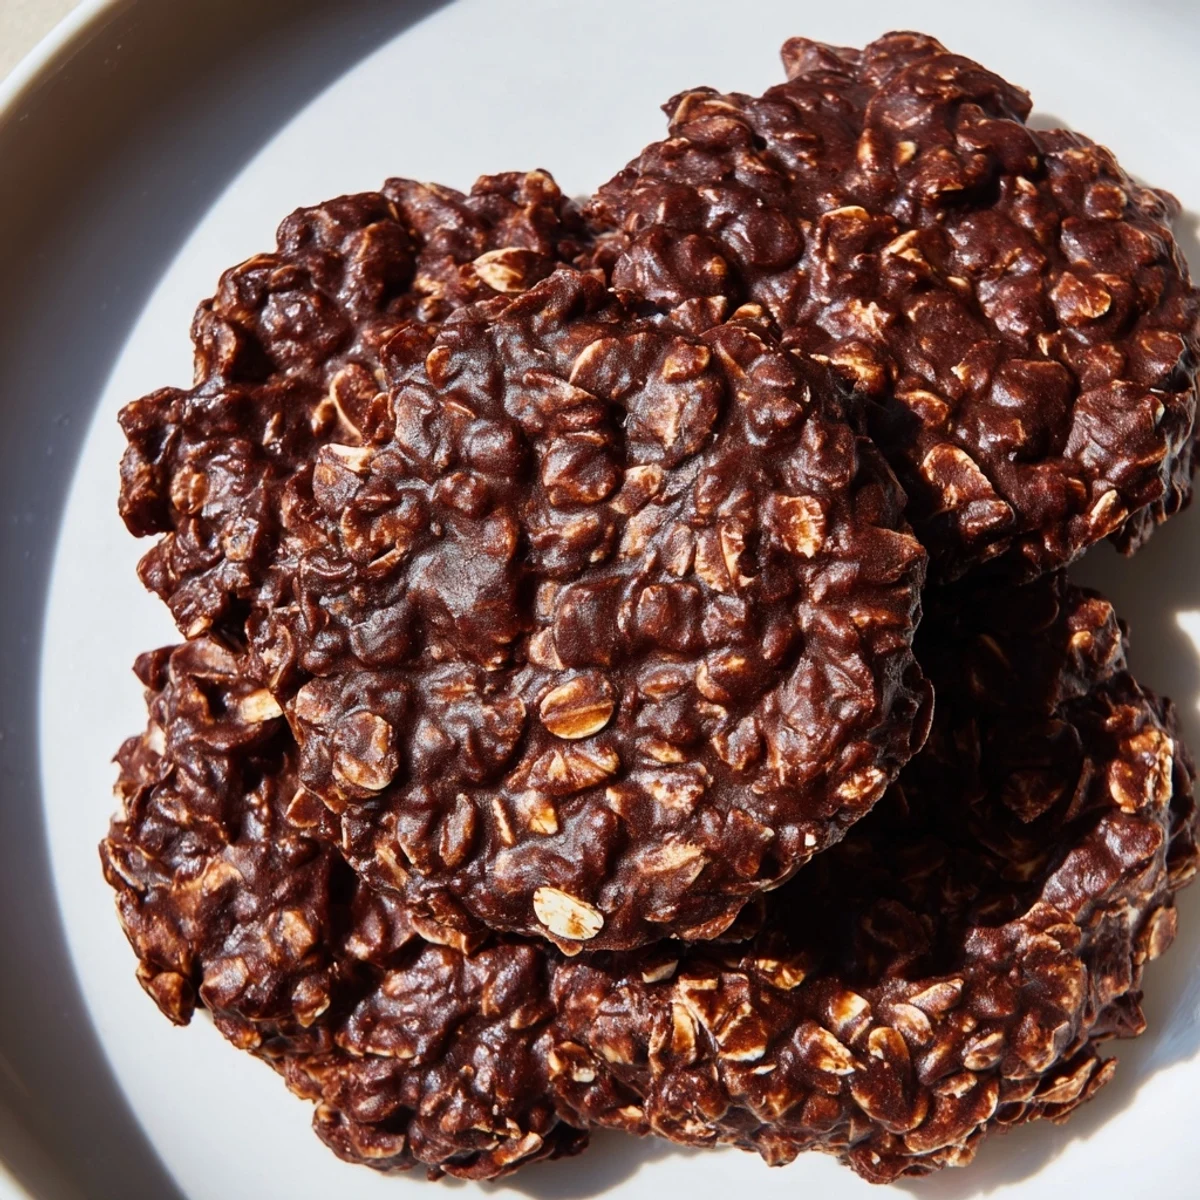
 These no-bake chocolate oatmeal cookies are a nostalgic American treat that comes together in under 35 minutes, including chilling time. A rich cocoa-butter-sugar mixture is boiled briefly, then combined with creamy peanut butter, vanilla, and hearty rolled oats.
The dough is simply dropped onto a parchment-lined sheet and left to set at room temperature. No oven needed, no special equipment—just a saucepan and a spoon. The result is a chewy, fudgy cookie with a satisfying oat texture and deep chocolate flavor.
They store well in an airtight container for up to five days, making them ideal for meal prep, lunchboxes, or sudden sweet cravings. You can easily customize them with shredded coconut, chopped nuts, or a nut-free butter alternative.
My kitchen counter was a disaster of flour dust and abandoned frosting the afternoon I rediscovered no bake cookies, standing in front of the pantry wondering why I ever complicated dessert. Three ingredients I already had, one saucepan, and zero oven preheating later, I was spooning glossy chocolate mounds onto wax paper while the dishwasher ran its third cycle. These cookies are the ultimate reminder that the best treats often come from the simplest impulses.
Rainy Saturday afternoons at my house growing up meant my mother would pull out the well worn blue saucepan and let me drop the cookies onto newspaper. I always ate at least two while they were still warm and soft, chocolate smearing across my chin, before she caught me.
Ingredients
- 2 cups old fashioned rolled oats: Old fashioned oats give the ideal chewy texture, while quick oats turn mushy and steel cut oats stay too hard.
- 1 cup granulated sugar: This provides the necessary sweetness and helps the cookies set properly when they cool.
- 1/2 cup unsalted butter: Butter creates richness and a silky base that holds everything together beautifully.
- 1/2 cup whole milk: The fat content in whole milk matters here, as skim or low fat will leave your cookies dry and crumbly.
- 1/4 cup unsweetened cocoa powder: Use a good quality cocoa because this is the primary flavor and there is nowhere for a mediocre one to hide.
- 1/2 cup creamy peanut butter: This adds a subtle nutty depth that rounds out the chocolate without overpowering it.
- 1 teaspoon vanilla extract: Always add vanilla off the heat so the flavor does not cook away and you get the full aromatic benefit.
- 1/4 teaspoon salt: A small pinch elevates every other flavor and prevents the cookies from tasting flatly sweet.
Instructions
- Prep your station:
- Line a baking sheet with parchment paper and measure out all your ingredients before you start because things move quickly once the stove is on.
- Build the chocolate base:
- In a medium saucepan over medium heat, combine the sugar, butter, milk, cocoa powder, and salt, stirring constantly until the mixture reaches a full rolling boil with bubbles across the entire surface.
- Watch the clock:
- Let it boil for exactly one minute while stirring steadily, then pull it off the heat immediately because even thirty extra seconds can mean the difference between chewy and dry.
- Add the good stuff:
- Stir in the peanut butter and vanilla extract until the mixture turns glossy and completely smooth, scraping every bit from the corners of the pan.
- Fold in the oats:
- Gently but thoroughly fold in the oats until every flake is coated in that beautiful chocolate mixture with no dry spots remaining.
- Shape the cookies:
- Drop rounded spoonfuls onto your prepared baking sheet and use the back of the spoon to neaten them into rounds if you like a more polished look.
- Let them set:
- Leave the cookies at room temperature for about twenty minutes until they firm up and hold their shape when you lift one.
 Save to Pinterest
 I brought a tin of these to a neighborhood potluck once and watched a quiet, reserved neighbor go back for his fifth cookie while pretending to rearrange the dessert table. Food does that sometimes, breaking down walls that conversation never could.
Making Them Your Own
Try folding in a half cup of shredded coconut or chopped toasted pecans right alongside the oats for a completely different cookie that still feels effortless. A friend of mine swears by adding a pinch of cinnamon to the cocoa mixture, which sounds odd until you taste it and realize it adds a warmth you never knew was missing.
Storing for Maximum Freshness
Keep these in an airtight container at room temperature and they stay chewy and delicious for up to five days, though they rarely last that long in my house. You can also freeze them layered between sheets of parchment paper for up to three months and thaw at room temperature for a quick dessert emergency.
A Few Last Thoughts
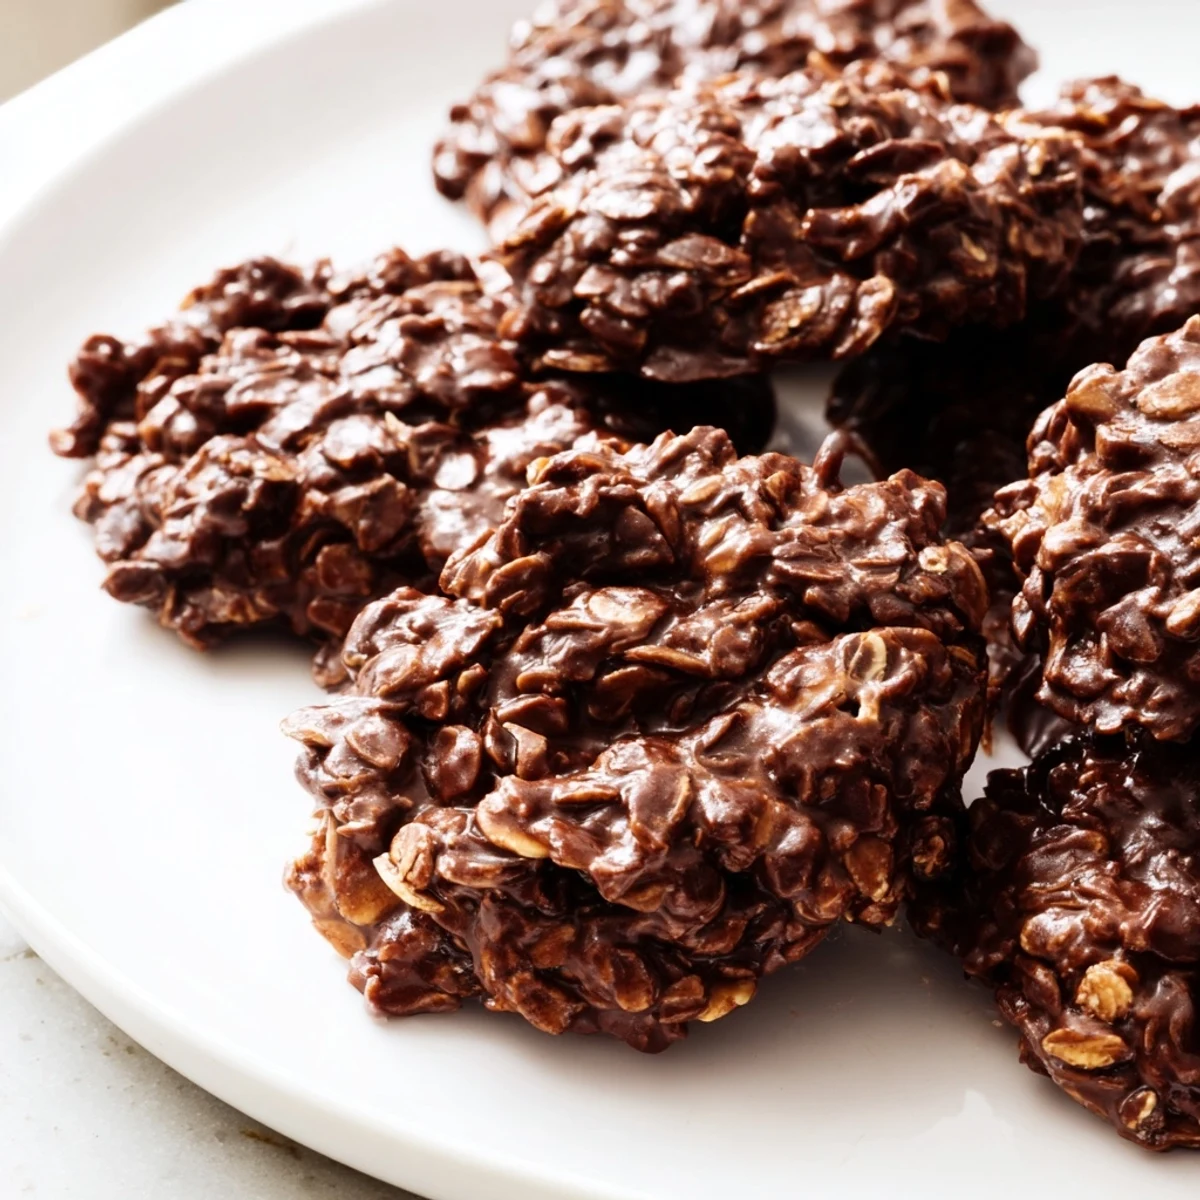
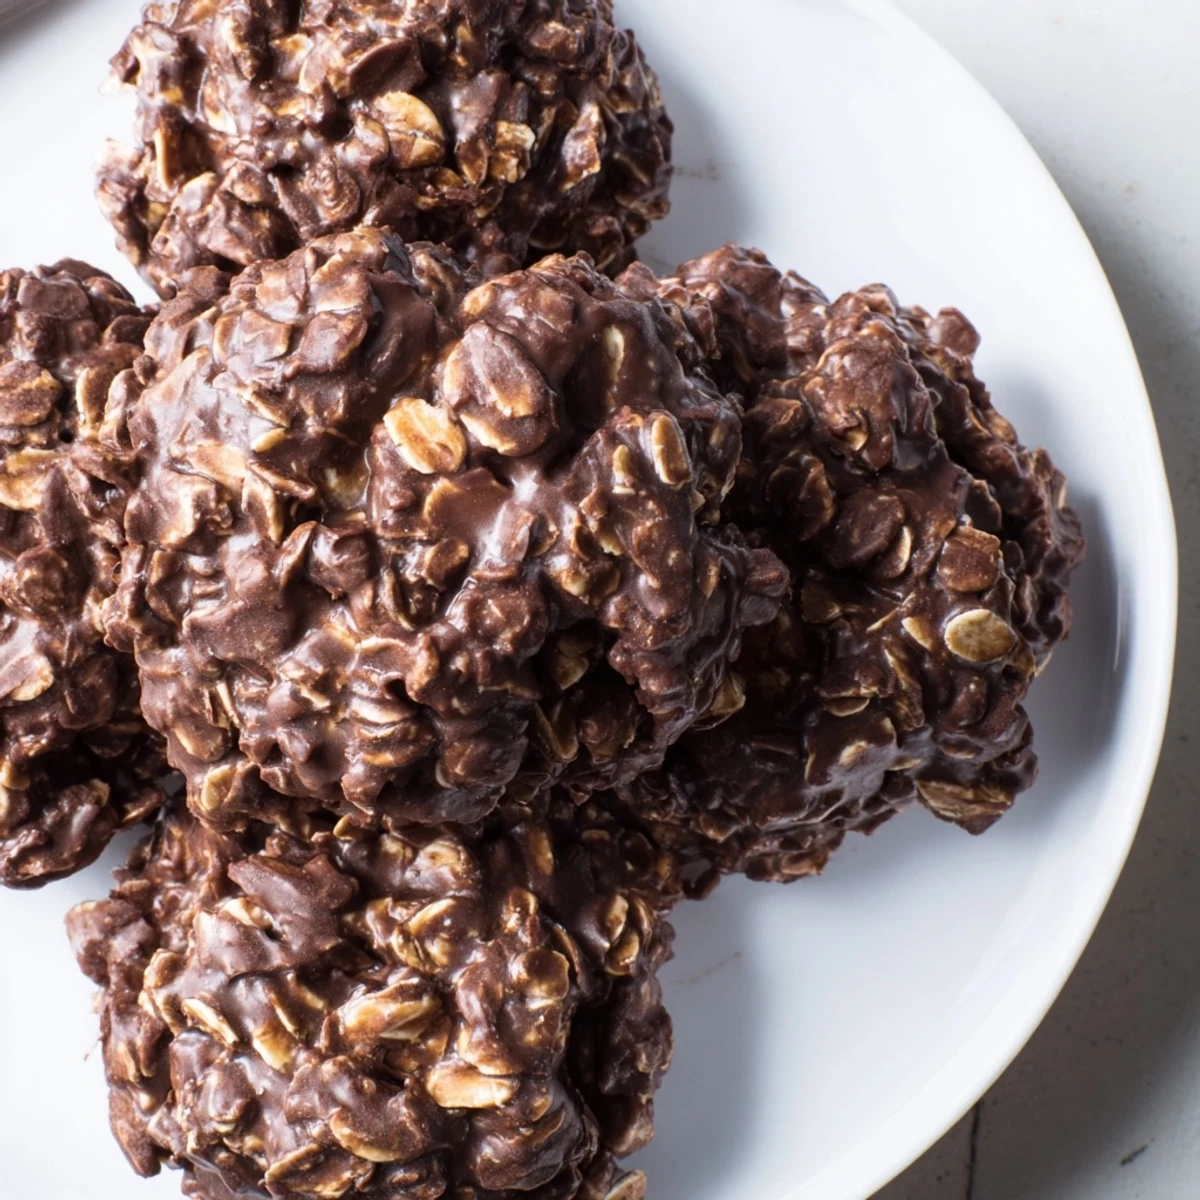
Part of the charm of no bake cookies is their slightly rustic, imperfect look, so do not stress about making every one identical. They are meant to look like someone scoop them out with love and impatience, which is exactly what happened.
- For a nut free version, swap the peanut butter for sunflower seed butter and the result is nearly identical.
- Use certified gluten free oats if gluten sensitivity is a concern for anyone eating them.
- Always check your ingredient labels because cocoa powder and peanut butter brands can hide unexpected allergens.
 Save to Pinterest
 Keep this recipe close because it will rescue you on birthday party eves, late night cravings, and every potluck sign up you forgot about until the morning of.
Recipe FAQs
- → Why are my no-bake cookies not setting properly?
-
The most common reason is not boiling the sugar-butter-cocoa mixture for a full minute. That brief boil is essential for the sugars to dissolve and create the right texture. Also, make sure your mixture reaches a full rolling boil before you start timing. If humidity is high, cookies may need longer to set—try refrigerating them for 15 to 20 minutes.
- → Can I use quick oats instead of old-fashioned rolled oats?
-
Yes, but the texture will be softer and less chewy. Quick oats absorb moisture faster, which can make the cookies crumbly. Old-fashioned rolled oats provide the best structure and that signature hearty bite. If you only have quick oats, reduce the amount slightly by about a quarter cup.
- → How should I store these cookies?
-
Store them in an airtight container at room temperature for up to five days. You can also refrigerate them, which extends freshness to about a week and gives a firmer texture. For longer storage, freeze the cookies between layers of parchment paper for up to three months. Thaw at room temperature before serving.
- → What can I substitute for peanut butter?
-
Sunflower seed butter is the best nut-free alternative and works nearly identically. Almond butter or cashew butter also work well if tree nuts are not a concern. For a completely different flavor profile, try cookie butter or Nutella. Keep in mind that natural nut butters with separated oil may affect the texture slightly.
- → Can I make these cookies dairy-free?
-
Absolutely. Replace the butter with a vegan butter stick or coconut oil, and swap the whole milk for any plant-based milk such as oat, almond, or coconut milk. The cookies will set similarly, though coconut oil may give a slightly different mouthfeel. Use dairy-free chocolate if you are adding any extra chocolate chips.
- → How long do I need to boil the mixture?
-
Boil for exactly one minute once the mixture reaches a full rolling boil—meaning bubbles continue even while stirring. Boiling for less time can leave the cookies too soft and gooey, while boiling too long can make them dry and crumbly. Set a timer the moment the full boil starts for consistent results every time.