 Save to Pinterest
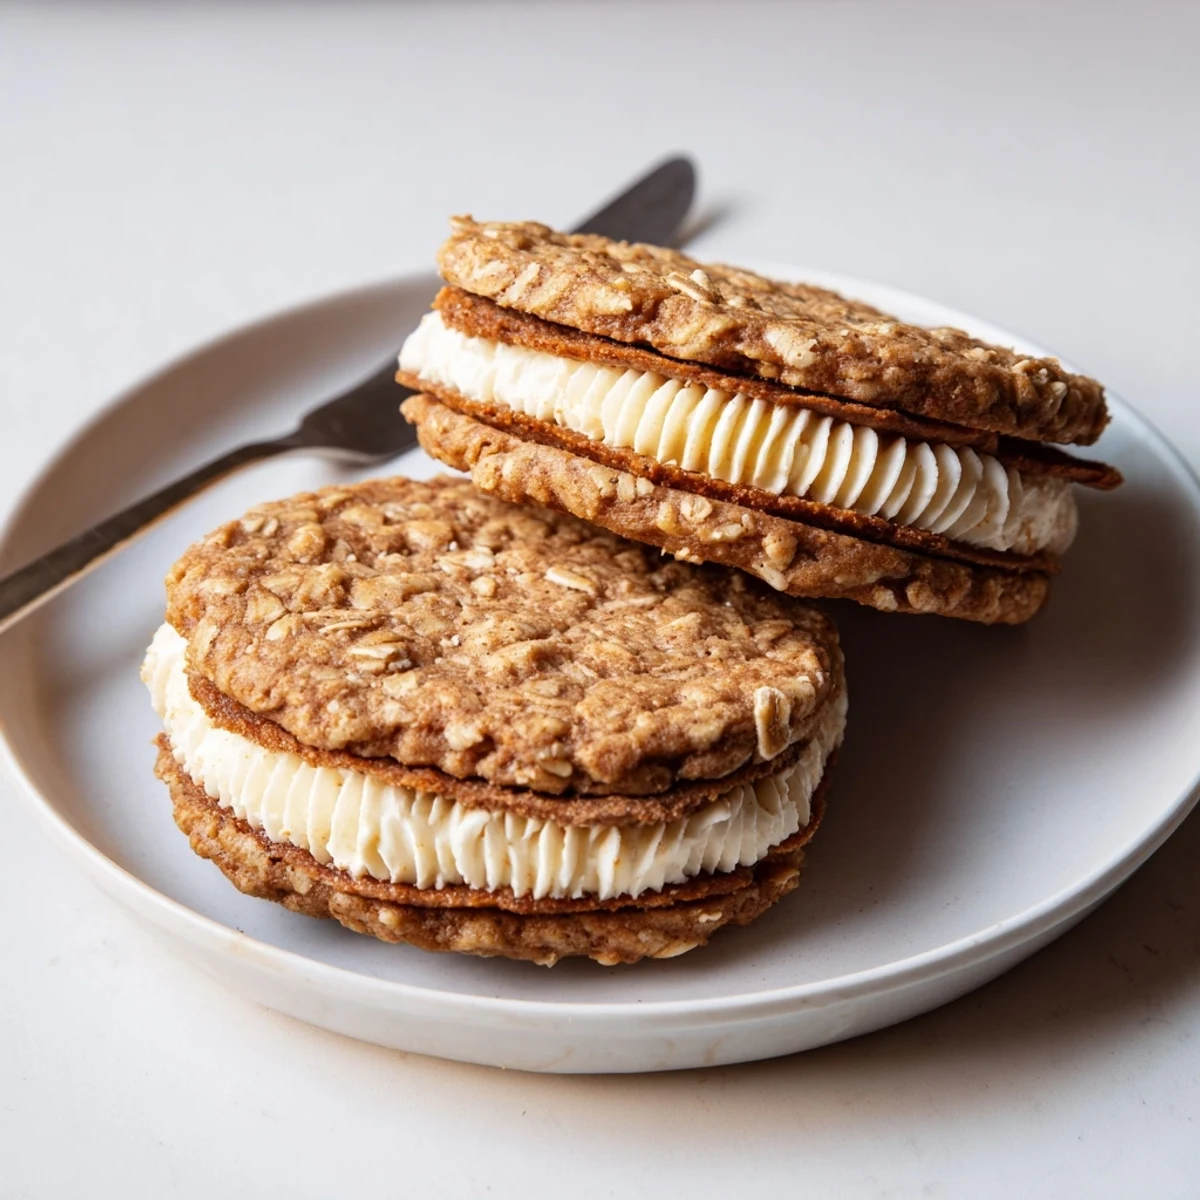
 These gluten-free oatmeal creme pies are soft, chewy oat cookies sandwiched with a smooth vanilla creme filling. The dough blends gluten-free rolled oats and all-purpose flour, creamed butter and sugars; scoop small rounds and bake 10–12 minutes until edges are set. Whip the filling with butter, powdered sugar, cream and vanilla, then pipe or spread onto cooled cookies. Swap plant-based butter and milk for a dairy-free version, or chill the filling for a firmer texture before assembling.
The grocery store near my old apartment had a clearance bin tucked beside the bakery, and one evening I found a box of gluten free oatmeal creme pies marked down to nothing. I bought them out of pity, honestly, but that first bite sent me straight back to school lunchboxes and playground trades. My kitchen smelled like brown sugar and comfort for days after I attempted my first homemade version, and I have never gone back to store bought since.
I brought a plate of these to a friend who had recently gone gluten free and watched her eyes get a little misty. She said it tasted like being ten years old again, and honestly I felt the same way pulling them from the oven.
Ingredients
- Gluten free old fashioned rolled oats (100 g): These give the cookies their signature chew and heartiness. Make sure your oats are certified gluten free because cross contamination is sneaky.
- Gluten free all purpose flour blend (90 g): A good blend with xanthan gum already included saves you an extra step and keeps the texture right.
- Coconut sugar or light brown sugar (70 g): Either works beautifully, though coconut sugar adds a deeper, almost caramel note that pairs well with the oats.
- Granulated sugar (70 g): Balances the molasses depth of the brown sugar and helps the edges crisp just slightly.
- Baking soda (1/2 tsp): Gives the cookies lift and encourages that beautiful spread.
- Baking powder (1/2 tsp): Works alongside the soda for a soft, cakey center.
- Ground cinnamon (1/4 tsp): Just enough to warm everything up without screaming cinnamon.
- Fine sea salt (1/2 tsp): Do not skip this. Salt is what makes sweet things taste like they mean it.
- Unsalted butter, softened (115 g): Room temperature butter creams properly and incorporates air into the dough.
- Large egg (1): Binds everything together and adds richness.
- Pure vanilla extract (1 tsp): Use the real stuff here. You will taste the difference in such a simple cookie.
- Unsalted butter for filling (100 g): This butter should be quite soft but not melted for the fluffiest creme.
- Powdered sugar, sifted (120 g): Sifting is nonnegotiable unless you enjoy lumpy filling.
- Heavy cream or milk (2 tbsp): Heavy cream makes it luxurious, but any milk works in a pinch.
- Pure vanilla extract for filling (1 tsp): Double the vanilla in the filling makes it taste like the inside of a dreamsicle.
- Pinch of fine sea salt for filling: A tiny pinch balances the sweetness and makes the filling taste homemade rather than grocery store.
Instructions
- Set the stage:
- Preheat your oven to 180 degrees Celsius and line two baking sheets with parchment paper. The parchment is important because these cookies are soft and gentle, and you do not want them sticking.
- Whisk the dry team:
- In a medium bowl, whisk together the oats, gluten free flour, baking soda, baking powder, cinnamon, and salt. Set this aside and admire the flecks of oat and spice for a moment.
- Cream the dream:
- In a large bowl, beat the softened butter with both sugars until the mixture looks pale, fluffy, and like something you want to dip a finger into. Add the egg and vanilla, then beat until everything is smooth and combined.
- Bring it together:
- Gradually add the dry ingredients to the wet and mix until just incorporated. Stop when you still see a few streaks of flour because overmixing makes tough cookies.
- Scoop and space:
- Scoop about one tablespoon of dough per cookie onto your prepared sheets, spacing them roughly five centimeters apart. They will spread a little, so give them room to breathe.
- Bake to gold:
- Bake for ten to twelve minutes until the edges are golden and set but the centers still look slightly soft. Let them cool on the sheet for five minutes before moving to a wire rack.
- Whip the creme:
- Beat the butter with sifted powdered sugar until light and fluffy, then mix in the cream, vanilla, and that tiny pinch of salt until smooth and spreadable.
- Build the pies:
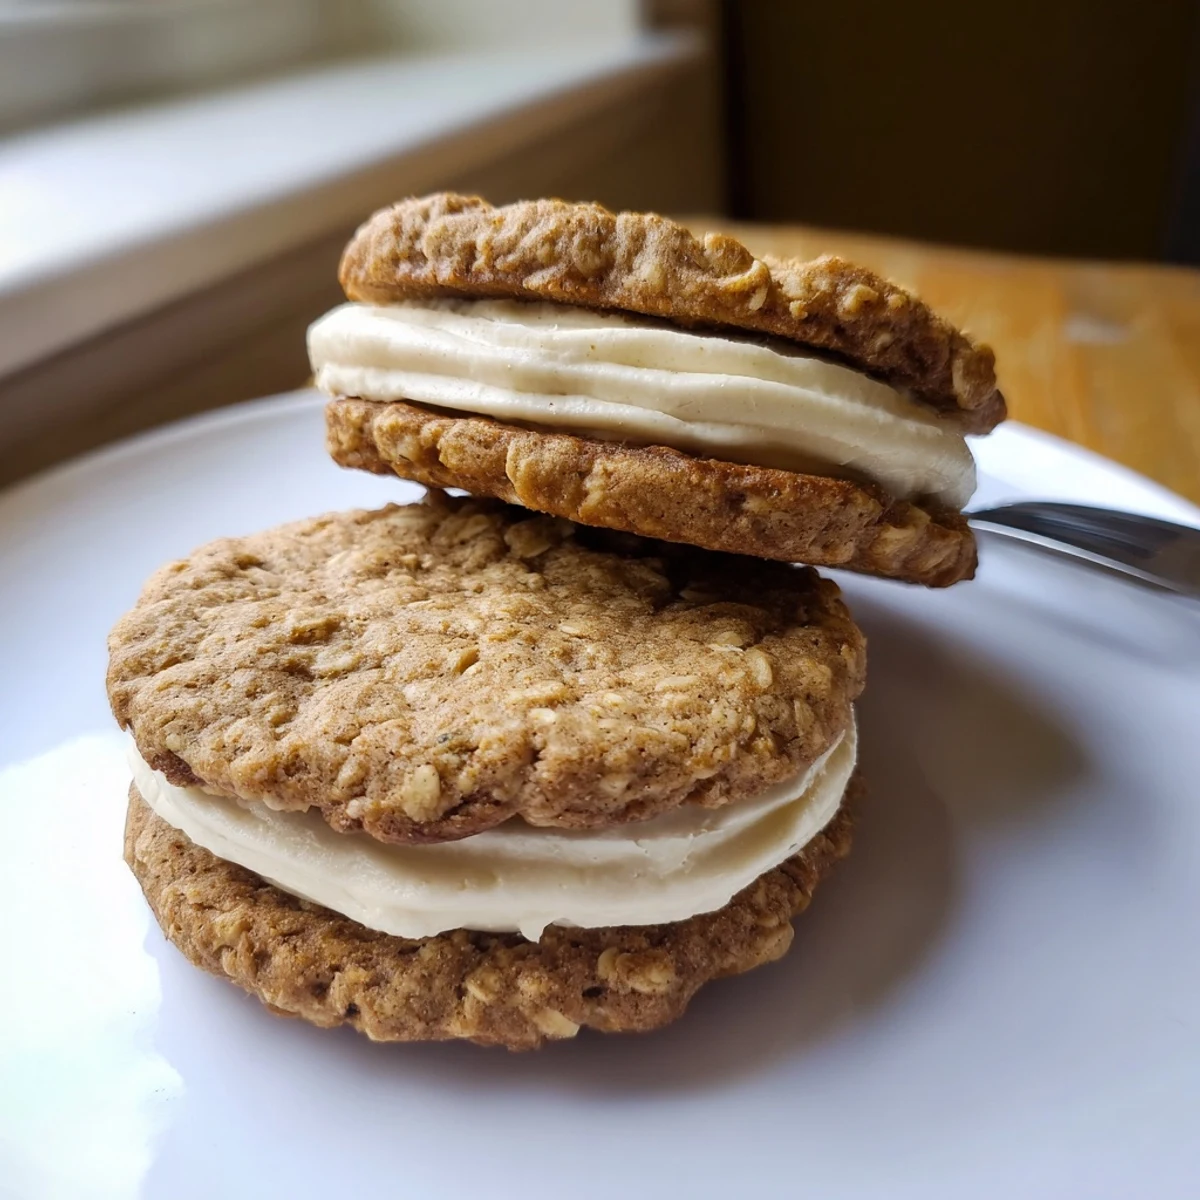
- Once the cookies are completely cool, spread or pipe a generous dollop of filling onto the flat side of one cookie and sandwich it with another. Press gently so the creme peeks out just a little around the edges.
 Save to Pinterest
 The moment I handed one of these to my partner and watched him take a bite without bracing for disappointment the way he usually does with gluten free baked goods, I knew this recipe was permanent.
Storing Your Sandwich Pies
Keep them in an airtight container at room temperature for up to two days, though honestly they rarely last that long in my kitchen. If you need more time, the refrigerator will hold them for about a week, and the chilled creme filling actually develops a lovely fudge like texture that some people prefer.
Making It Dairy Free Too
Swap the butter for a good quality plant based alternative and use oat milk or any dairy free milk in the filling. The flavor shifts slightly toward coconut or earthy depending on your butter substitute, but the structure holds up beautifully.
Serving Ideas and Small Pleasures
These pies are best served with something cold to drink, ideally a glass of milk or a cup of black coffee to cut through the sweetness. A pinch of nutmeg in the cookie dough adds unexpected warmth that makes them feel a little more grown up.
- Try warming one for eight seconds in the microwave for a just baked experience.
- Dust the tops with a tiny bit of powdered sugar if you are serving them to guests.
- Always check labels on your oats and flour to confirm gluten free certification.
 Save to Pinterest
 Some recipes become staples because they are easy, and others earn their spot because they make people close their eyes when they take a bite. These little pies do both.
Recipe FAQs
- → Can I make these dairy-free?
-
Yes. Use a plant-based butter and a dairy-free milk alternative in the filling. Texture may be slightly softer—chill the filling briefly to firm it up before assembling.
- → How do I keep the filling from oozing out?
-
Chill the filling for 10–15 minutes so it firms up, pipe a modest amount onto each cookie, and press gently. Assembled sandwiches benefit from a short chill to set the filling.
- → Can I substitute quick oats for rolled oats?
-
Quick oats will produce a finer, less chewy bite. For the best texture, use old-fashioned rolled oats; if using quick oats, pulse briefly in a food processor to avoid a pasty crumb.
- → What keeps the cookies soft and chewy?
-
Do not overbake—remove when edges are set but centers still tender. Using a mix of coconut or light brown sugar with granulated sugar and properly creaming the butter helps retain chewiness.
- → How should I store the assembled sandwiches?
-
Store in an airtight container at room temperature for up to 2 days or in the refrigerator for up to 1 week. Bring to room temperature before serving for the best texture.
- → Can I add mix-ins like chocolate chips or nuts?
-
Yes—fold small amounts of chocolate chips, chopped nuts, or dried fruit into the dough. Keep the scoop size consistent and watch bake time, as add-ins can affect spreading and moisture.
