 Save to Pinterest
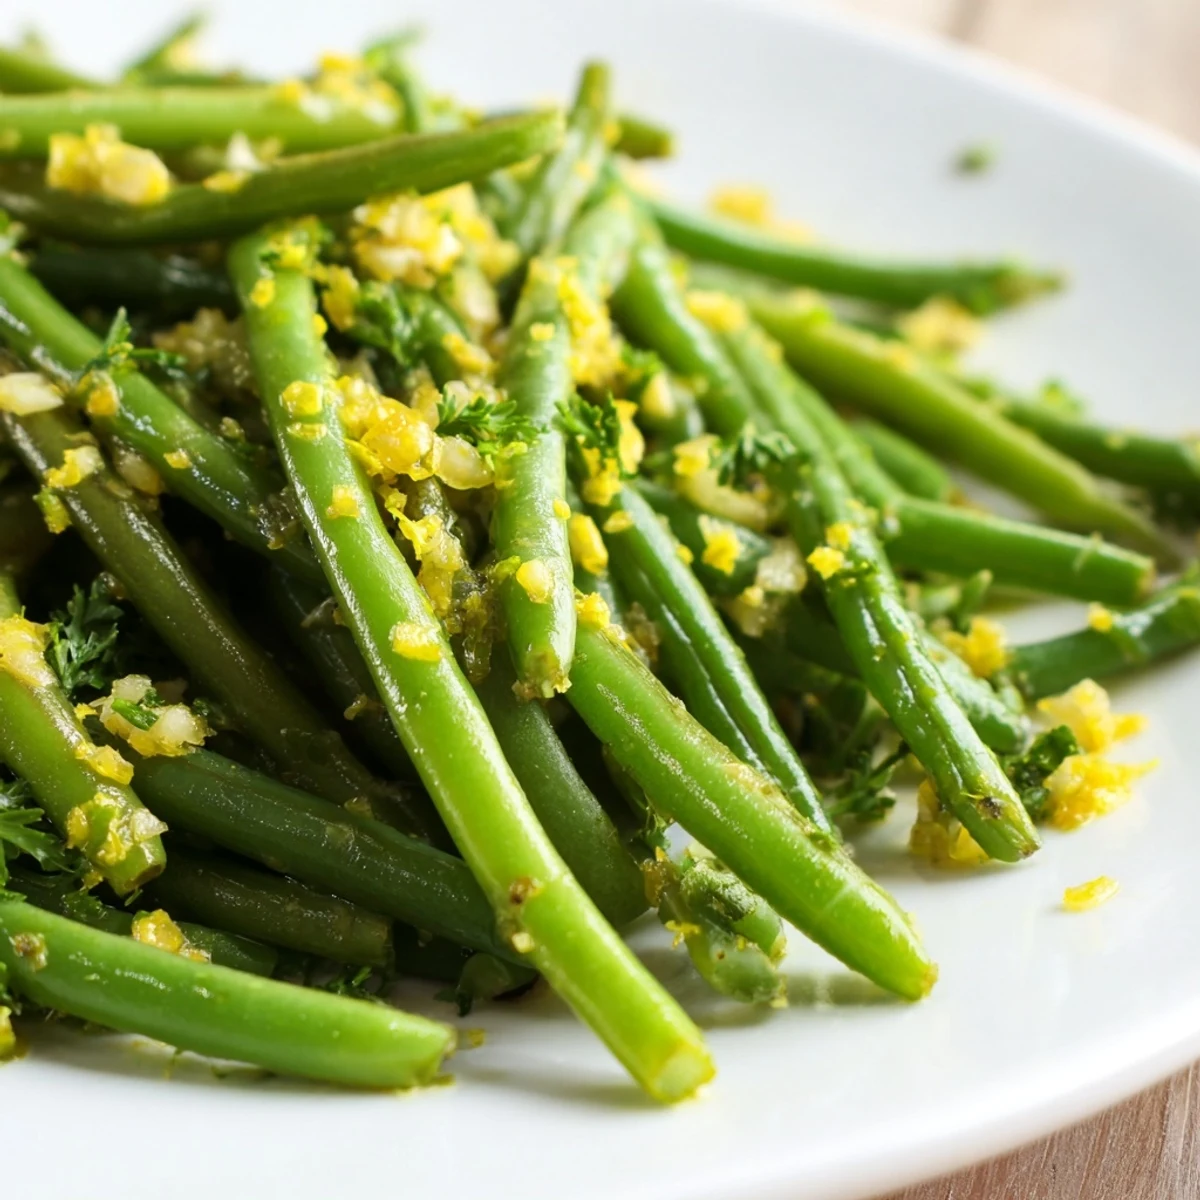
 Create a vibrant side dish by blanching fresh green beans until crisp-tender, then sautéing them in olive oil with minced garlic. Finish with a generous squeeze of lemon juice and zest, seasoning with salt and pepper. Ready in just 20 minutes, this dish offers a refreshing, zesty balance of flavors that pairs perfectly with almost any main course.
There's something about a perfectly cooked green bean that brings me back to summer afternoons at my grandmother's kitchen table, watching her snap beans while telling stories. She taught me the trick of shocking them in ice water—a technique that seems simple until you realize how it transforms a vegetable from limp to vibrant. This lemon version became my go-to whenever I needed something bright and effortless, especially on nights when I wanted a side dish that felt fancy but required almost no thinking.
I made this for a dinner party once where everything else fell apart—the roasted chicken took longer than planned, the potatoes weren't done—but these green beans sat there looking so fresh and composed that they became the real star of the plate. My friend asked for the recipe before dessert arrived, and I loved telling her it was barely a recipe at all, just vegetables that know how to shine.
Ingredients
- Fresh green beans: Look for ones that snap when you bend them, a sign they're crisp and recent. A pound feeds four people generously as a side.
- Olive oil: The fat that carries the garlic flavor, so don't skip it or go cheap here.
- Garlic cloves, minced: Three cloves might seem bold, but they mellow as they cook and won't overpower anything.
- Lemon zest and juice: The zest adds brightness before the juice does, creating layers of citrus instead of one flat note.
- Salt and pepper: Taste as you go and adjust—this is where personal preference matters most.
- Fresh parsley: Optional but it adds color and a fresh herbal note that feels intentional.
Instructions
- Boil the beans:
- Get your salted water really rolling before adding the beans—you want them to start cooking immediately in turbulent water. Watch the color change from dull to bright green, which takes about three to four minutes and is actually the most satisfying part to witness.
- Shock them in ice water:
- This stops the cooking dead and keeps the beans crisp instead of soft. Don't skip this step or you'll end up with that sad, mushy texture that haunts you later.
- Toast the garlic:
- Heat your oil gently and add the minced garlic, listening for it to become fragrant—that sizzle is your timer, not the clock. Pull it off heat the second before it starts to brown, because burnt garlic tastes bitter and ruins everything.
- Combine everything:
- Toss the drained beans into the garlic oil and let them warm through, which takes barely a few minutes. The beans will soak up the oil and garlic flavor, becoming silky but still snappy.
- Finish with citrus:
- Add the zest first, then the juice, and toss well so every bean gets coated. The acid brightens the whole dish and wakes up your palate.
- Serve warm:
- Transfer to a platter, scatter parsley on top if you're using it, and set out lemon wedges for anyone who wants more brightness. Serve right away while everything is still hot.
 Save to Pinterest
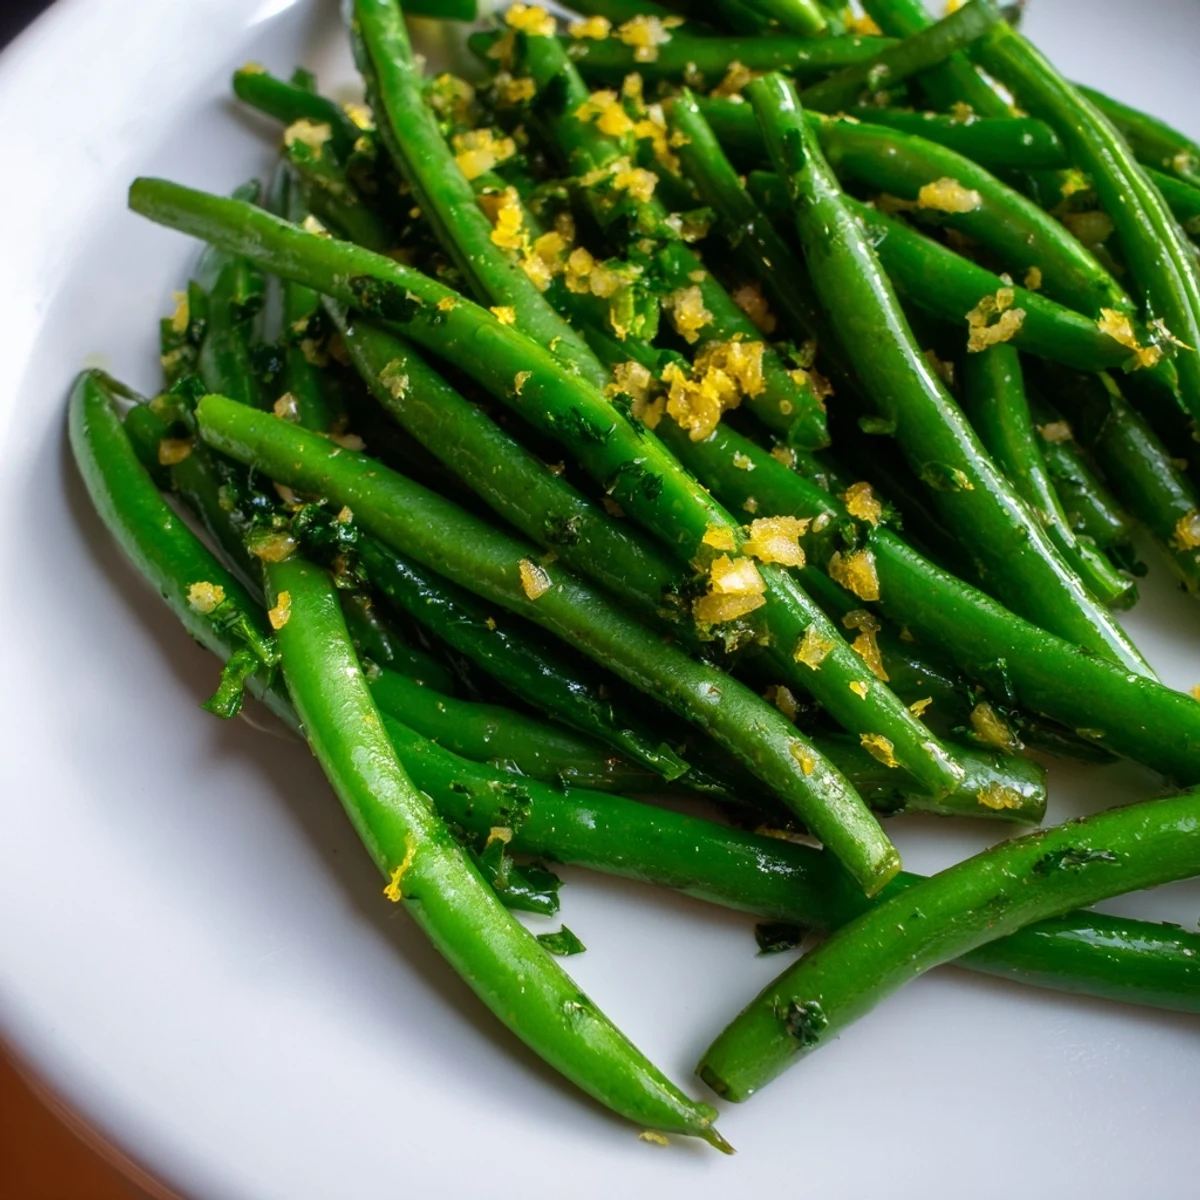
 What I love most about this dish is how it proves that vegetables don't need complicated techniques to be memorable. My partner actually looks forward to side dishes now, which I never thought I'd say about anyone, and it's because things this simple let the real flavors do the talking.
The Magic of the Ice Bath
The ice bath seems like a fancy restaurant move, but it's actually just science working in your favor. When green beans hit boiling water, the heat breaks down chlorophyll and turns them a dull olive color—shocking them in ice water stops that reaction instantly and locks in the bright green. Once you understand why it matters, you'll start using this trick on every green vegetable you cook, from asparagus to broccoli.
Variations That Work
I've made this with lime instead of lemon on nights when I had a Mexican meal planned, and it shifts the whole vibe without changing the method. You can also add a pinch of red pepper flakes if you want heat, or toss in some toasted almonds for crunch right before serving. The foundation is solid enough to play with while staying true to what makes it good.
Timing and Make-Ahead Tips
This dish is genuinely faster than most sides, but you can make it earlier in the day and serve it at room temperature without losing much. I've brought it to potlucks at room temp and people still ask for the recipe, which tells you something about how forgiving it is. If you're cooking for a crowd, you can blanch and shock the beans hours ahead, then sauté them just before serving to keep them warm.
- Blanch and shock the beans up to six hours ahead to save time on cooking day.
- Keep the garlic oil separate and combine everything five minutes before serving for maximum freshness.
- Double the recipe if you're bringing it anywhere—people always come back for seconds of something this bright and simple.
 Save to Pinterest
 This recipe proved to me that not everything needs to be complicated to be worth making. Sometimes the best dishes are the ones that let simple things taste like themselves, just a little brighter.
Recipe FAQs
- → How do I prepare the green beans?
-
Trim the stem ends of the fresh beans by snapping them off or cutting them with a knife before blanching.
- → Can I use frozen green beans instead?
-
Yes, thaw them completely and pat them dry to remove excess moisture before sautéing for best results.
- → Is blanching required for this dish?
-
Blanching ensures the beans are tender and preserves their bright green color, though you can skip it if you prefer a crunchier texture.
- → How should I store leftovers?
-
Place cooled beans in an airtight container and refrigerate for up to 3 to 4 days.
- → Can I substitute lime for the lemon?
-
Absolutely, lime provides a delicious citrus twist that pairs beautifully with the garlic and olive oil.
