 Save to Pinterest
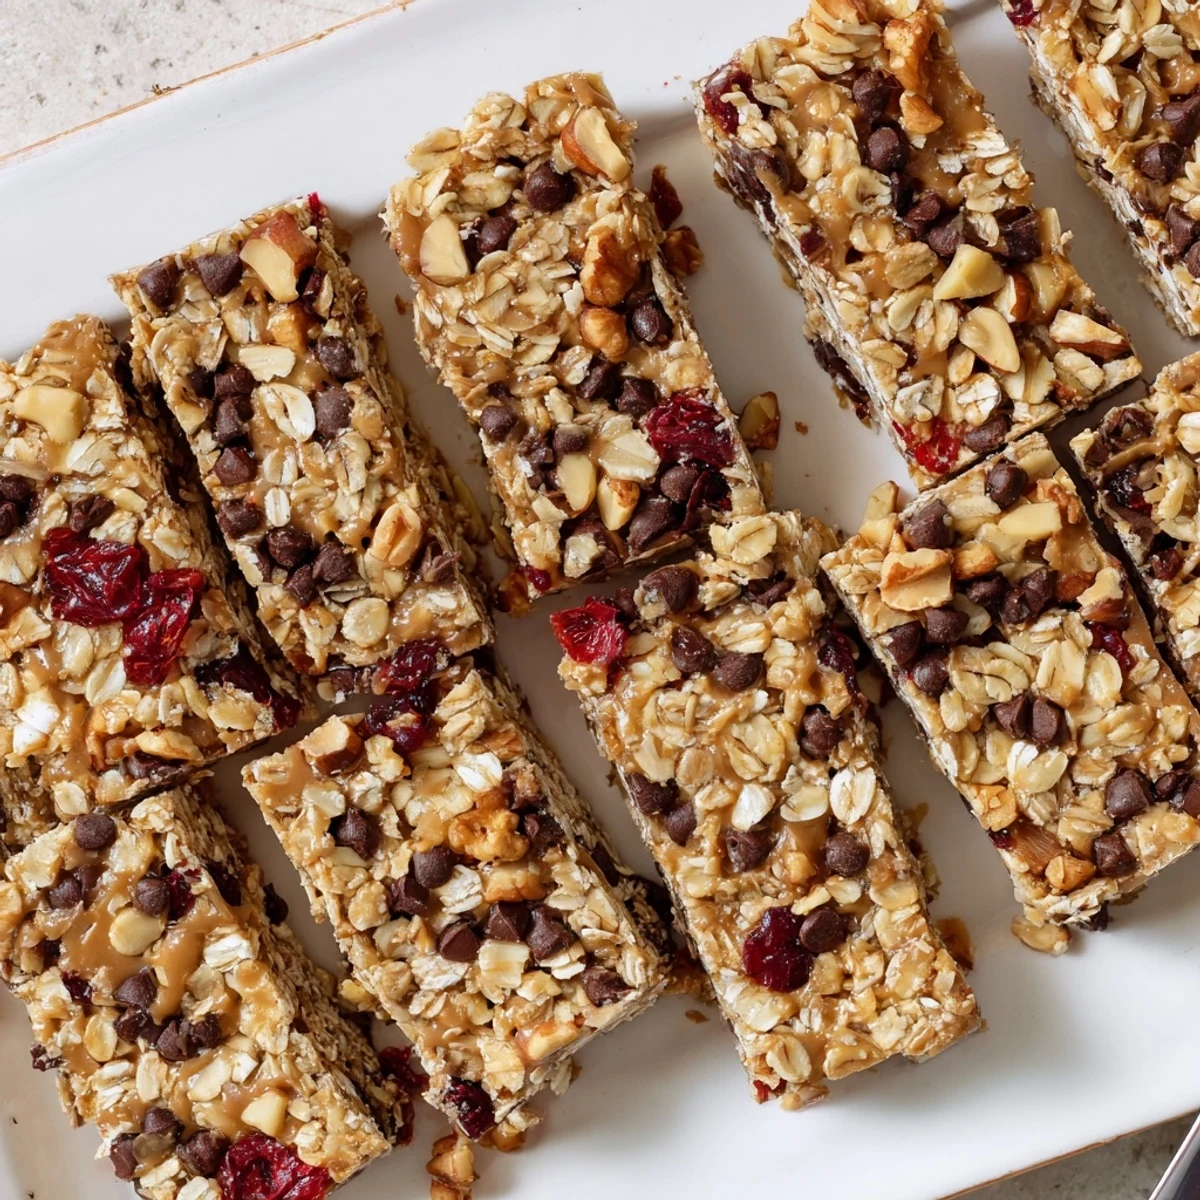
 These chewy wholesome oat bars combine rolled oats with creamy peanut butter and sweet honey for a satisfying snack that requires zero baking time. Simply melt together the wet ingredients, toss with oats and your favorite mix-ins like nuts and dried fruit, press into a pan, and chill until set. The result is a perfectly portable treat ideal for breakfast on the go, afternoon snacking, or post-workout fuel.
Customizing these bars is effortless—swap peanut butter for almond butter, add shredded coconut or chia seeds, or use maple syrup for a plant-based version. Keep them refrigerated for the best texture and enjoy having homemade snacks ready whenever hunger strikes.
My college roommate used to make these in our tiny dorm kitchenette during exam weeks when we needed something substantial but couldn't afford to spend hours cooking. The whole apartment would smell like warm honey and peanut butter, and somehow that made studying feel less terrible. I've been making them ever since, adapting the recipe through countless kitchen experiments and Sunday meal prep sessions.
Last summer I made a double batch for a road trip with friends, and by the time we reached our destination three hours later, exactly three bars remained. Now I have to hide a few in the back of the fridge if I want any to actually make it into lunchboxes during the week. The best part is watching peoples faces when they realize these didnt come from a box at the grocery store.
Ingredients
- 2 cups rolled oats: Old fashioned oats give the best chewy texture, but quick oats work in a pinch
- 1/2 cup chopped nuts: Almonds add crunch, walnuts bring earthiness, or skip them for nut free bars
- 1/3 cup dried cranberries: Raisins work too, or try chopped dried apricots for something different
- 1/4 cup mini chocolate chips: These make everything better, but the bars are still great without them
- 1/2 cup peanut butter: Creamy peanut butter distributes more evenly, but crunchy adds nice texture
- 1/3 cup honey or maple syrup: Honey has a more pronounced flavor, maple syrup is slightly more subtle
- 1/4 cup butter or coconut oil: Butter gives richer flavor, coconut oil makes them slightly firmer when chilled
- 1 tsp vanilla extract: Dont skip this, it rounds out all the flavors beautifully
- Pinch of salt: Just enough to make the sweet ingredients pop without tasting salty
Instructions
- Prep your pan:
- Line an 8x8 inch pan with parchment paper, letting the edges hang over the sides like little handles
- Combine the dry ingredients:
- Mix oats, nuts, dried fruit, and chocolate chips in a large bowl
- Melt the sticky stuff together:
- Warm peanut butter, honey, and butter in a small saucepan over low heat, stirring until smooth and combined
- Add the finishing touches:
- Remove from heat and stir in vanilla and salt until everything smells wonderful
- Bring it all together:
- Pour the warm mixture over the dry ingredients and stir until every oat is coated and sticky
- Press and chill:
- Transfer to your prepared pan and press down firmly, then refrigerate for at least one hour
- Cut into bars:
- Use the parchment overhang to lift the whole block out, then cut into 12 squares
 Save to Pinterest
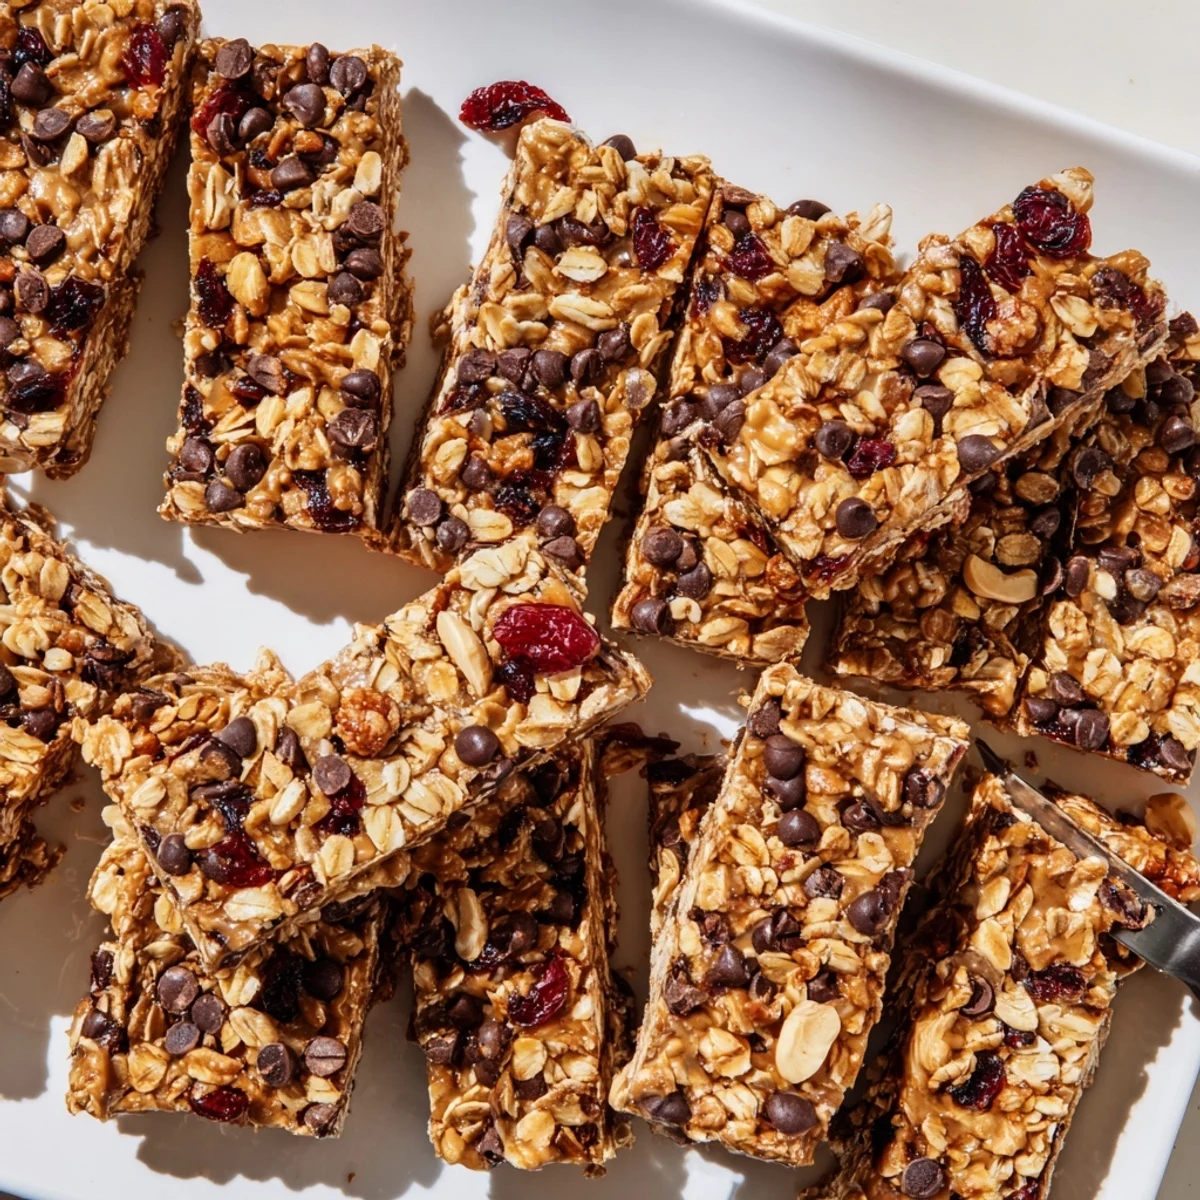
 My daughter now asks to help make these every Sunday afternoon, standing on her step stool to press the mixture into the pan with her small hands. She insists on adding the chocolate chips last so she can sneak a few, and I pretend not to notice. These bars have become our little weekend ritual, something simple that anchors the week ahead.
Making Them Your Own
Once you have the basic method down, these bars are incredibly forgiving. I've swapped peanut butter for almond butter when my sister visited, used coconut oil to make them dairy free, and even added a scoop of protein powder after the mixture cooled slightly. The recipe adapts to whatever dietary needs or preferences you have without losing what makes it work.
Storage Secrets
I learned the hard way that these bars turn into a sad sticky mess if left at room temperature for too long. The fridge keeps them firm and makes them last up to two weeks, though they never survive that long in my house. You can also freeze them individually wrapped, grabbing one as you head out the door.
Serving Ideas
Sometimes I crumble a bar over yogurt for breakfast, or melt one slightly in the microwave for a warm dessert. They are also perfect tucked into lunch boxes where they won't get crushed like more delicate baked goods. The versatility is part of why this recipe has stayed in my rotation for so many years.
- Try dipping the bottom halves in melted chocolate for an extra special treat
- Add a tablespoon of chia seeds or flaxseed for a nutritional boost
- Cut them smaller for bite sized snacks at parties or potlucks
 Save to Pinterest
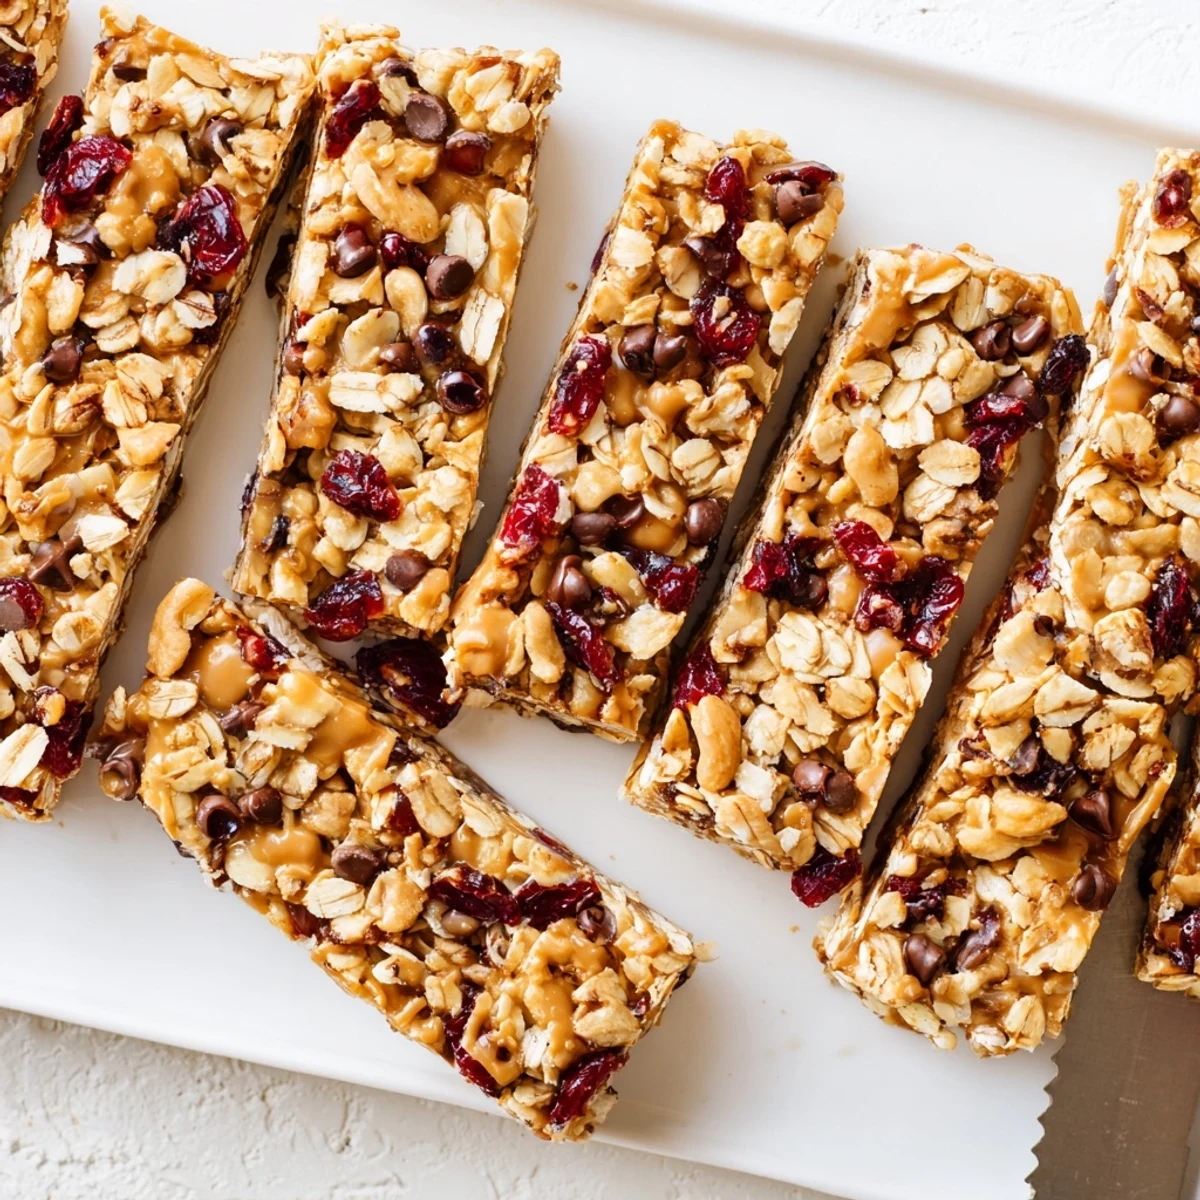
 There is something deeply satisfying about making something so delicious without ever turning on the oven. These bars have saved me more times than I can count, and I hope they become just as reliable in your kitchen.
Recipe FAQs
- → How long do these oat bars need to chill?
-
Refrigerate the bars for at least 1 hour until completely set and firm enough to cut cleanly. For best results, let them chill longer—overnight is ideal if you have the time.
- → Can I make these without peanut butter?
-
Absolutely. Almond butter, sunflower seed butter, or cashew butter work wonderfully as substitutes. Choose sunflower seed butter for a nut-free version that's school-friendly.
- → How should I store these oat bars?
-
Store in an airtight container in the refrigerator for up to 2 weeks. The cold keeps them firm and fresh. You can also freeze individually wrapped bars for up to 3 months—thaw in the fridge before enjoying.
- → What can I use instead of honey?
-
Maple syrup or agave nectar are excellent alternatives. Maple adds a rich depth while agave provides a neutral sweetness. Both work perfectly for keeping these bars vegan-friendly.
- → Can I add protein powder to these bars?
-
Yes, simply reduce the oats by 2-3 tablespoons and mix in your favorite protein powder. You may need to add an extra tablespoon of nut butter or honey to maintain the proper consistency.
- → Why did my bars turn out crumbly?
-
This usually means the mixture wasn't pressed firmly enough into the pan or they weren't chilled long enough. Press down very firmly using the back of a spoon or measuring cup, and ensure adequate chilling time before cutting.
