
 Save to Pinterest
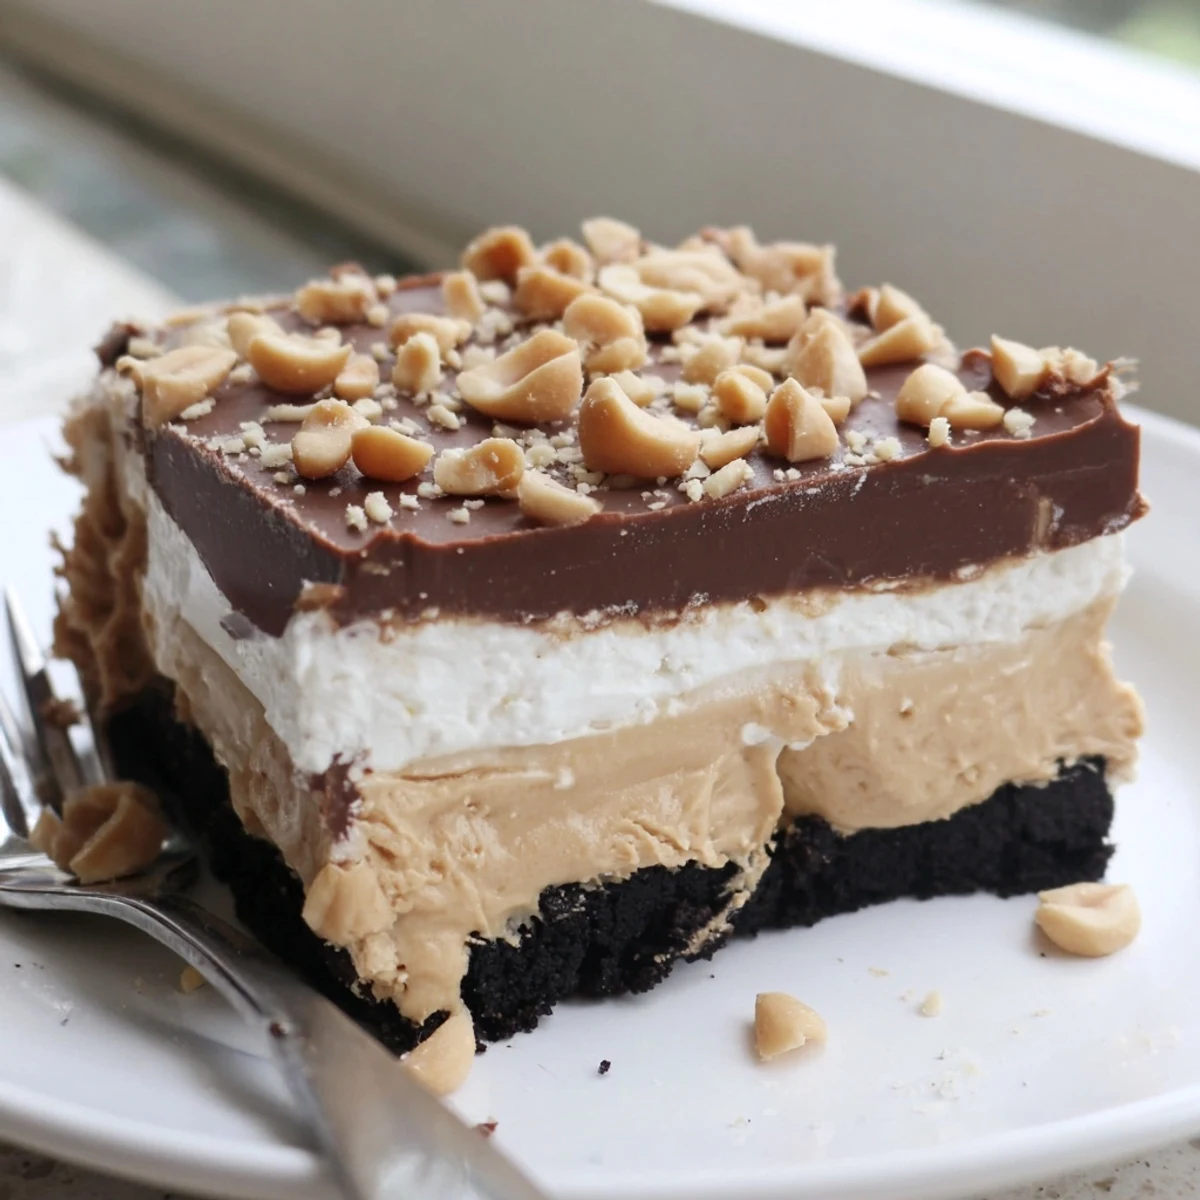
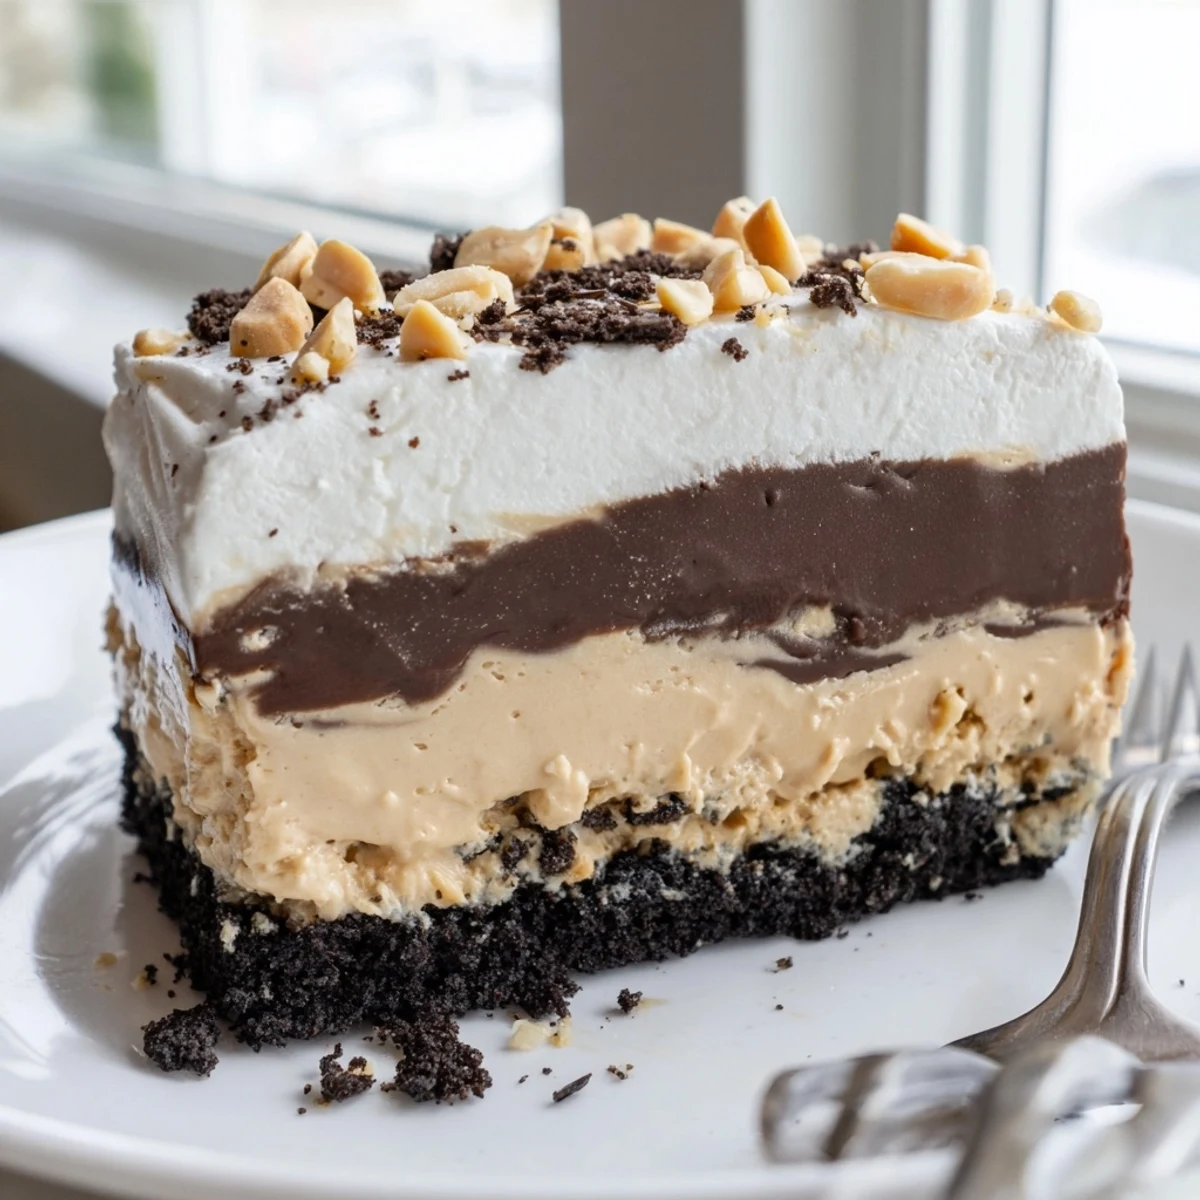
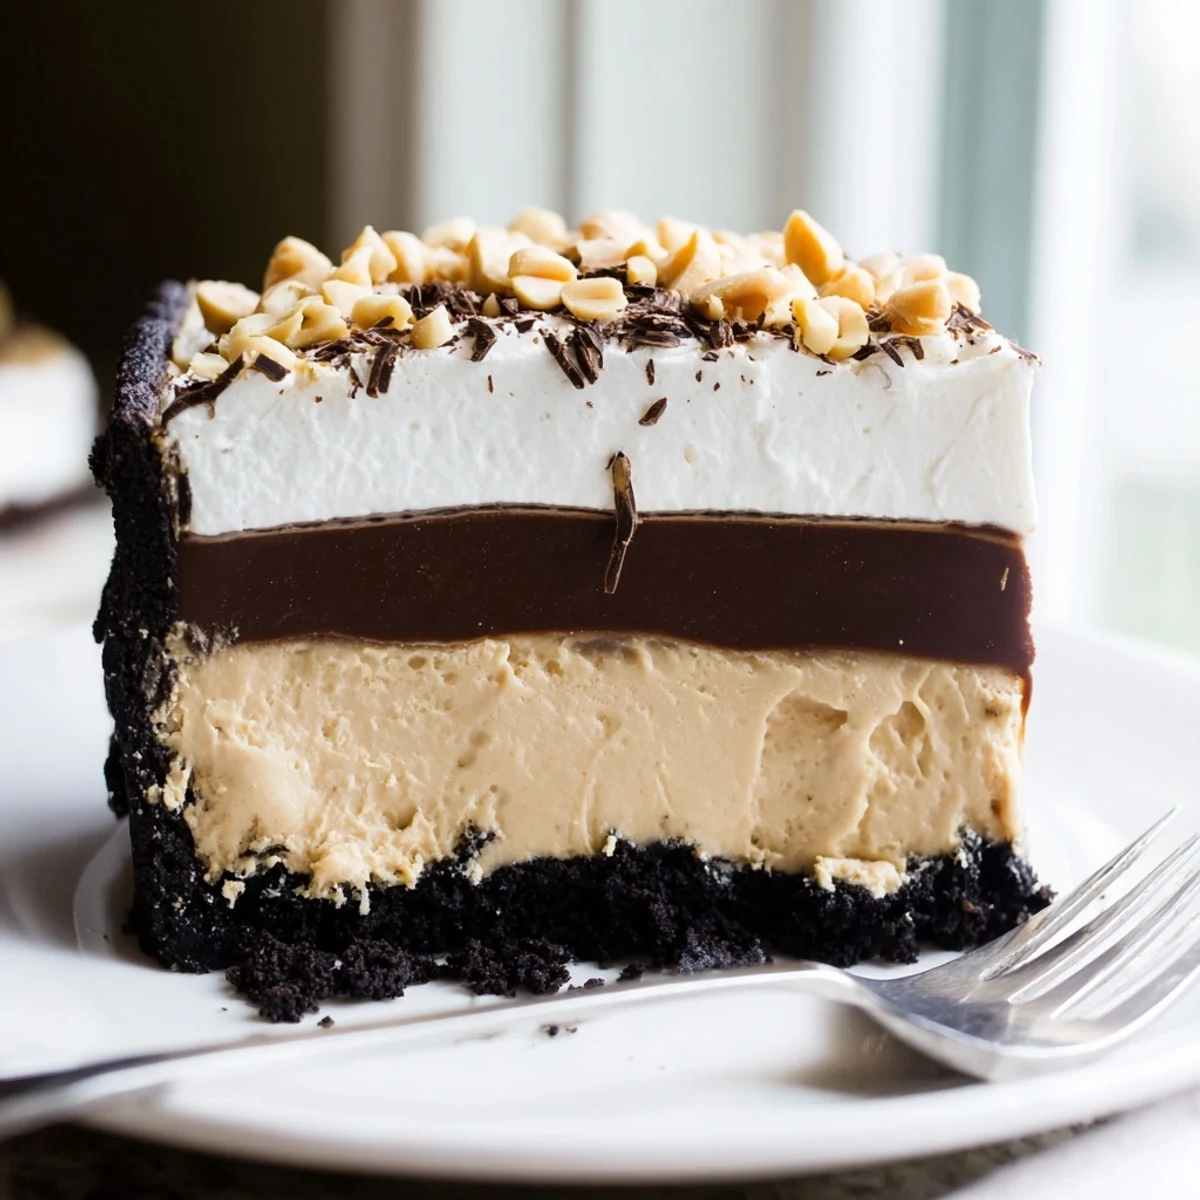
 This no-bake peanut butter layered delight brings together a buttery chocolate cookie crust, a silky peanut butter cream cheese filling, a glossy chocolate ganache layer, and a fluffy whipped topping. It requires just 25 minutes of hands-on prep before chilling in the fridge for at least four hours.
Perfect for gatherings, potlucks, or satisfying a sweet tooth, each slice delivers a satisfying contrast of crunch and creaminess. The combination of peanut butter and chocolate is timeless, and this dessert showcases it beautifully across four distinct layers.
The humidity was suffocating that July afternoon when my sister announced she was bringing her new boyfriend over for dessert. I had exactly three hours, a jar of peanut butter, and a prayer. This layered delight came together faster than I could panic, and when I pulled it from the fridge that evening, the glossy chocolate top gleaming under the kitchen light, I knew panic was unnecessary.
My sister handed me a fork across the table after her first bite and said nothing, just pointed at the pan. That was the highest compliment she knew how to give.
Ingredients
- Chocolate sandwich cookies (200 g): Crush them finely for the base, as larger chunks leave gaps that make slicing messy.
- Unsalted butter (60 g), melted: Binds the crumbs together into a crust that holds firm after chilling.
- Cream cheese (250 g), softened: Leave it out for thirty minutes beforehand so it blends without stubborn lumps.
- Creamy peanut butter (180 g): Use a standard commercial brand rather than natural, as the texture sets more reliably.
- Powdered sugar (100 g): Sweetens the middle layer without adding grit.
- Whipped topping (350 ml total): Divided between the peanut butter layer and the final topping for airy richness.
- Semisweet chocolate chips (120 g): Creates a ganache cap that firms into a silky slab.
- Heavy cream (80 ml): Combines with chocolate for a pourable ganache that sets without cracking.
- Chopped roasted peanuts (30 g), optional: Adds a salty crunch right where you want it.
- Chocolate shavings, optional: A finishing flourish that makes the whole dessert look bakery professional.
Instructions
- Build the crust:
- Toss the crushed cookies with melted butter until every crumb glistens, then press the mixture firmly and evenly into the bottom of your pan. Tuck it into the freezer for fifteen minutes while you work on the next layer.
- Whip up the peanut butter filling:
- Beat the cream cheese, peanut butter, and powdered sugar until completely smooth, scraping the bowl once or twice. Fold in the whipped topping with gentle strokes so you do not deflate it, then spread this cloud over the chilled crust.
- Pour on the chocolate:
- Microwave the chocolate chips and cream together in short bursts, stirring patiently between each one until the mixture turns glossy. Let it cool for a few minutes so it does not melt the layer below, then pour and tilt the pan to coat evenly.
- Chill patiently:
- Cover the pan gently and refrigerate for at least four hours, though overnight yields the cleanest slices.
- Crown with topping:
- Spread the remaining whipped topping over the set chocolate, then scatter peanuts and chocolate shavings across the surface.
- Slice and serve:
- Cut with a warm knife, wiping it clean between cuts for neat portions. Serve straight from the fridge while the layers are still firm and distinct.
 Save to Pinterest
 That boyfriend became my brother in law last spring, and he still asks for this dessert every holiday.
Swaps and Twists
I once used crushed pretzels instead of cookies for the base and the salty snap was a revelation worth repeating. Almond butter works beautifully in place of peanut butter if someone at the table has an allergy. Gluten free sandwich cookies make the whole thing safe for friends who need that consideration without changing the texture at all.
Pairings Worth Mentioning
A glass of cold milk is the obvious companion, but a small pour of tawny port beside a slice turns an ordinary weeknight into something worth remembering. Coffee works too, especially if the chocolate layer leans dark.
Getting Ahead of Yourself
This dessert is a planners dream because it actually improves overnight in the fridge.
- Make it the evening before your event and cross dessert off your list entirely.
- Keep the peanuts and shavings in a container until just before serving so they stay crisp.
- Leftovers hold well for up to three days, though in my experience they never last that long.
 Save to Pinterest
 Some recipes earn their place in your rotation through simplicity alone, and this one has never once let me down.
Recipe FAQs
- → Can I make this dessert ahead of time?
-
Absolutely. In fact, it tastes even better after chilling overnight. You can prepare it up to two days in advance and keep it covered in the refrigerator until ready to serve.
- → Can I use natural peanut butter instead of creamy commercial peanut butter?
-
Commercial creamy peanut butter works best for a smooth, stable filling. Natural peanut butter tends to separate and can make the layer less creamy. If using natural, stir it very well and consider adding an extra tablespoon of powdered sugar to help bind it.
- → What can I substitute for the whipped topping?
-
You can use an equal amount of freshly whipped heavy cream sweetened with a little powdered sugar and vanilla extract. Keep in mind that stabilized whipped cream will hold its shape longer than plain whipped cream.
- → How should I store leftovers?
-
Cover the pan tightly with plastic wrap or transfer slices to an airtight container. Store in the refrigerator for up to four days. Freezing is also possible—wrap individual slices tightly and freeze for up to one month. Thaw in the fridge before serving.
- → Can I make this in a different pan size?
-
Yes, you can use a 9-inch round springform pan, a 9-inch square dish, or even a 9x13-inch dish for thinner portions. If using a larger dish, reduce the chilling time slightly and note that the layers will be thinner.
- → How do I get clean slices when serving?
-
Use a sharp knife dipped in hot water and wiped dry between each cut. This helps glide through the layers cleanly. Always serve well chilled, as the dessert holds its shape better when cold.