 Save to Pinterest
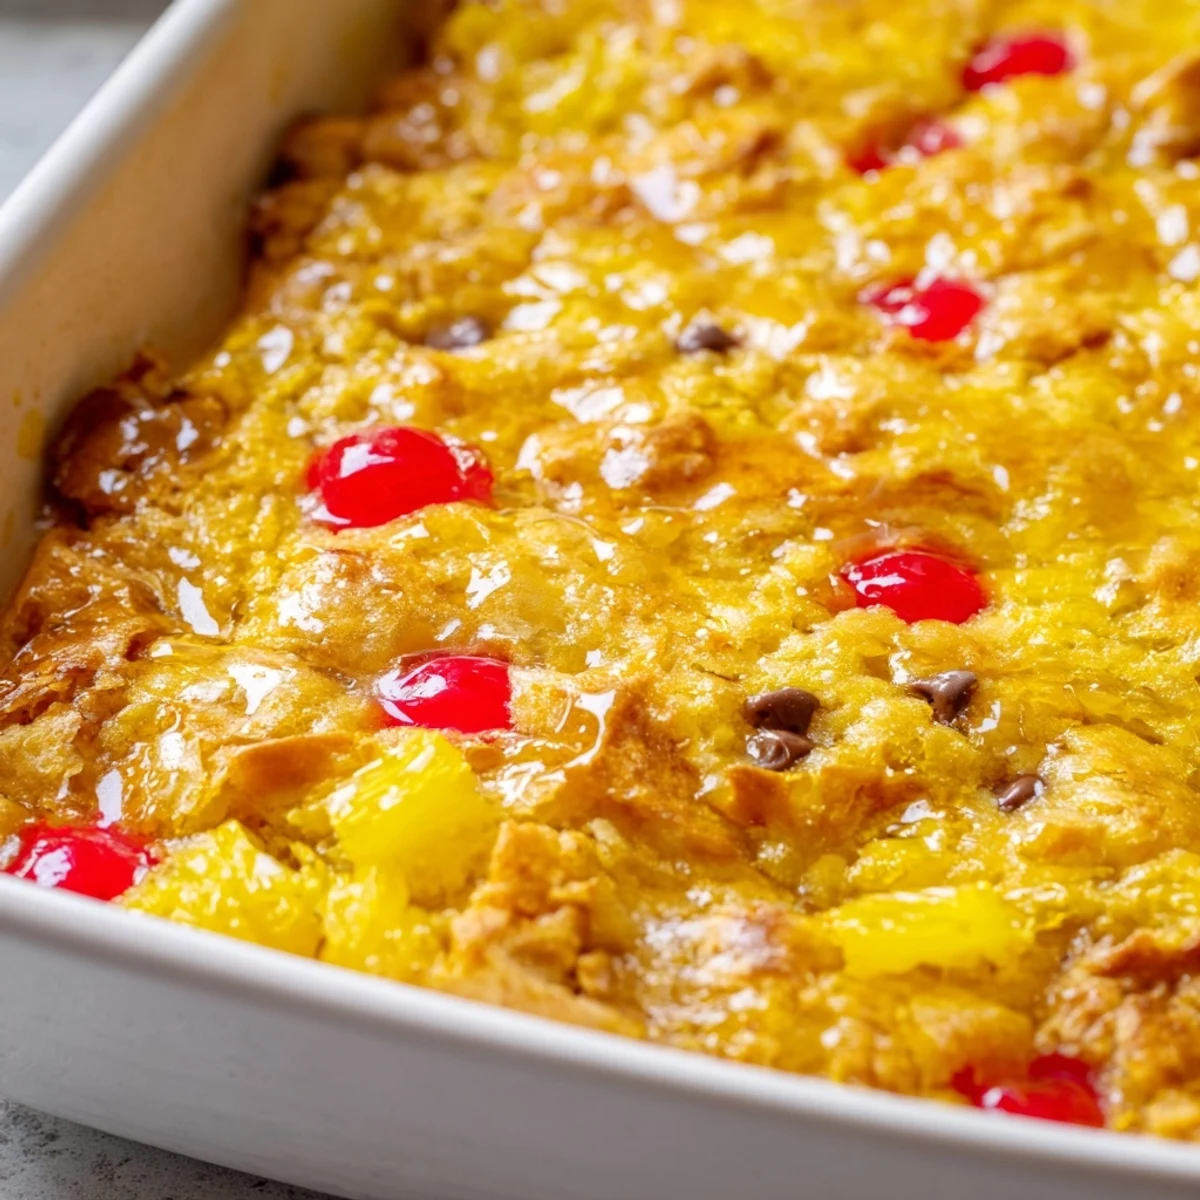
 This indulgent dessert transforms the classic banana split into a warm, baked treat. Fresh sliced bananas form the base, topped with sweet crushed pineapple and vibrant maraschino cherries. A sprinkle of sugar balances the fruit, while semisweet chocolate chips add rich depth throughout the layers.
The magic happens when dry yellow cake mix is scattered over everything and drizzled with melted butter. As it bakes, the butter seeps through creating pockets of moist cake while the top turns beautifully golden brown. The fruit becomes tender and bubbly, creating that perfect contrast between crisp topping and soft, fruity center.
Serve this warm for the ultimate gooey experience, topped with whipped cream, chopped nuts, and extra cherries if desired. It's incredibly simple to assemble yet tastes like you spent hours creating something special.
My grandmother called this her magic cake because something incredible happens in the oven. The fruit juices bubble up through the buttery cake mix, creating these irresistible pockets of gooey sweetness. I stumbled upon it during a summer potluck when I was scrambling for something that fed a crowd without fancy techniques. Now it is my go-to whenever I need to remind people that dessert should be fun.
Last summer my neighbor helped me haul groceries inside when my car stalled in the driveway. She spotted the bananas and pineapple bags, laughed, and asked if I was making that cake. We ended up baking it together on her porch while her kids ran through sprinklers in the yard. The whole neighborhood smelled like butter and chocolate by sundown.
Ingredients
- 3 large ripe bananas, sliced: Spotted bananas work best here since they are naturally sweeter and mash slightly into the pineapple juices
- 1 can (20 oz / 565 g) crushed pineapple, drained: Press down firmly in the colander because excess liquid makes the cake soggy in spots
- 1 jar (10 oz / 280 g) maraschino cherries, drained and halved: Halving them distributes the bright red color and sweet cherry flavor throughout every bite
- 1/2 cup (100 g) granulated sugar: This helps draw moisture from the fruit and creates a syrupy layer between the fruit and cake
- 1/2 cup (90 g) semisweet chocolate chips: They sink slightly into the fruit layer while melting into puddles of chocolate richness
- 1 box (15.25 oz / 432 g) yellow cake mix: Do not prepare the mix, simply sprinkle it dry over the fruit for that classic dump cake texture
- 3/4 cup (170 g) unsalted butter, melted: Pour slowly in a zigzag pattern to cover as much of the dry cake mix as possible
Instructions
- Get your oven ready:
- Preheat to 350°F (175°C) and grease a 9x13-inch baking dish with butter or cooking spray
- Build the fruit foundation:
- Arrange the banana slices evenly across the bottom, then spread the crushed pineapple in a smooth layer over them
- Add the bright pops:
- Scatter the halved maraschino cherries across the pineapple so every serving gets those jewel-like red pieces
- Sweeten the layers:
- Sprinkle the granulated sugar evenly over all the fruit to help create those bubbling fruit juices as it bakes
- Chocolate time:
- Distribute the chocolate chips across the entire surface, pressing them gently into the fruit mixture
- The cake blanket:
- Sprinkle the dry yellow cake mix slowly and evenly over the fruit, covering every inch without large gaps
- The butter finish:
- Drizzle the melted butter in a careful back-and-forth motion, trying to moisten as much of the cake mix as you can see
- Bake until golden:
- Bake for 40 to 45 minutes until the top turns golden brown and you see the fruit juices bubbling up around the edges
- The hardest part:
- Let it cool for at least 15 minutes because the fruit filling stays molten hot and needs time to set slightly
 Save to Pinterest
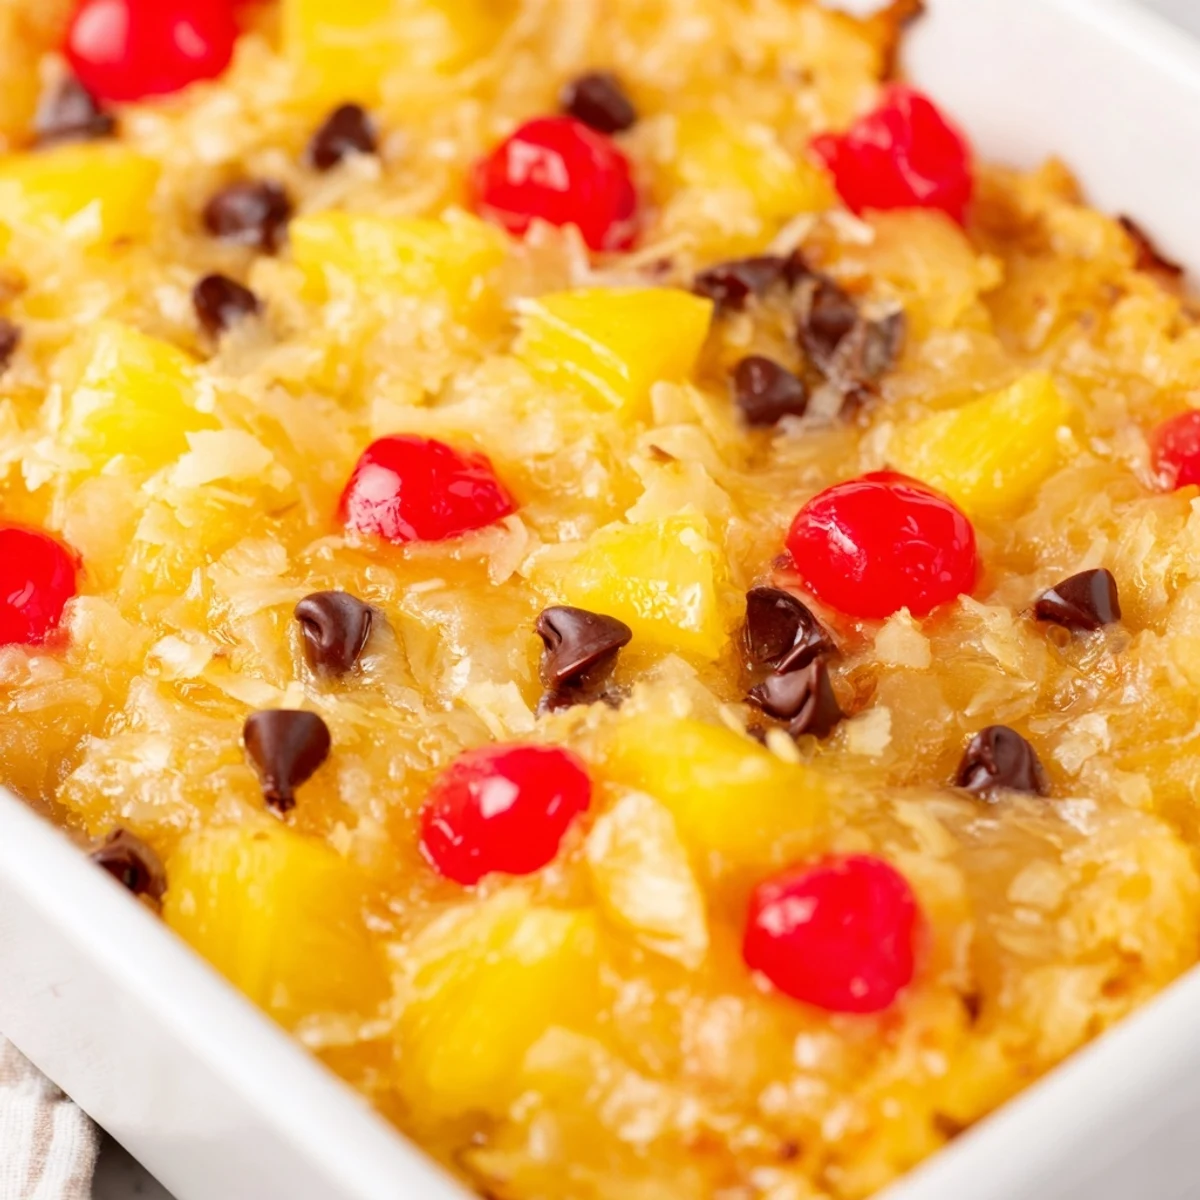
 My brother once ate this straight from the pan with a fork while standing in my kitchen at midnight. He said it reminded him of the banana splits our dad treated us to after baseball games, back when summer felt like it would last forever.
Make It Your Own
Swap the chocolate chips for white chocolate or butterscotch chips for a completely different flavor profile. Sometimes I use strawberry cake mix instead of yellow for a pink-hued version that looks spectacular on a dessert table.
Serving Suggestions
Warm servings are unbeatable, especially topped with a scoop of vanilla bean ice cream that melts into all the nooks and crannies. The contrast between hot fruit filling and cold creamy ice cream is something special.
Storage Tips
Keep any leftovers covered in the refrigerator for up to four days. The fruit layer becomes more pronounced and the cake softens into a bread pudding-like texture that many people actually prefer.
- Reheat individual portions in the microwave for 20-30 seconds
- Bring the cake to room temperature before serving for the best texture
- Freeze unbaked portions for up to three months, then thaw and bake as directed
 Save to Pinterest
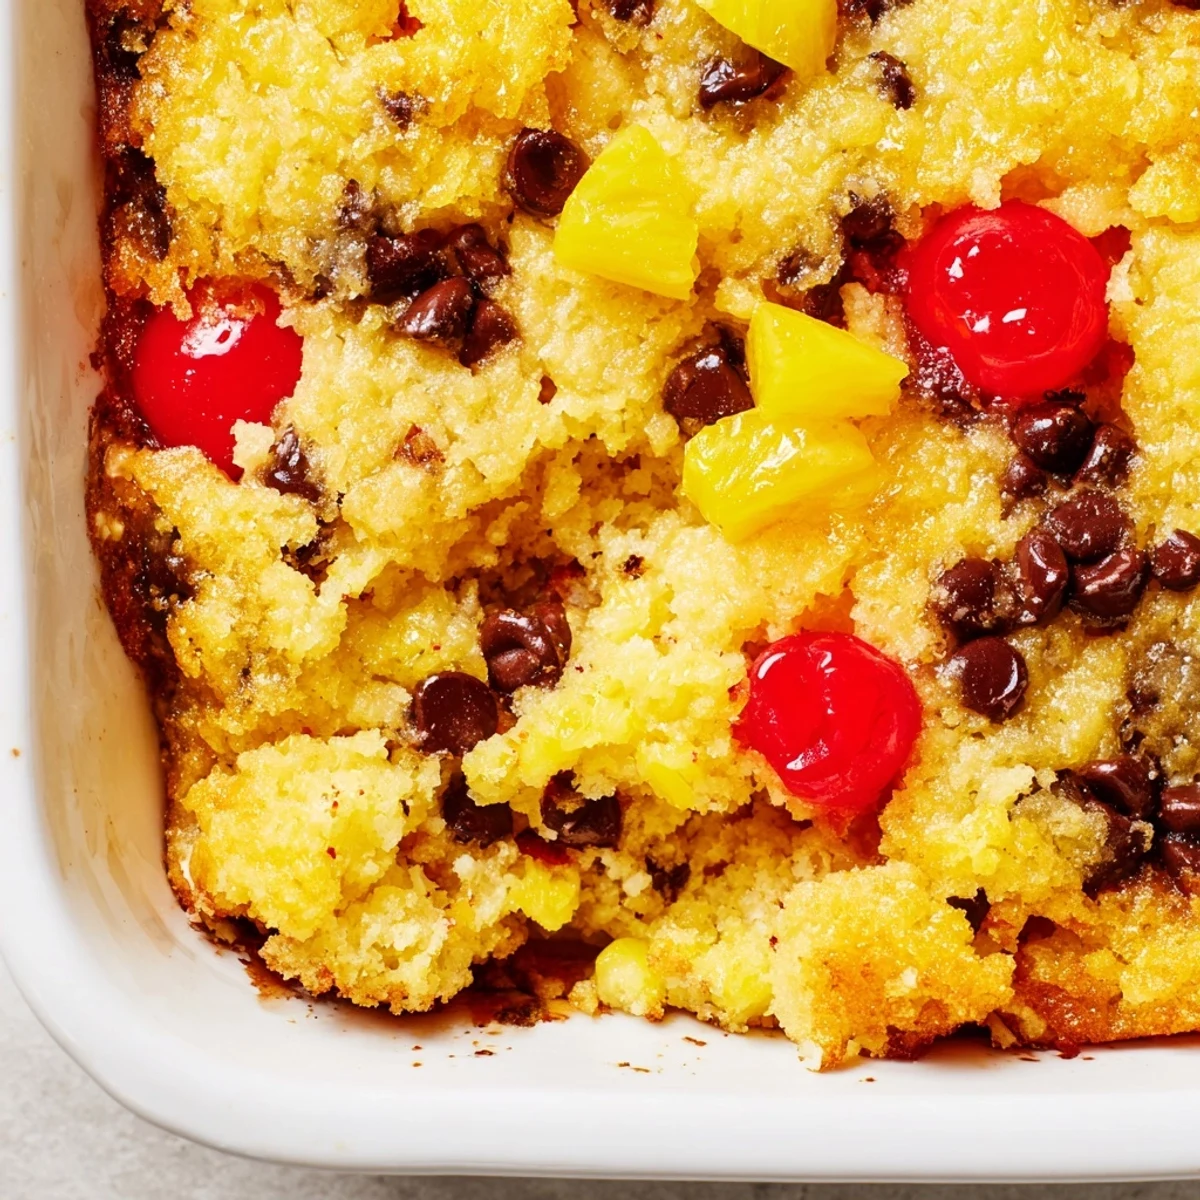
 This is the kind of dessert that makes people ask for the recipe before they have even finished their first serving. Simple, nostalgic, and impossible to resist.
Recipe FAQs
- → Can I use fresh pineapple instead of canned?
-
Fresh pineapple works well, though you'll want to crush it slightly and drain excess liquid to prevent the dessert from becoming too watery during baking.
- → How should I store leftovers?
-
Keep covered in the refrigerator for up to 3 days. Reheat individual portions in the microwave for 20-30 seconds to restore that warm, gooey texture.
- → Can I make this ahead of time?
-
Yes! Assemble the entire dish up to 24 hours in advance, cover tightly, and refrigerate. Add an extra 5-10 minutes to the baking time if baking cold from the refrigerator.
- → What other fruit combinations work well?
-
Try strawberry and rhubarb, peach and cherry, or apple and cranberry. Adjust the sugar slightly based on fruit sweetness—less for very ripe fruit, more for tart varieties.
- → Can I use a different cake mix flavor?
-
White or butter pecan cake mix both work beautifully. Chocolate cake mix would create an even richer, more decadent version if you really love chocolate.
- → Why do I need to drain the fruit so thoroughly?
-
Excess liquid from the fruit can make the cake layer soggy instead of crisp. Proper draining ensures you get those perfect golden, crunchy bits on top while keeping the fruit layer tender and bubbly.
