 Save to Pinterest
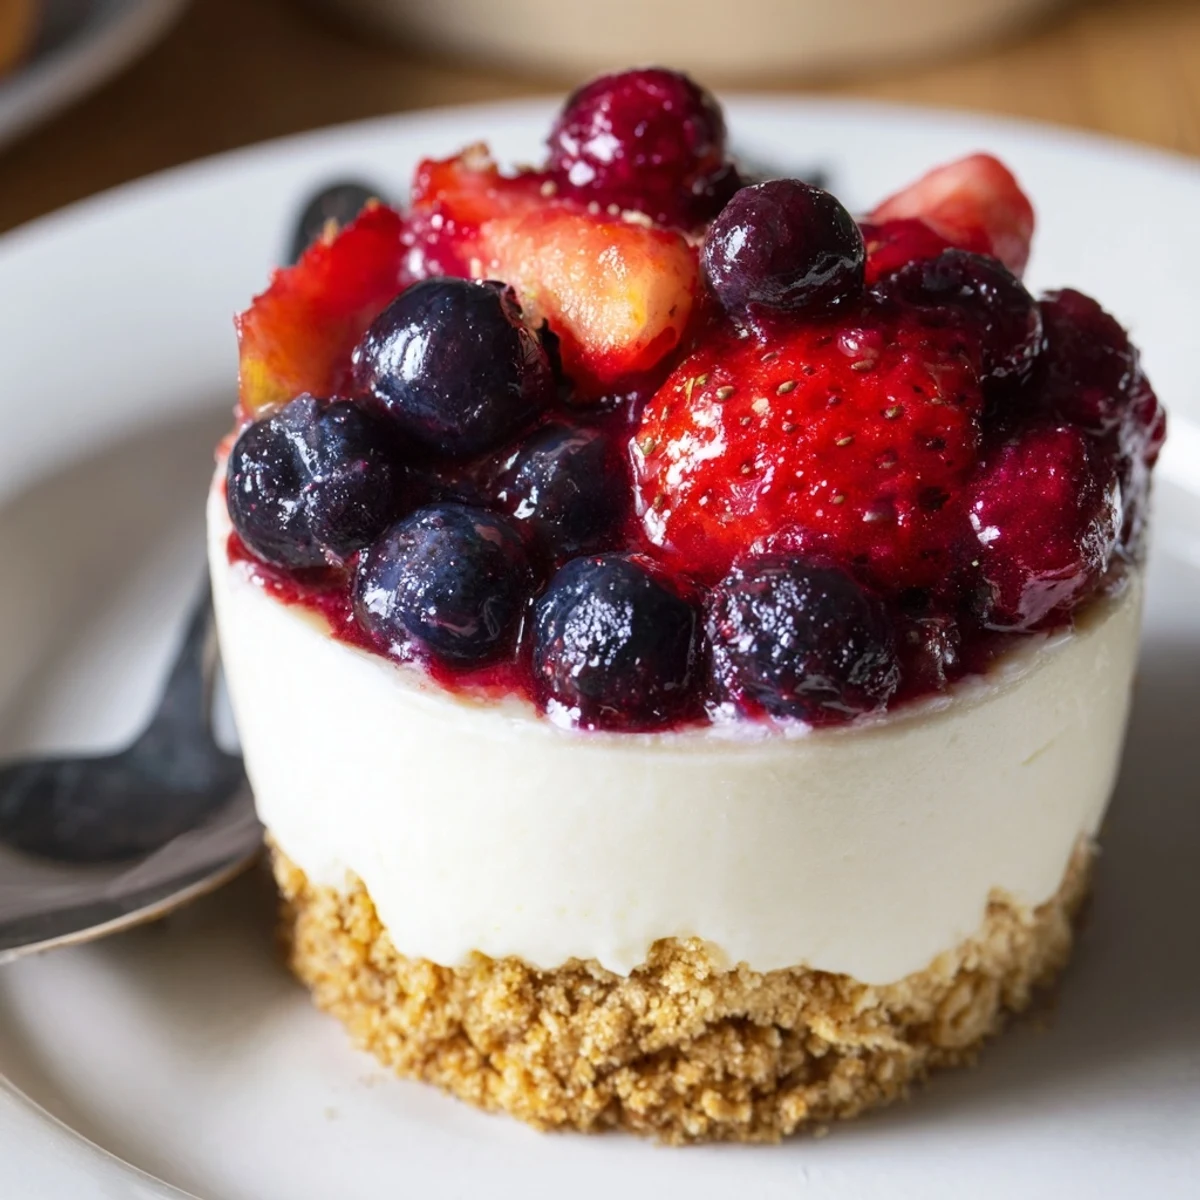
 These individual no-bake cheesecakes layer a buttery biscuit base with a whipped cream cheese filling and a bright macerated berry topping. Combine crushed biscuits with melted butter, press into serving glasses, beat softened cream cheese with sugar and vanilla, fold in whipped heavy cream, then spoon over the base. Toss berries with sugar and lemon, rest until juicy, spoon atop fillings and chill at least 3 hours to set.
There are days when the summer sun feels almost syrupy and brings out the scent of ripe berries at the market. That is usually my sign that it is time to avoid the oven at all costs. Discovering a decadent cheesecake that comes together in layers—without a hint of heat—felt downright liberating. The contrast of creamy, tangy, and fresh flavors layered in these berry no bake cheesecakes brings a touch of celebration to even the simplest weeknight.
One early afternoon before a picnic, I found myself assembling these cheesecakes with a podcast playing and windows wide open. My roommate walked in, drawn by the scent of lemon and vanilla, and before long we were tasting spoonfuls straight from the mixing bowl. There is something irresistibly fun about making dessert in individual little glasses—it made us feel like we had our own bakery corner, even in our tiny kitchen. Every time I whip these up, I think of that gentle chaos and laughter floating in the air.
Ingredients
- Graham crackers or digestive biscuits: Crushed for the base, these create that sweet, sandy layer—pressing them in firmly is key to a good foundation.
- Unsalted butter: Melted and mixed with crumbs, it helps everything stick together and adds a subtle richness.
- Cream cheese: Make sure it is softened before mixing so your filling turns out smooth and lump free.
- Heavy cream: Whip this cold for the fluffiest, most luxurious texture in your cheesecake layer.
- Powdered sugar: Blends in seamlessly without grittiness—always worth sifting to avoid little sugar clumps.
- Vanilla extract: One spoonful turns the simple cheese filling into something fragrant and a bit nostalgic.
- Lemon zest: Optional, but it lifts the whole dessert and perks up the flavor of the berries.
- Mixed fresh berries: Use your favorites—juicy strawberries, plump blueberries, tart raspberries—whatever looks most beautiful.
- Sugar: Just enough to coax out the juices and balance any tartness in the berries.
- Lemon juice: It brightens up the berry compote and brings out the tang in the cheese.
Instructions
- Build the buttery biscuit base:
- Mix your biscuit crumbs and melted butter in a bowl until everything feels lightly damp, almost sandy to the touch. Press gently into glasses—compact, but not rock hard—so your spoon can slide through later.
- Whip up the creamy filling:
- Beat the cream cheese until creamy and smooth, then stir in the powdered sugar, vanilla, and lemon zest if you like that citrus pop. Whip your cold heavy cream until stiff peaks form, then gently fold it into the cheese so the filling stays airy and light.
- Layer it on thick:
- Spoon or pipe the cheesecake mixture over the biscuit base, trying to resist the urge to sample too much as you go.
- Let the berries shine:
- Tumble your mixed berries with sugar and lemon juice, stirring until glossy and juicy—leave them to macerate while you finish the other layers.
- Finish and chill:
- Spoon the berry mixture over each cheesecake, then chill for at least three hours, or overnight, until softly set. Serve them cold for the dreamiest texture and a moment of pure refreshment.
 Save to Pinterest
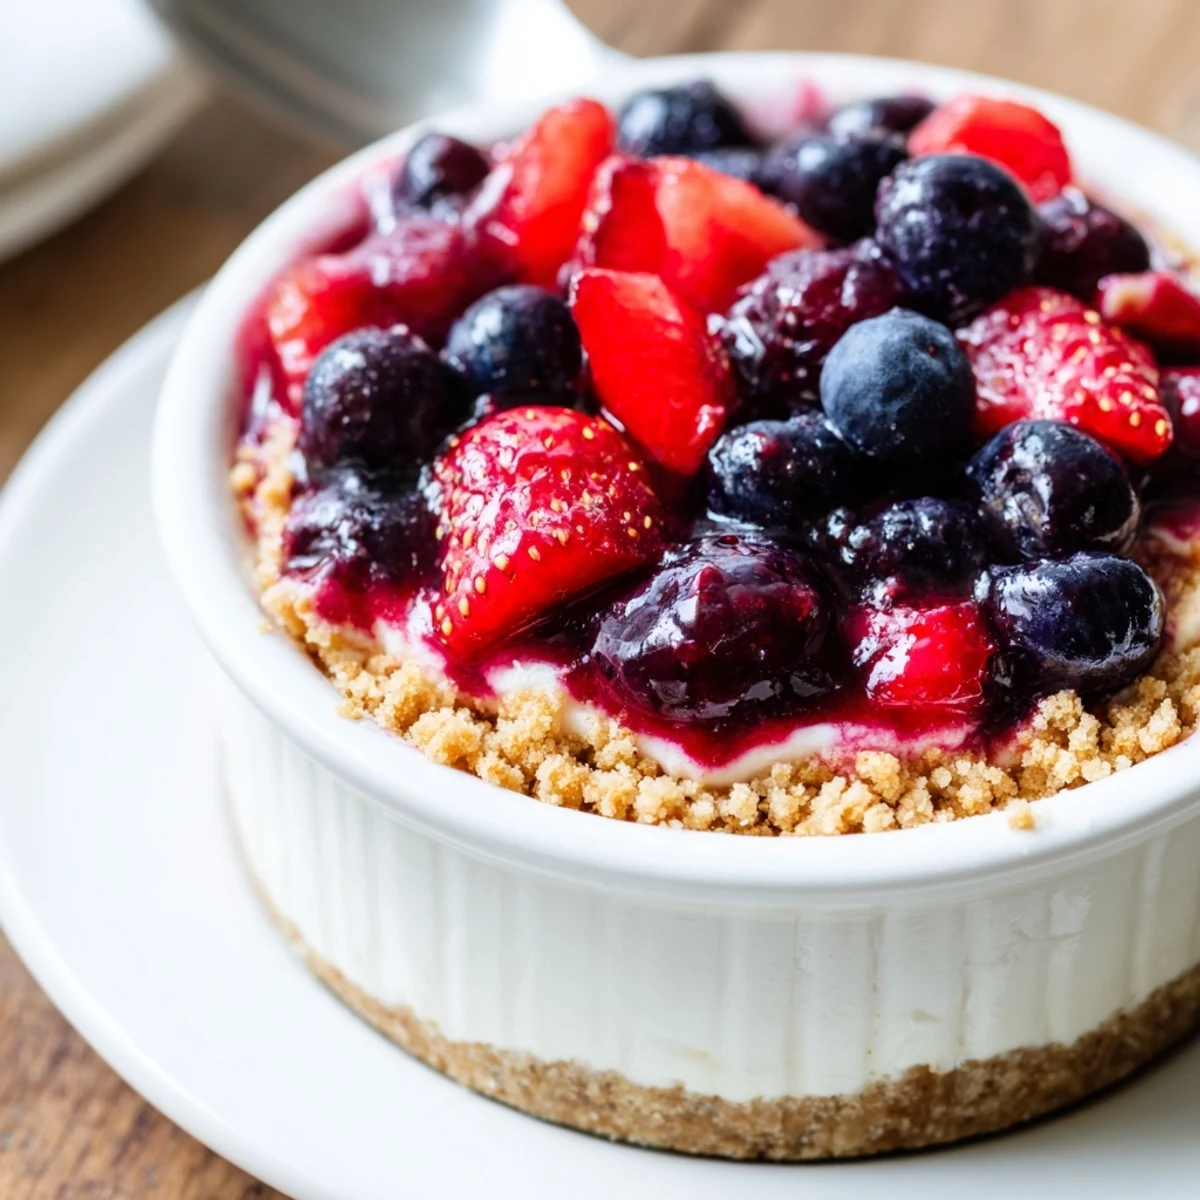
 A friend once brought these to a late spring barbecue, layered in little jam jars, and by the end of the night people were passing them around like hidden treasure. That evening was a blur of grass stains and lamp-lit stories, but the silence that followed each first bite felt oddly reverent. It is rare to see dessert spark that much joy outside of a birthday cake.
Make It Your Own: Variations and Twists
Once you have made these a few times, it is easy to riff on them: a biscuit base spiked with crushed nuts, swapping in honey instead of sugar with the berries, or folding in a swirl of lemon curd for extra tang. I once layered in roasted peaches alongside the berries and fell in love with the sunny burst of flavor. You can even go for mini tart shells if you are in the mood for a fancier presentation.
Tiny Kitchen Prep, Big Impact
Lack of counter space has taught me to keep my mixing bowls and glasses ready in advance—mise en place is not just a fancy phrase when you are dodging elbows. Using an electric hand whisk speeds up the process, but a sturdy balloon whisk and some enthusiasm will get you there. If you have curious helpers, let them handle the layering; it is almost impossible to make these look anything less than lovely.
Serving and Storage Wisdom
The beauty of these no bake cheesecakes is how well they hold up in the fridge—ideal for prepping before guests arrive or as a weekend treat. Leftovers will keep their shape and creamy taste for a couple of days, though the berries become more syrupy over time, which is hardly a complaint.
- Cover glasses with plastic wrap if storing overnight.
- Give them a few minutes at room temperature before serving for the best texture.
- Swap in gluten-free biscuits easily if you need to accommodate guests.
 Save to Pinterest
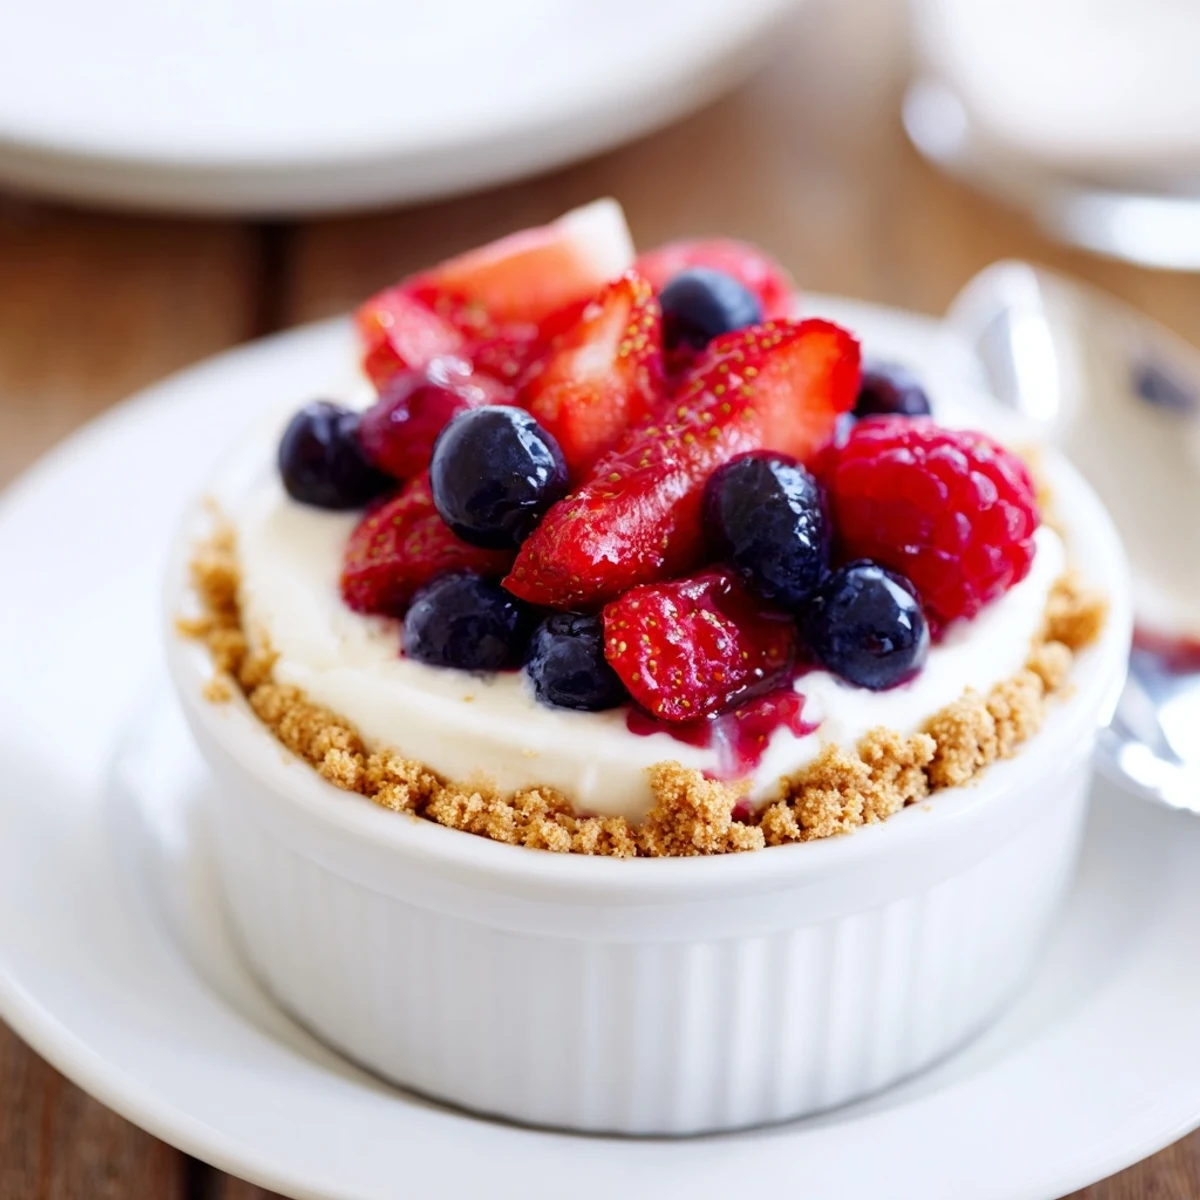
 This little dessert is guaranteed to bring smiles and requests for seconds wherever it appears. I hope it becomes a standby for your sunniest and laziest days alike.
Recipe FAQs
- → How can I avoid a soggy biscuit base?
-
Press the crumbs firmly into the glass and use just enough melted butter to bind. Chill the base before adding filling and consider a thin layer of melted chocolate or melted butter-biscuit mix to seal crumbs when using very juicy toppings.
- → Can I use frozen berries for the topping?
-
Yes—thaw frozen berries and drain or simmer briefly to reduce excess liquid. If they release a lot of juice, cook into a slightly thickened compote or fold back a portion of the liquid into the filling.
- → What’s the best way to get stiff peaks when whipping cream?
-
Start with cold heavy cream and a chilled bowl, whip on medium-high speed, and watch closely. Stop once firm peaks form to avoid graininess or buttering the cream.
- → How long should these set in the fridge?
-
Chill at least 3 hours to firm up; overnight yields cleaner slices and a firmer texture. Keep covered to prevent condensation on the surface.
- → Are there easy substitutions for dietary needs?
-
Use gluten-free digestive biscuits for a gluten-free base and swap in a lactose-free cream cheese and cream alternative for dairy-sensitive diets; textures may vary slightly.
- → What’s the best way to make these ahead for guests?
-
Assemble up to 24 hours ahead, keeping the berry topping separate until 30–60 minutes before serving to preserve texture. Store covered in the fridge and add berries just before plating.
