 Save to Pinterest
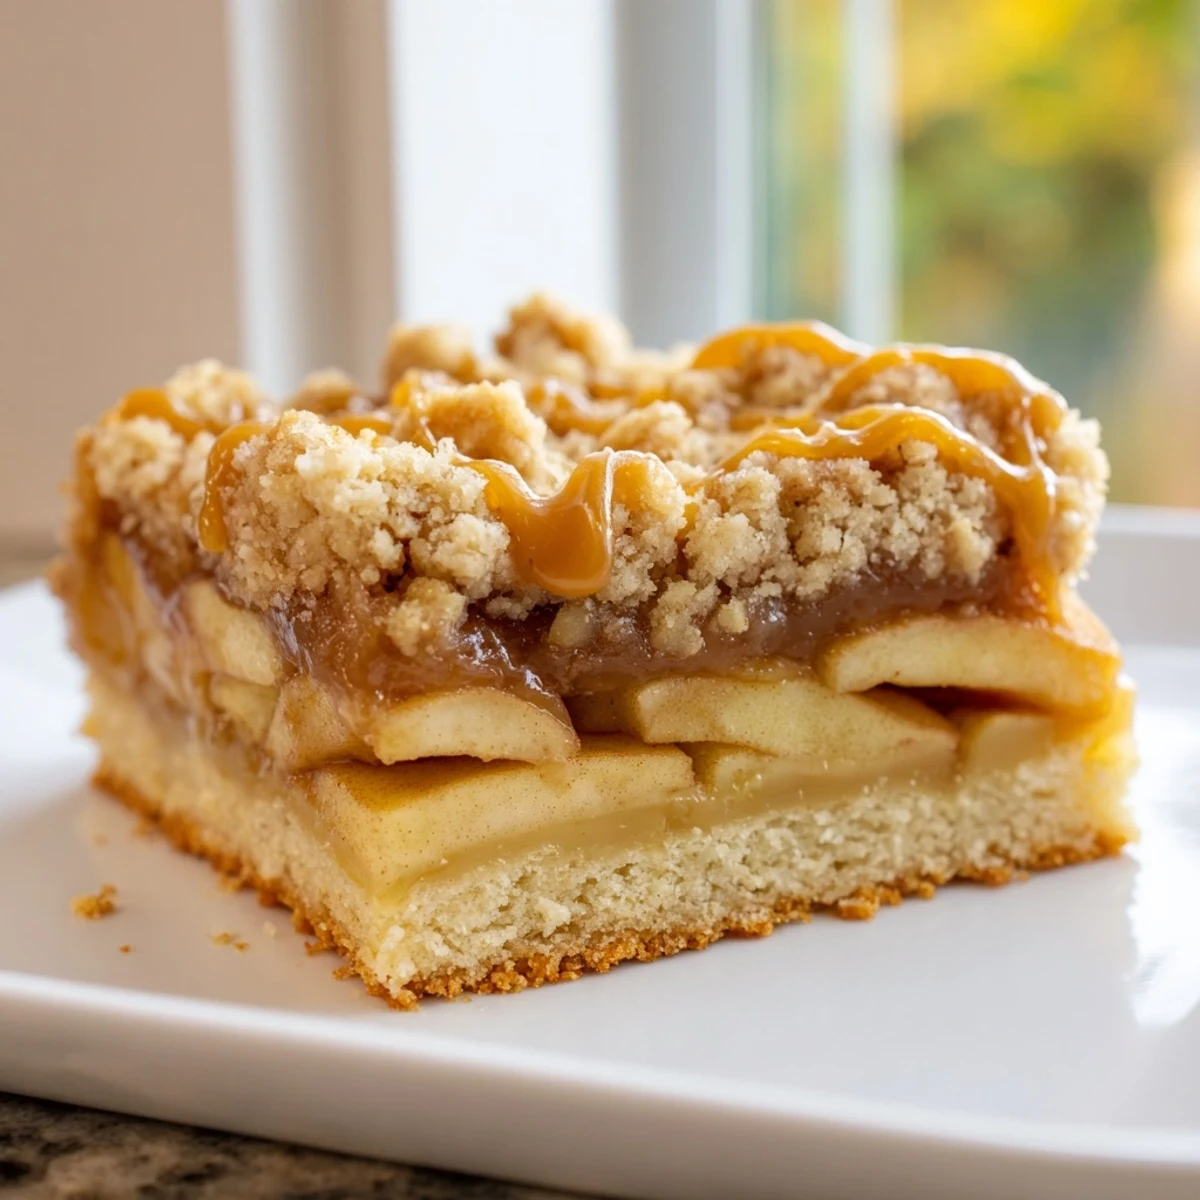
 These caramel apple crumb bars feature a tender shortbread crust topped with spiced apple slices, rich caramel sauce, and a buttery crumb topping. Perfect for fall gatherings, the bars come together in about an hour and make 16 servings. The combination of tart and sweet apples creates balanced flavor, while the homemade crust adds satisfying crunch.
The first time I made these bars was on a rainy Sunday when the house felt too quiet and I needed something to make the kitchen smell like autumn. I had a bag of apples from the farmers market and a jar of caramel sauce lingering in the fridge, and suddenly the idea for these three-layer bars clicked into place.
I brought these to a neighborhood potluck last fall and watched three different people ask for the recipe before they even finished their first bar. My friend Sarah texted me two days later saying her husband had already requested them for his birthday instead of cake.
Ingredients
- 2 1/2 cups all-purpose flour: This creates the foundation for both the crust and crumb topping so measure carefully
- 1 cup unsalted butter, cold and cubed: Cold butter is absolutely non negotiable here or you will lose that crumbly tender texture
- 3/4 cup granulated sugar: Just enough sweetness to complement the apples without making these cloyingly sweet
- 1/2 teaspoon salt: This small amount enhances all the flavors and keeps the bars from tasting flat
- 1 teaspoon vanilla extract: Pure vanilla makes a noticeable difference in the crust flavor
- 3 medium apples: I love using a mix of Granny Smith and Honeycrisp for that sweet tart balance
- 2 tablespoons lemon juice: Keeps the apples from turning brown and adds brightness to the filling
- 1/3 cup granulated sugar: This amount perfectly sweetens the apples without masking their natural flavor
- 1 tablespoon all-purpose flour: Helps thicken the apple juices as they bake so your bars are not soggy
- 1 teaspoon ground cinnamon: The classic apple spice that makes these taste like fall in a bar
- 1/2 cup caramel sauce: Homemade caramel is wonderful but a good quality store bought version works perfectly
Instructions
- Preheat your oven and prepare the pan:
- Set your oven to 350°F and line a 9x9 inch pan with parchment paper, letting the paper hang over the sides like handles for easy removal later.
- Make the crumb mixture:
- Whisk together flour, sugar, and salt in a large bowl, then cut in the cold butter using a pastry cutter or your fingers until the mixture looks like coarse crumbs.
- Stir in the vanilla:
- Add the vanilla extract and mix briefly until combined, being careful not to overwork the dough.
- Reserve the topping:
- Measure out about 1 1/2 cups of the crumb mixture and set it aside for the topping.
- Press in the crust:
- Press the remaining dough firmly and evenly into the bottom of your prepared pan.
- Par bake the crust:
- Bake the crust for 12 minutes until it is just set and lightly golden around the edges.
- Prepare the apples:
- While the crust bakes, toss the sliced apples with lemon juice in a bowl.
- Season the apple filling:
- Add sugar, flour, and cinnamon to the apples and toss until every slice is evenly coated.
- Layer the filling:
- Spread the apple mixture over the hot crust and drizzle the caramel sauce evenly on top.
- Add the crumb topping:
- Sprinkle the reserved crumb mixture over the apples and caramel, covering everything evenly.
- Bake until golden:
- Bake for 28 to 32 minutes until the topping is light golden brown and you can see the apples bubbling underneath.
- Cool completely before cutting:
- Let the bars cool completely in the pan, then use the parchment overhangs to lift them out and cut into squares.
 Save to Pinterest
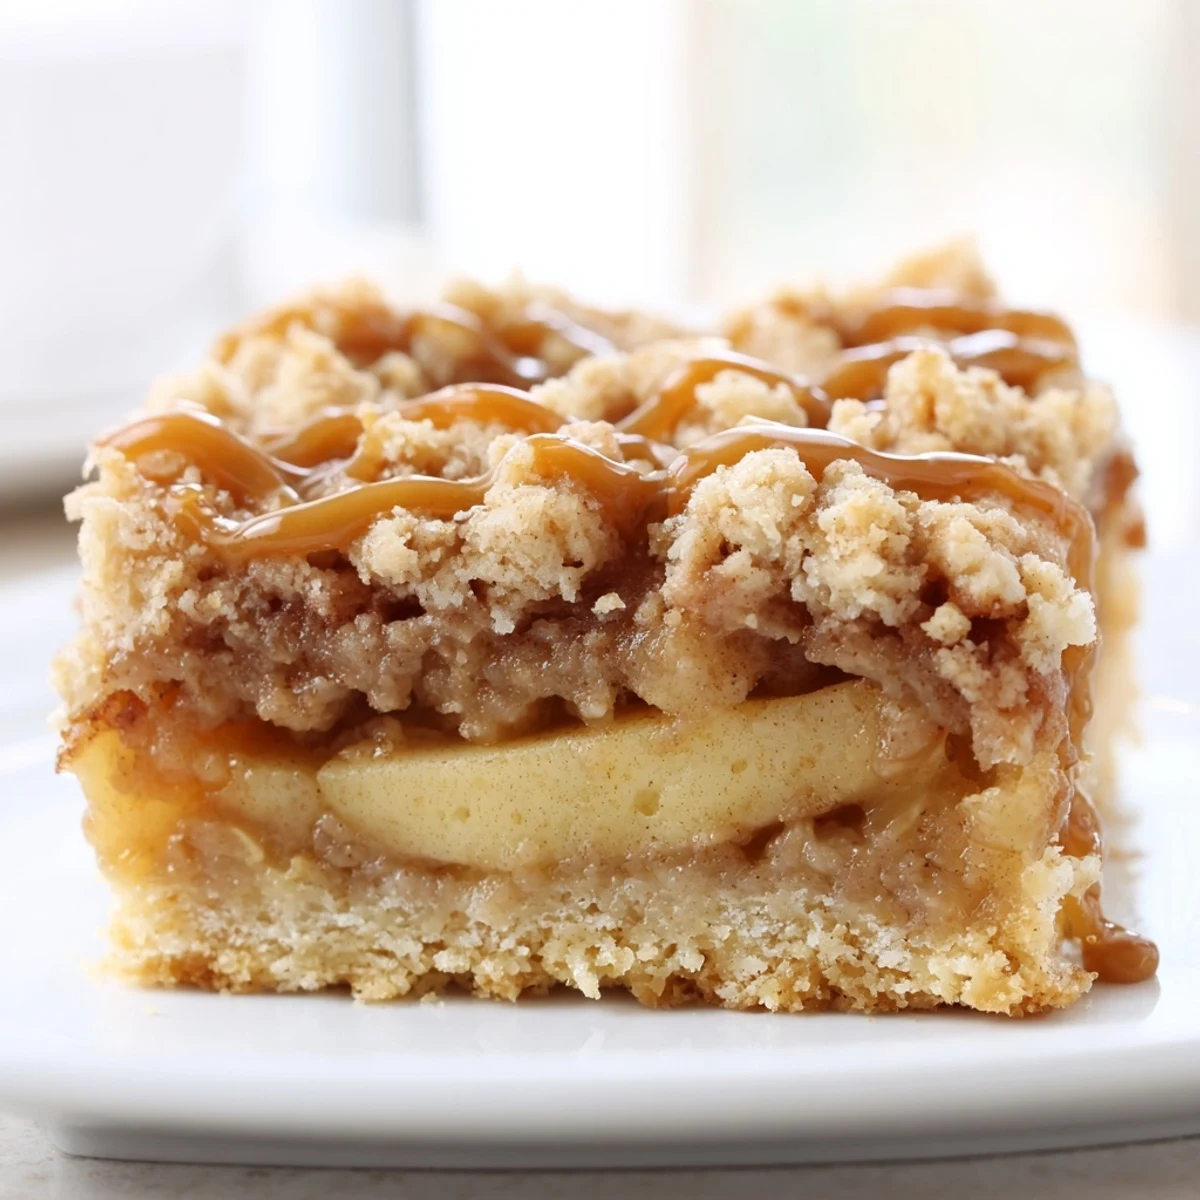
 These bars have become my go to for teacher gifts and new neighbor welcome baskets because they travel so well and look beautiful layered in a clear container. Last week I caught my husband eating one for breakfast and I honestly could not argue with his logic.
Choosing the Best Apples
After years of experimenting, I have learned that the apple variety makes or breaks these bars. Tart apples like Granny Smith hold their shape beautifully during baking while sweeter varieties like Fuji or Gala add natural sweetness. I usually do a fifty fifty mix to get the best of both worlds.
Making Your Own Caramel
While store bought caramel works perfectly, making your own caramel sauce is surprisingly simple and tastes absolutely incredible. Melt sugar with a bit of water, swirl until amber, then carefully stir in cream and butter. The effort is worth it for that deep caramel flavor that you just cannot buy.
Storage and Serving Suggestions
These bars actually develop deeper flavor after sitting for a day, which is rare in the world of baking. I store them in an airtight container at room temperature for up to three days, though they rarely last that long in my house.
- Warm individual bars in the microwave for about 15 seconds before serving
- A scoop of vanilla ice cream alongside makes these feel extra special
- These freeze beautifully for up to two months if you want to get ahead
 Save to Pinterest
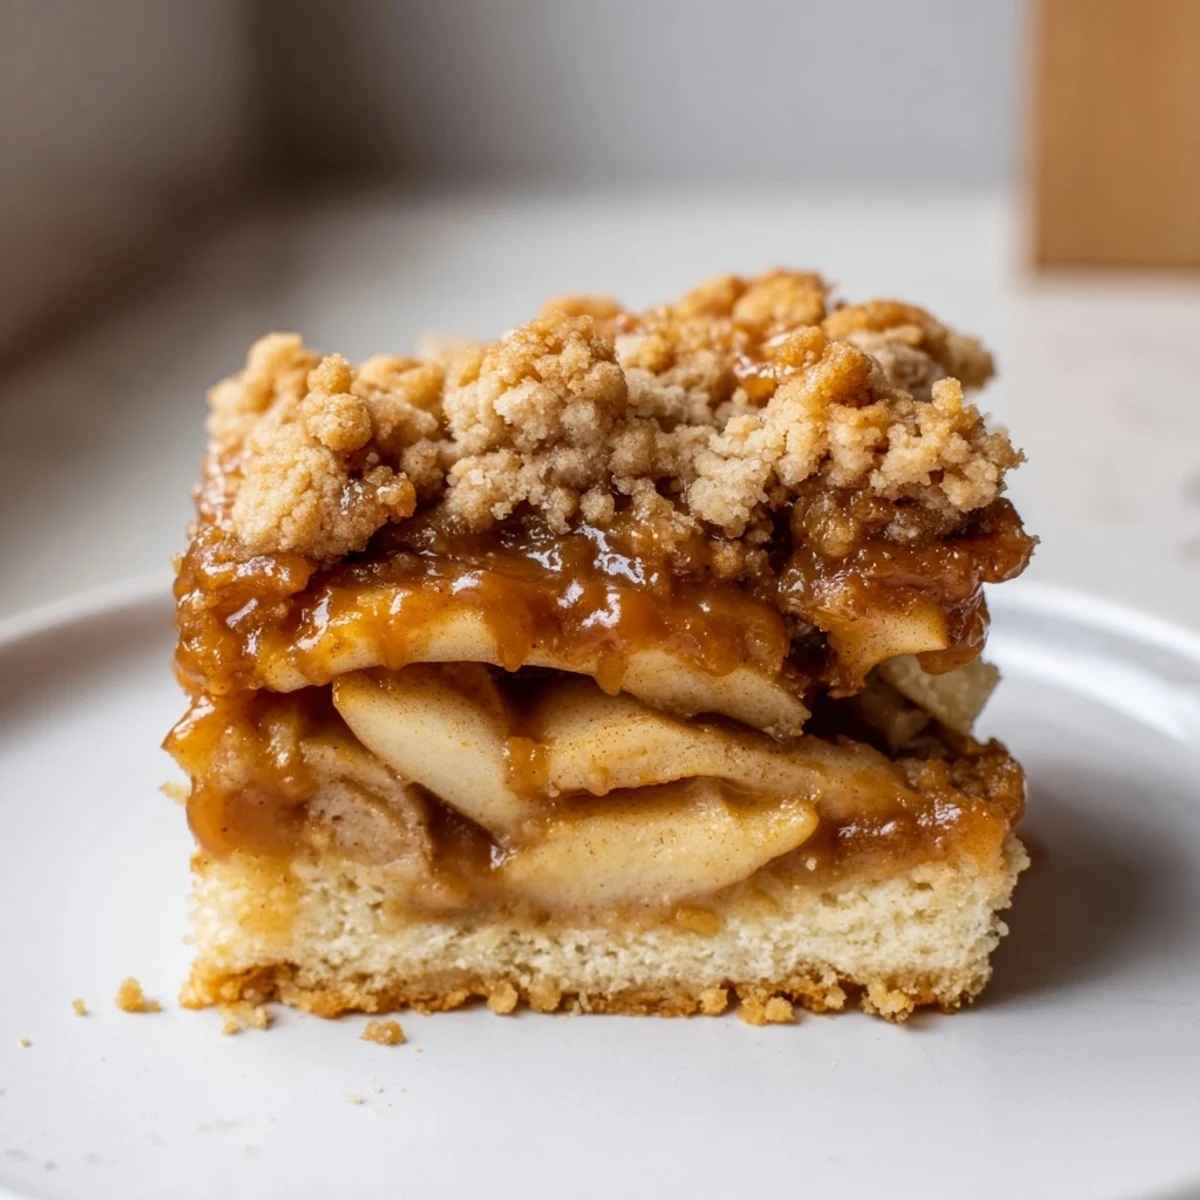
 There is something so satisfying about a dessert that looks impressive but comes together with such simple ingredients. I hope these bars find their way into your fall baking rotation and bring as much joy to your kitchen as they have to mine.
Recipe FAQs
- → What type of apples work best for these bars?
-
A mix of tart and sweet apples like Granny Smith, Honeycrisp, or Braeburn provides the best flavor balance. The tartness complements the sweet caramel and crumb topping beautifully.
- → Can I use store-bought caramel sauce?
-
Yes, store-bought caramel sauce works perfectly in this recipe. You can also make your own homemade caramel sauce if you prefer. Just ensure it's pourable but not too thin.
- → How should I store these caramel apple bars?
-
Store the bars in an airtight container at room temperature for up to 3 days. For longer storage, refrigerate them for up to a week, though the crust may soften slightly over time.
- → Why do I need to pre-bake the crust?
-
Pre-baking the crust for 12 minutes creates a firm foundation that prevents the apple filling from making the bottom soggy. This step ensures the bars hold their shape when cut.
- → Can I freeze these bars?
-
Yes, these bars freeze well. Wrap individual bars tightly in plastic wrap and place in a freezer-safe container for up to 3 months. Thaw at room temperature before serving.
