 Save to Pinterest
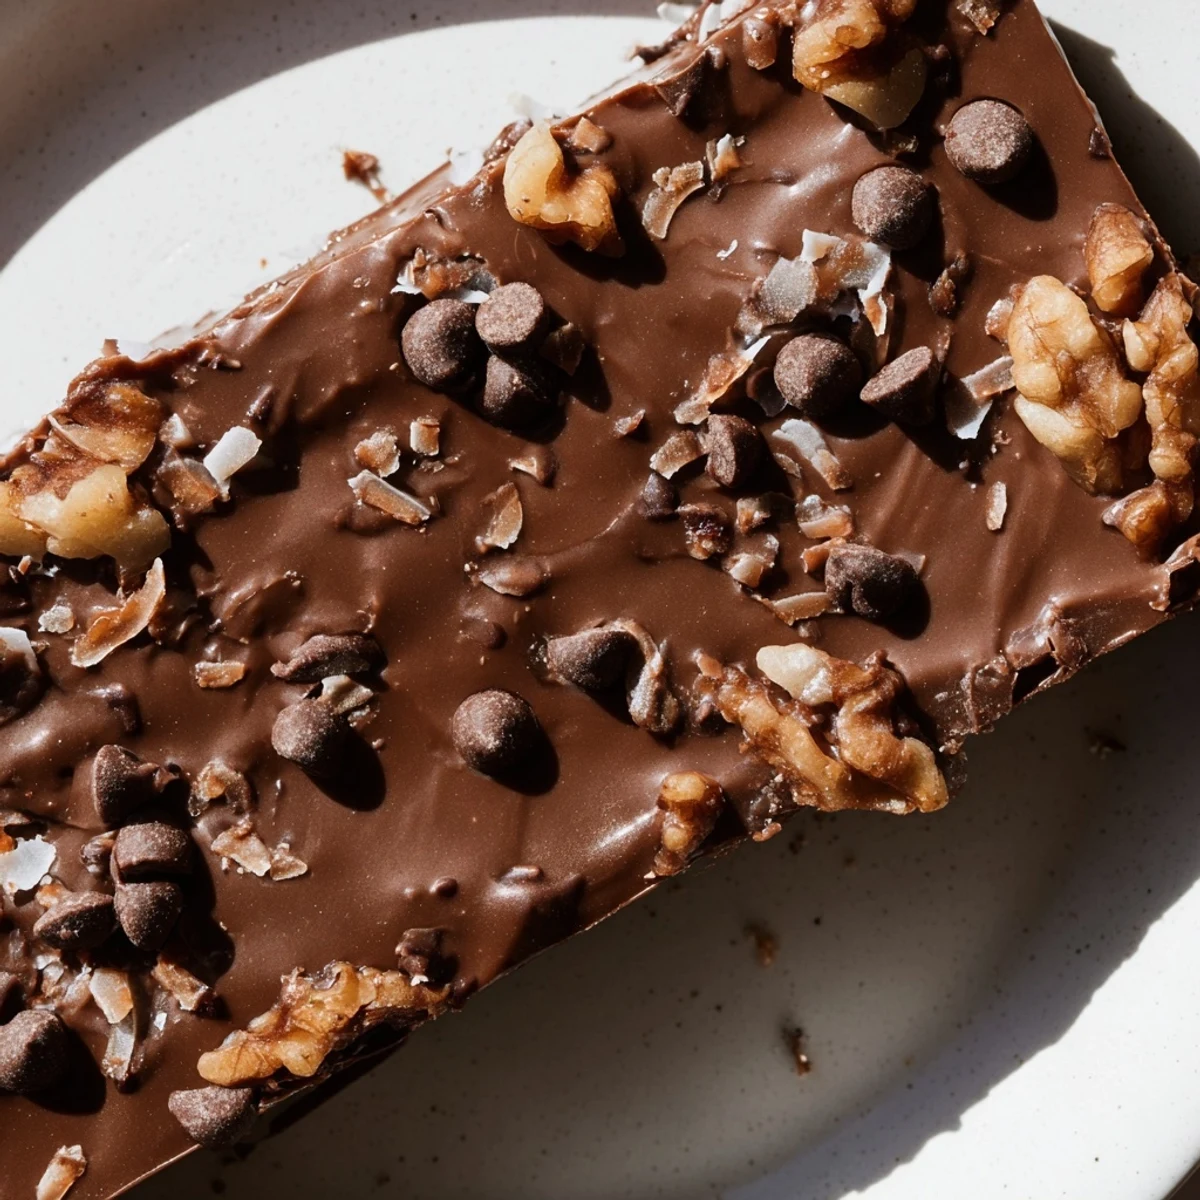
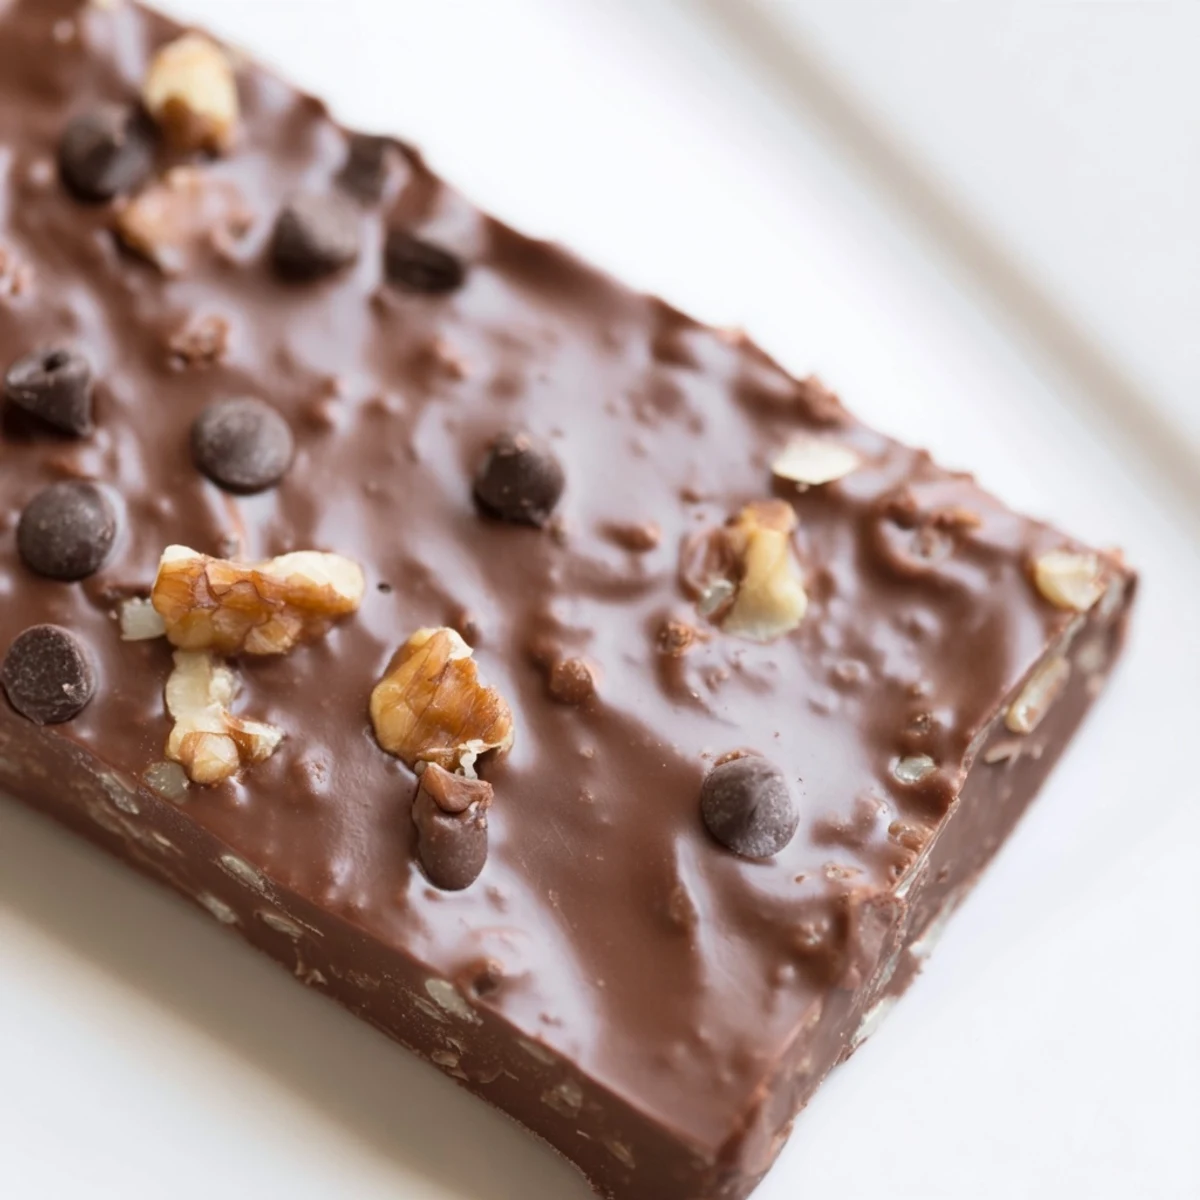
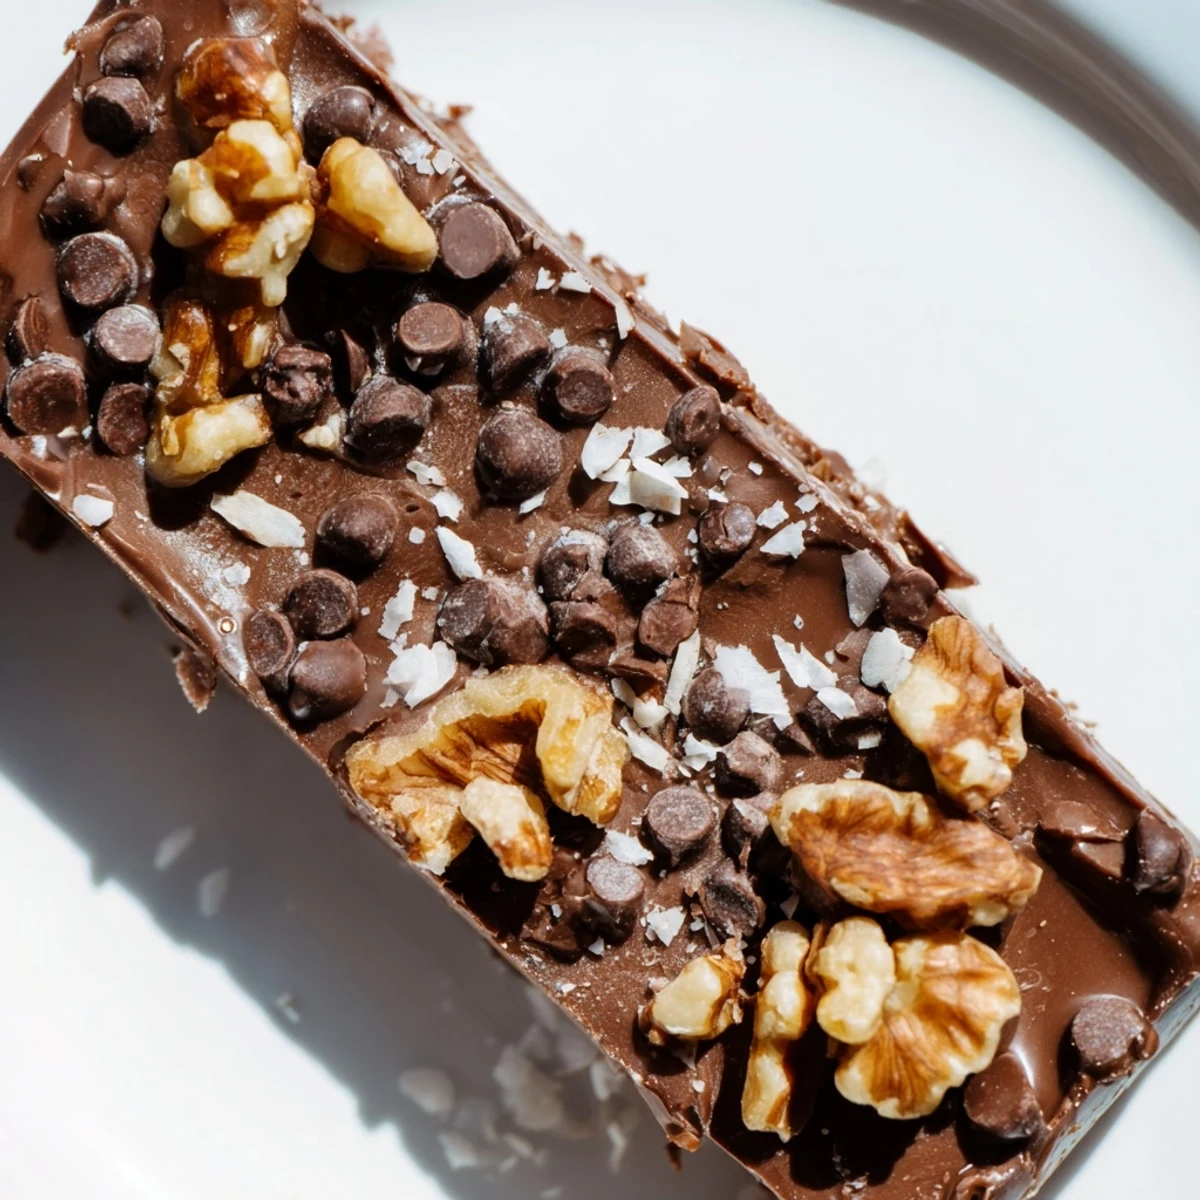
 These rich chocolate bars feature a buttery shortbread crust topped with a smooth chocolate-condensed milk filling and sprinkled with walnuts, mini chips, and coconut. The layers create a chewy, gooey texture that perfectly satisfies sweet cravings.
Preparation takes just 20 minutes, followed by 25 minutes in the oven. The bars cool completely before cutting, making them ideal for make-ahead desserts or potluck gatherings.
Rainy Sunday afternoons were made for experiments like this. I'd been craving something chocolatey but substantial, not just another cookie. My grandmother used to make these bars she called 'rainy day treats' and I suddenly understood why she saved them for gray afternoons when the house felt too quiet.
The first time I made these for book club, I cut them too soon and the chocolate layer slid everywhere. We laughed and ate the messy squares with spoons, which somehow made them taste even better. Now I know patience is actually an ingredient here.
Ingredients
- All-purpose flour: Creates a sturdy, buttery foundation that won't crumble when you slice it
- Unsalted butter: Melted butter coats the flour more evenly than softened, giving you that perfect shortbread texture
- Granulated sugar: Just enough sweetness to complement without overpowering the chocolate layer
- Salt: Essential balance—don't skip it or the bars will taste flat
- Semi-sweet chocolate chips: These melt beautifully with condensed milk into a silky, fudge-like layer
- Sweetened condensed milk: The secret to that gooey, caramel-like chocolate consistency that sets but stays soft
- Chopped walnuts or pecans: Optional, but they add this incredible crunch and buttery richness that takes these bars over the top
- Mini chocolate chips: They stay suspended in the topping instead of sinking, giving you little pockets of chocolate throughout
- Sweetened shredded coconut: Another optional addition that toasts up golden and brings tropical sweetness
Instructions
- Getting your space ready:
- Preheat your oven to 350°F (175°C) and line an 8x8-inch baking pan with parchment paper, letting some hang over the sides for easy lifting later.
- Making the buttery base:
- Combine flour, melted butter, sugar, and salt in a bowl until you have a crumbly dough that holds together when squeezed. Press it firmly and evenly into your prepared pan—the more compact, the better the crust will hold together.
- Par-baking the crust:
- Bake for just 10 minutes until barely set. You're not trying to cook it through, just give it a head start so it doesn't get soggy under the chocolate layer.
- Creating the gooey middle:
- Melt chocolate chips with sweetened condensed milk in a small saucepan over low heat, stirring constantly until completely smooth and glossy. This takes patience—keep the heat low to prevent seizing.
- Assembling the layers:
- Spread the chocolate mixture evenly over your warm crust, then scatter nuts, mini chocolate chips, and coconut across the top however makes you happy.
- Finishing with patience:
- Bake for 15 more minutes until edges are set but the center still looks slightly soft. Cool completely in the pan—this is crucial, or you'll have a chocolate mess instead of neat bars.
 Save to Pinterest
 My neighbor texts me every time she smells these baking through our shared kitchen wall. Now I double the batch and bring her a plate still warm from the oven. Some recipes are just meant to be shared.
Storage Secrets
I've learned these actually improve after a day in the refrigerator. The flavors meld together and the texture becomes more fudge-like. Layer them between parchment in an airtight container and they'll last a week—though they've never made it past day three at my house.
Make It Your Own
Sometimes I swap half the chocolate chips for butterscotch or peanut butter chips. The salty-sweet combo creates these incredible flavor pockets. My daughter prefers hers with crushed pretzels instead of nuts, which honestly works beautifully.
Serving Ideas
These bars shine alongside something cold and creamy. I love serving them slightly warmed with vanilla ice cream—the contrast between hot chocolate and cold cream is absolute perfection. They're also surprisingly good crumbled over chocolate pudding or folded into vanilla ice cream for a quick dessert hack.
- Sprinkle a tiny pinch of flaky sea salt over the top right after baking for a gourmet touch
- Try pressing some whole espresso beans into the chocolate layer before the final bake
- Cut them small and serve as petit fours at your next dinner party—they look impressive and taste even better
 Save to Pinterest
 There's something deeply satisfying about a three-layer dessert that comes together in under an hour. These bars have become my go-to for everything from Tuesday night cravings to last-minute dinner parties.
Recipe FAQs
- → Can I make these bars ahead of time?
-
Yes, these bars store well in an airtight container for up to 5 days. They actually taste better the next day as the flavors meld together.
- → What can I substitute for the condensed milk?
-
You can use caramel sauce or dulce de leche as an alternative. The texture will be slightly different but equally delicious.
- → How do I know when the bars are done baking?
-
The edges should be set and slightly pulling away from the pan sides. The center may still look slightly soft but will firm up as it cools.
- → Can I freeze these chocolate bars?
-
Absolutely! Wrap individual bars in plastic wrap and freeze for up to 3 months. Thaw at room temperature for 30 minutes before serving.
- → What's the best way to cut clean bars?
-
For clean cuts, chill the bars completely in the refrigerator for at least 2 hours. Use a sharp knife wiped clean between each cut, and make slow, steady downward motions.
- → Can I use dark chocolate instead of semi-sweet?
-
Yes, dark chocolate chips work beautifully and create a less sweet version. Bittersweet chocolate (60-70% cocoa) pairs wonderfully with the sweet condensed milk.
