 Save to Pinterest
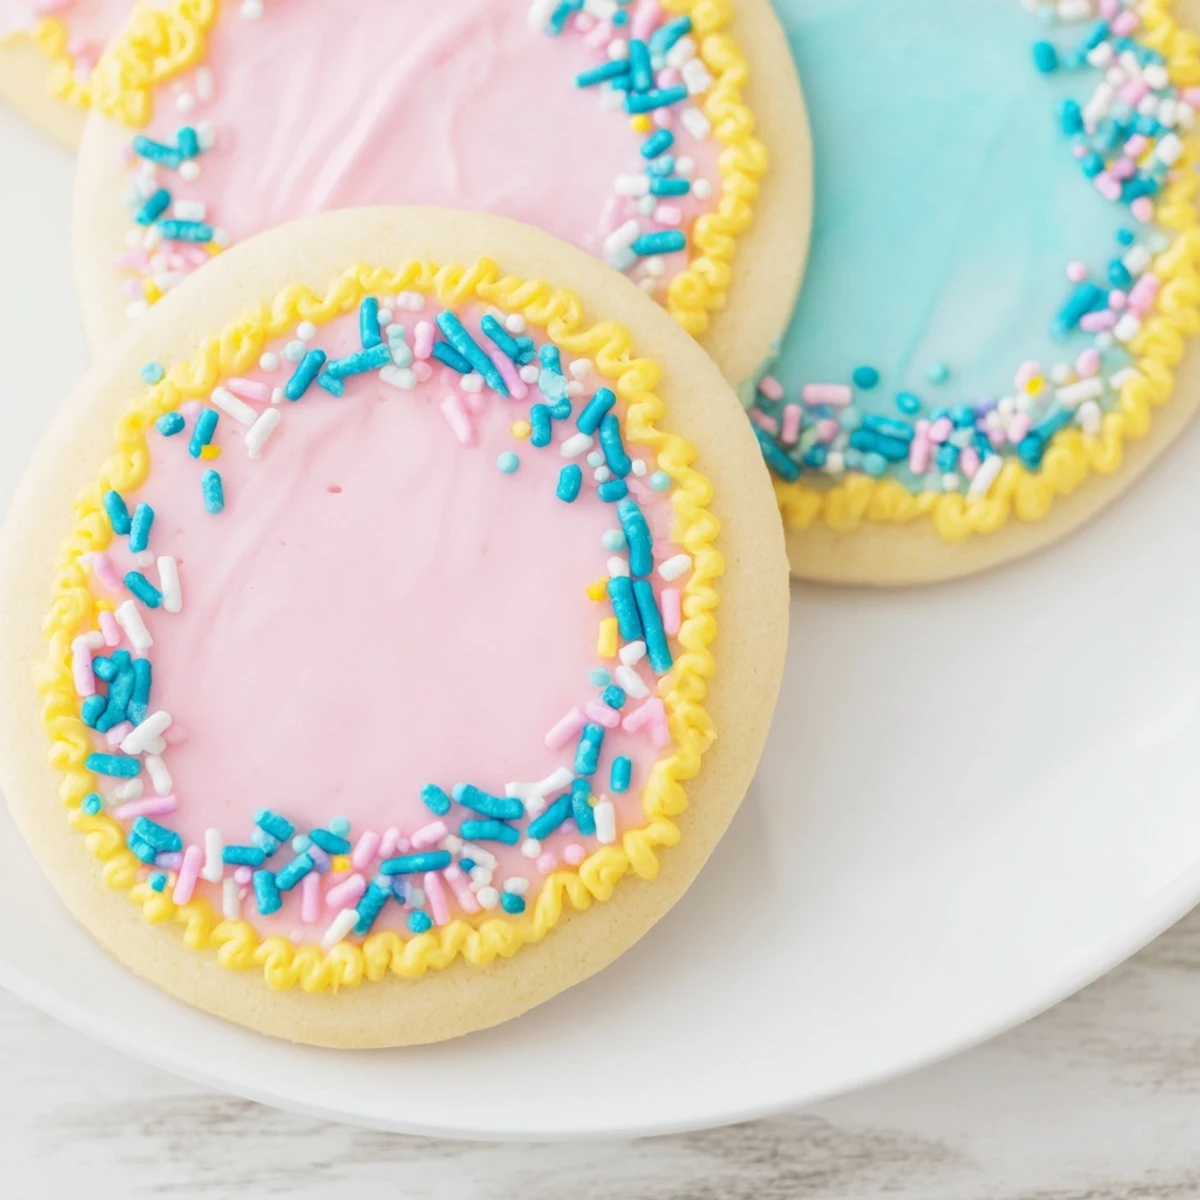
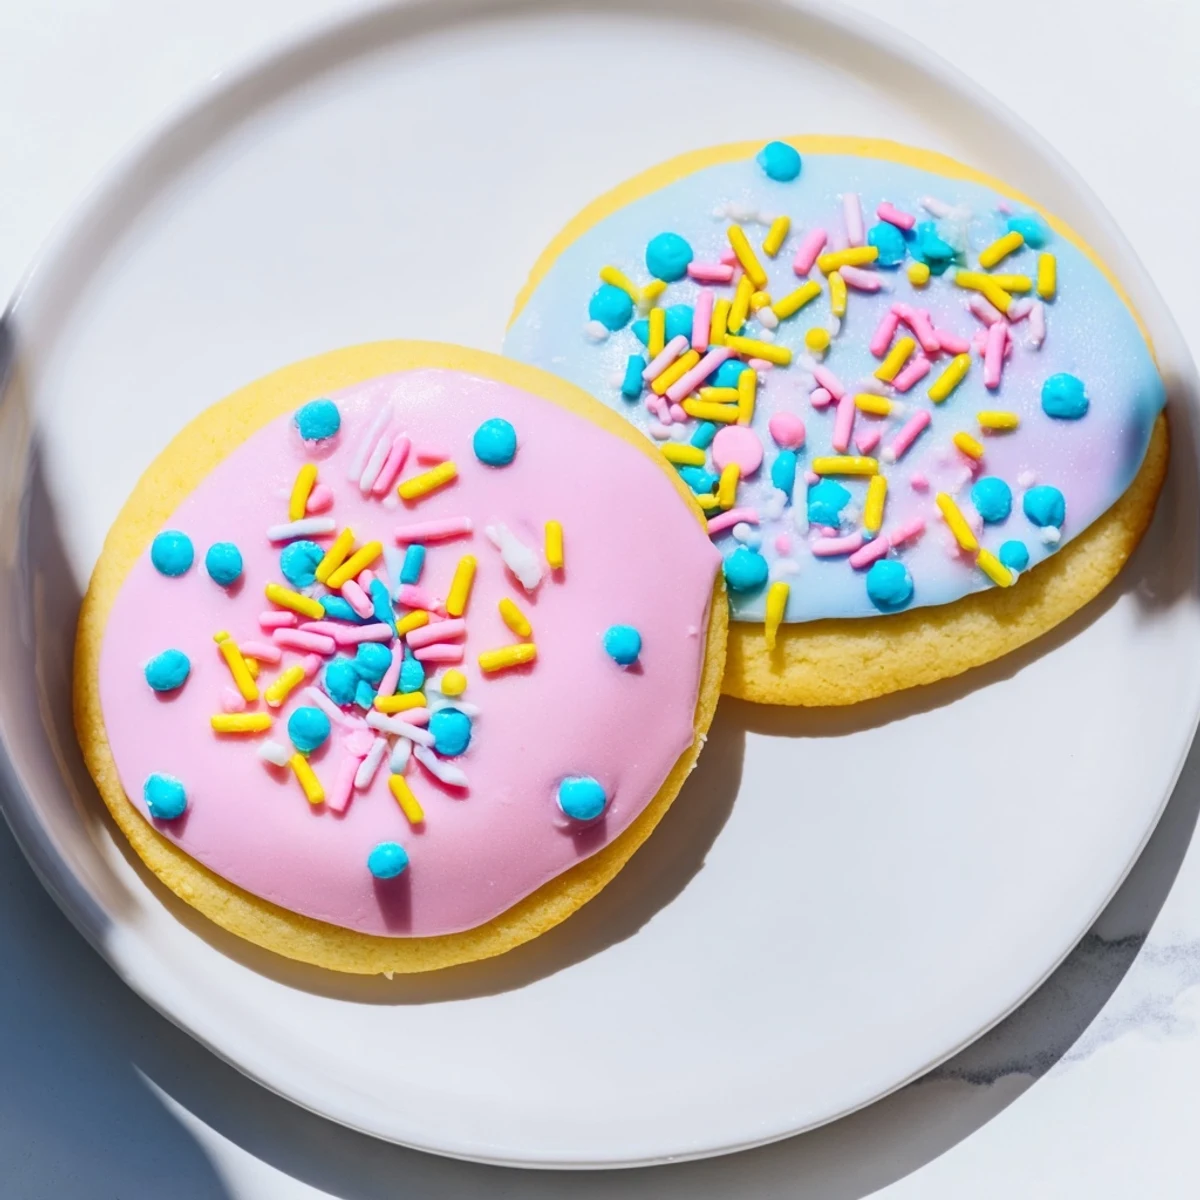
 Create charming Easter treats with these buttery soft sugar cookies. The dough comes together quickly and requires chilling for easy rolling. Cut into festive shapes using Easter-themed cookie cutters, then bake until edges are set but not browned. Top with homemade royal icing tinted in pastel colors and finish with sprinkles for a festive touch.
These cookies hold their shape beautifully during baking, making them ideal for detailed cookie cutters. The royal icing dries smooth and hard, perfect for stacking or packaging as gifts. Kids love helping decorate, and the process makes for a wonderful spring afternoon activity.
The kitchen counter disappeared under a cloud of pastel sprinkles and my niece was standing on a chair, face smeared with blue icing, grinning like she'd just won the lottery. We were supposed to be making elegant Easter treats, but somewhere between the rolling pin disasters and the fourth batch of royal icing, elegant had given way to joyful chaos. That afternoon taught me that the best holiday cookies aren't the ones that look perfect in photos—they're the ones that make you laugh while you're making them.
Last spring, I made three dozen of these for my church's Easter bake sale, and honestly, I was nervous. But when I brought out that platter of pastel-decorated cookies—some with imperfect polka dots, others with slightly wobbly stripes—they sold out in twenty minutes flat. Three different people asked for the recipe, and one mom told me her kids had been talking about those bunny cookies for days. Sometimes the simplest recipes create the biggest moments.
Ingredients
- All-purpose flour: The foundation of your cookie dough, providing structure while keeping these treats tender
- Baking powder: Just a touch helps these cookies puff slightly for that perfect soft texture
- Salt: Essential for balancing all that sugar and letting the butter flavor shine through
- Unsalted butter: Room temperature butter is non-negotiable here—it creames properly and creates that melt-in-your-mouth texture we're after
- Granulated sugar: Sweetens the dough while helping edges crisp up just enough
- Large egg: Binds everything together and adds richness to the crumb
- Pure vanilla extract: Don't skimp here—good vanilla makes the difference between cookies and memorable cookies
- Powdered sugar: Sifting is annoying but absolutely worth it for silky smooth royal icing without lumps
- Milk or water: Start with less liquid and add more gradually to control your icing consistency perfectly
- Light corn syrup: The secret ingredient that gives royal icing that gorgeous professional sheen and helps it set properly
- Vanilla or almond extract: Almond adds something special that pairs beautifully with buttery sugar cookies
- Food coloring: Gel colors give you those vibrant pastels without thinning your icing like liquid drops do
- Sprinkles and decorations: The fun part—stock up on pastels, edible pearls, and anything that sparkles
Instructions
- Whisk the dry foundation:
- In a medium bowl, combine flour, baking powder, and salt until well blended
- Cream butter and sugar:
- Beat room temperature butter and sugar until fluffy and pale, about 2–3 minutes
- Add wet ingredients:
- Mix in egg and vanilla until fully incorporated
- Combine everything:
- Gradually blend in dry ingredients just until dough forms—do not overmix
- Chill the dough:
- Divide dough in half, flatten into disks, wrap in plastic, and refrigerate for at least 30 minutes
- Preheat and prepare:
- Heat oven to 350°F and line baking sheets with parchment paper
- Roll and cut:
- On a lightly floured surface, roll dough to 1/4-inch thickness and cut with Easter-themed cutters
- Bake to perfection:
- Place cookies 1 inch apart on prepared sheets and bake for 8–10 minutes until edges are set but not browned
- Cool completely:
- Let cookies rest on baking sheets for 5 minutes, then transfer to wire racks to cool fully before decorating
- Prepare royal icing:
- Whisk together powdered sugar, milk, corn syrup, and extract until smooth, adjusting liquid as needed
- Color and decorate:
- Divide icing and tint with food coloring, then decorate cookies and add sprinkles before icing sets
- Let icing dry:
- Allow decorated cookies to dry completely at room temperature before storing or serving
 Save to Pinterest
 My dad, who claims he doesn't have a sweet tooth, ate four of these while helping me decorate last year. He was strategically placing mini chocolate eggs on frosted bunnies and between every third cookie, somehow one ended up in his mouth. 'Quality control,' he said with frosting on his fingers. Now he asks weeks in advance when we're making the Easter cookies again.
Making Dough Ahead
You can make the dough up to 3 days before baking and keep it wrapped tightly in the refrigerator. Actually, I've found that an overnight rest in the fridge develops the flavor even more. When you're ready to bake, let the dough sit on the counter for just 10 minutes—too soft and it sticks, too cold and it cracks while rolling.
Icing Consistency Secrets
For outlining cookies, you want stiff icing that holds its shape like toothpaste. For flooding the inside, thin it with just a few drops of milk until it flows like warm honey. The trick is adding liquid literally drop by drop—you can always add more, but you can't take it back. I keep two small bowls: one for thick outline icing, one for thinner flood icing.
Cookie Storage Wisdom
Once decorated, these cookies need to dry completely before stacking—usually about 4–6 hours or overnight. Layer them between parchment paper in an airtight container and they'll stay fresh for up to a week. Undecorated baked cookies freeze beautifully for up to 3 months, which means you can start your Easter baking in March if you're feeling particularly ambitious.
- Put a piece of white bread in the container with decorated cookies to keep them soft longer
- If your icing gets too thick while working, add literally one drop of liquid at a time
- Decorate on a baking sheet lined with parchment for easy cleanup and transport
 Save to Pinterest
 However imperfect your decorating skills, these cookies will bring genuine joy to your Easter table. Some of my favorite ones from last year were decorated by a four-year-old who insisted that bunnies needed blue eyebrows.
Recipe FAQs
- → How long should I chill the cookie dough?
-
Chill the dough for at least 30 minutes after wrapping it in plastic. This step firms the butter, preventing the cookies from spreading too much while baking and making the dough easier to roll out without sticking.
- → Can I make the dough ahead of time?
-
Yes, the dough can be wrapped tightly and refrigerated for up to 3 days before baking. You can also freeze the dough disks for up to 3 months—thaw overnight in the refrigerator before rolling and cutting.
- → What's the best way to get smooth royal icing?
-
Sift the powdered sugar before mixing to eliminate lumps. Whisk thoroughly until completely smooth, then adjust consistency with small amounts of milk or water. The icing should flow slowly but hold its shape when piped.
- → How do I know when the cookies are done baking?
-
The cookies are ready when the edges are set and slightly firm to the touch, but the centers may still look soft. They should not brown—the tops remain pale. They'll finish cooking on the baking sheet during the 5-minute cooling period.
- → How should I store the decorated cookies?
-
Wait until the royal icing is completely dry and hard to the touch—usually 4-6 hours at room temperature. Store in an airtight container layered between parchment paper for up to 1 week. Avoid stacking until fully dry to prevent smudging.
- → Can I use natural food coloring for the icing?
-
Absolutely. Natural alternatives like beet juice, spirulina, or turmeric work well for achieving pastel shades. Keep in mind that natural colors may be more subtle than synthetic gels, so you may need to adjust amounts to reach your desired hue.
