 Save to Pinterest
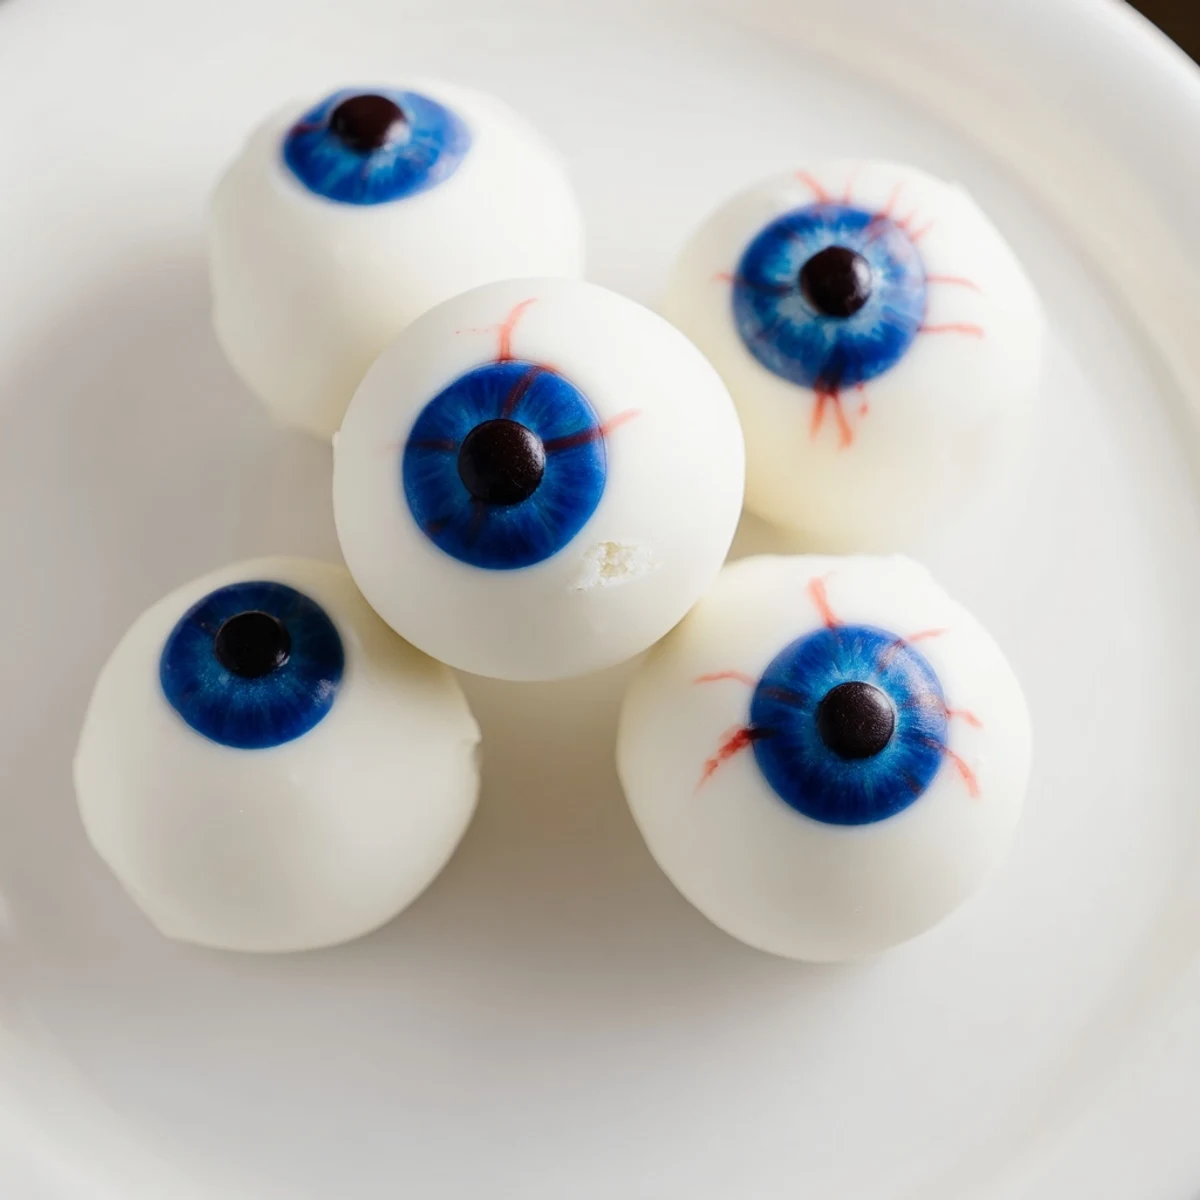
 These creepy cake eyeballs combine crumbled vanilla cake with cream cheese frosting, shaped into balls and coated in smooth white chocolate. Each edible eye gets a colored iris using blue or green candy melts, a dark pupil, and spooky red gel veins for that authentic haunted look. The treats are best served chilled, making them ideal for Halloween parties where guests can grab these frightfully delicious desserts by the handful.
Last October, my niece asked if we could make something that would actually scare people at her school Halloween party. I found myself googling 'terrifying desserts' at midnight, and these eyeball cake pops kept appearing in my search results. We made them on a rainy Sunday, and honestly, seeing her proudly present a plate of googly eyeballs to her friends was worth the sticky countertops and white chocolate splattered everywhere.
I brought these to my office Halloween potluck last year and placed them on a stark black serving tray. My coworker actually hesitated before picking one up, convinced they were prop eyes from a horror movie set. The moment someone took that first bite and the white chocolate cracked, the whole room gathered around, and suddenly everyone wanted to help decorate the remaining pupils.
Ingredients
- Vanilla cake mix or homemade cake: Using a boxed mix saves time but homemade cake gives you more control over sweetness and texture
- Eggs, oil, and water: The classic cake mix trio that creates the perfect crumb structure for rolling into balls later
- Cream cheese and butter: Room temperature is crucial here, otherwise your frosting will have lumps that make shaping impossible
- Powdered sugar: Sift it first to avoid those tiny sugar clumps that show up in your otherwise smooth frosting
- White chocolate or candy melts: Candy melts are easier to work with since they are formulated for coating and set up harder
- Dark chocolate for pupils: A little goes a long way, so save any extra for your next hot chocolate night
- Blue or green coloring: Gel food coloring works better than liquid, which can seize your chocolate
- Red gel: Practice drawing veins on parchment paper first, since shaky hands show up more than you would expect
Instructions
- Bake and cool the cake:
- Bake your cake according to instructions, then let it cool completely, because even slight warmth will melt your frosting mixture later
- Transform cake into crumbs:
- Use clean hands or a fork to break down the cake into fine, even crumbs in a large mixing bowl
- Make the creamy frosting:
- Beat together the softened cream cheese, butter, powdered sugar, and vanilla until you have a smooth, spreadable consistency
- Combine everything:
- Mix the frosting into the cake crumbs gradually until the mixture holds together when squeezed but is not overly wet
- Form the eyeballs:
- Scoop tablespoon portions and roll them into smooth balls, placing them on a parchment-lined tray
- Chill thoroughly:
- Freeze the balls for 20 minutes so they are firm enough to dip without falling apart in the warm chocolate
- Prepare the coating:
- Melt the white chocolate gently, stirring frequently to prevent seizing or scorching
- Dip each ball:
- Submerge each chilled cake ball completely in the white coating, letting excess drip off before returning to the tray
- Add the iris:
- While the white chocolate is still tacky, place a colored circle in the center using candy melts or tinted white chocolate
- Create the pupil:
- Once the iris sets, add a small dark chocolate dot slightly off-center for that unsettling realistic look
- Draw the veins:
- Use red gel or food coloring to sketch thin, squiggly lines radiating from the iris to the outer edge
- Let everything set:
- Allow the completed eyeballs to firm up completely at room temperature or in the refrigerator
 Save to Pinterest
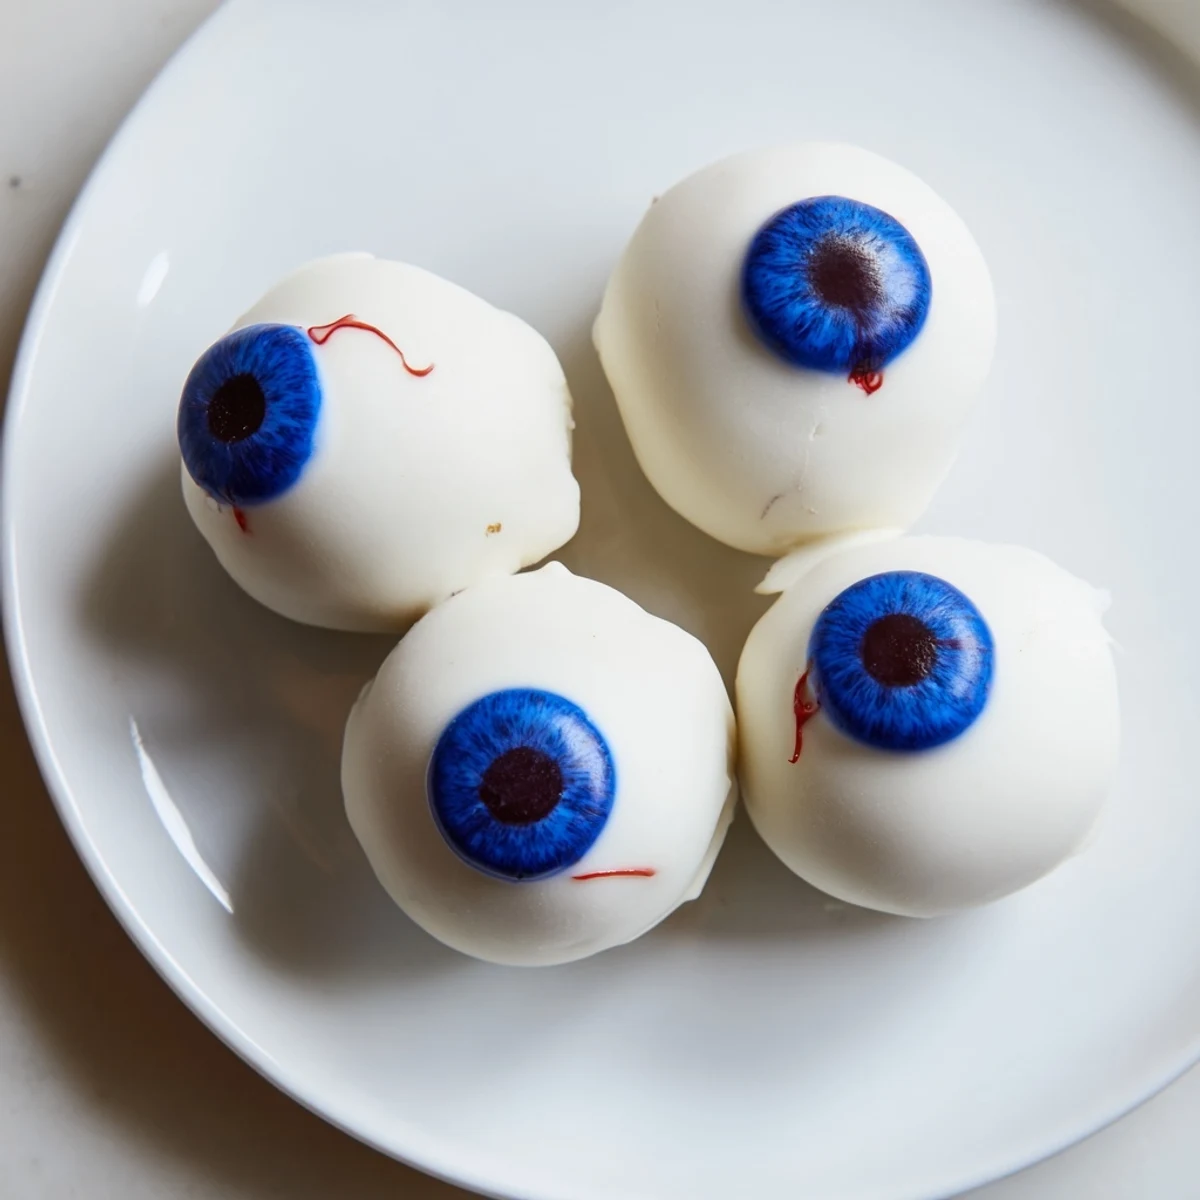
 My daughter helped me make the irises, and her artistic interpretation of what an eyeball should look like involved making some pupils larger and more dilated than others. It somehow made them look even more unnerving, and her friends at the party kept arguing over who got the 'scariest looking one' as if it was a prize.
Making Them Ahead
You can form and chill the uncoated cake balls up to two days before decorating. Store them in an airtight container in the refrigerator with parchment paper between layers. The dipping and decorating should happen closer to serving time for the freshest appearance.
Coating Troubleshooting
If your white chocolate becomes too thick for smooth dipping, add a teaspoon of vegetable oil to thin it out. Do not add water or cream, as these will cause the chocolate to seize and become unusable. Work in small batches to maintain the ideal dipping consistency.
Storage And Serving Tips
These hold up beautifully for several days when stored properly. The cake stays moist inside while the chocolate shell remains crisp. Serve them chilled for the best texture and most dramatic effect.
- Store in a single layer to prevent the chocolate from cracking or sticking together
- Bring them out just before your party so they do not soften or lose their creepy sheen
- Consider serving them on a bed of crushed chocolate cookies for an extra spooky presentation
 Save to Pinterest
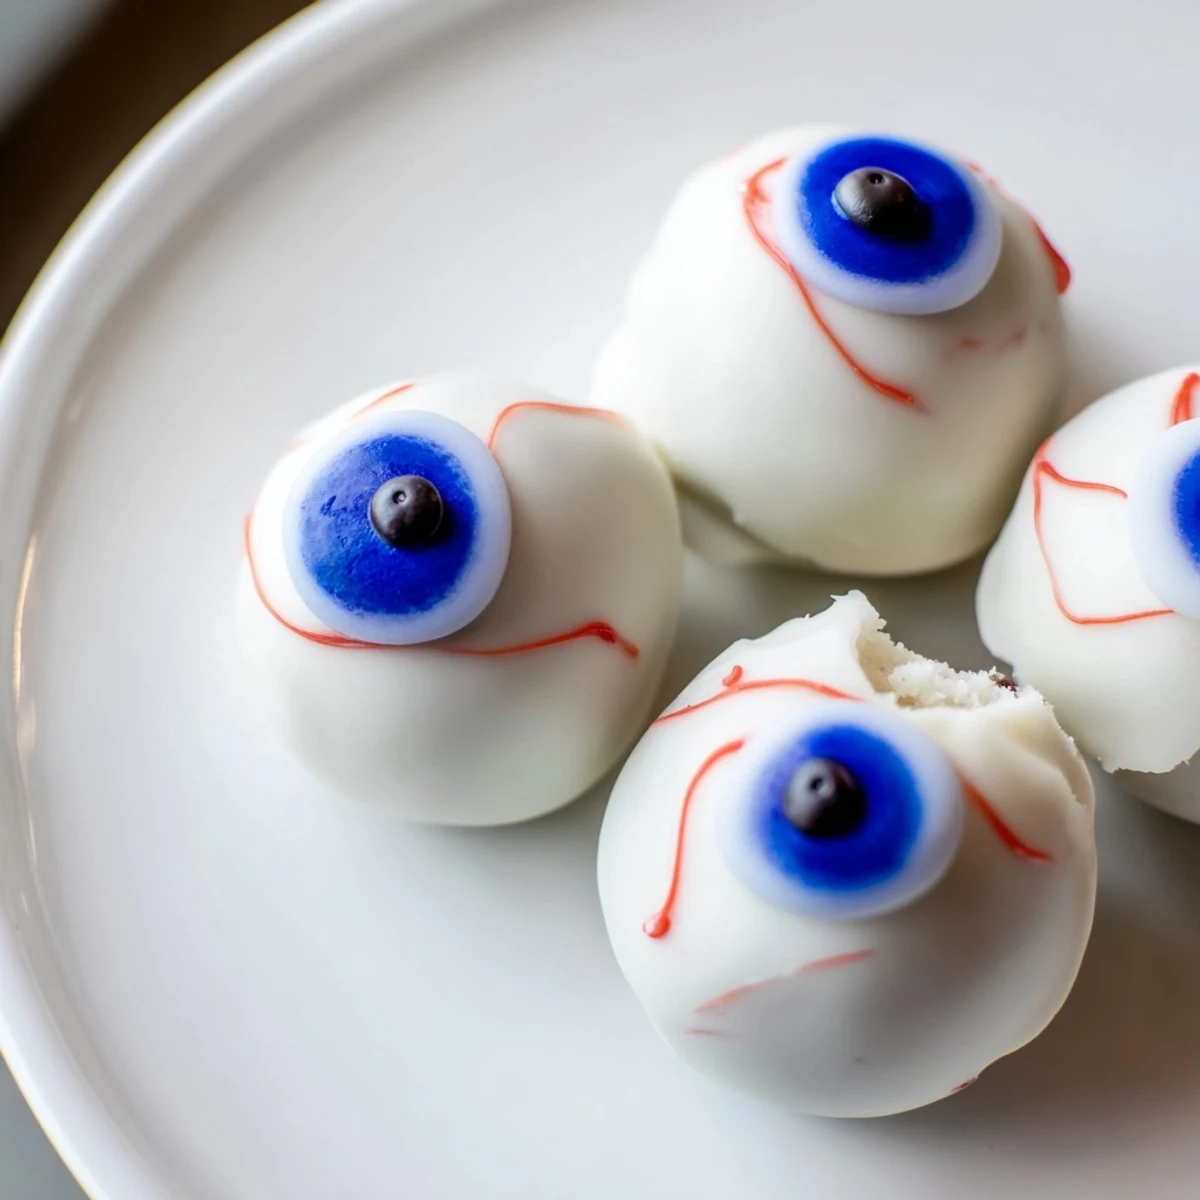
 There is something deeply satisfying about serving food that makes people laugh and cringe at the same time. These eyeballs have become my go-to contribution whenever Halloween invitations start arriving.
Recipe FAQs
- → How far in advance can I make these cake eyeballs?
-
Prepare the cake balls up to 2 days ahead and store in the refrigerator. Add the chocolate coating and decorations 24 hours before serving for best results. The completed eyeballs keep well in an airtight container in the fridge for 3-4 days.
- → Can I use different cake flavors besides vanilla?
-
Absolutely. Chocolate cake works wonderfully for darker eyeballs, red velvet creates a bloody effect, and funfetti adds colorful specks. Just ensure the cake is fully cooled before crumbling and mixing with frosting.
- → What's the best way to melt the chocolate coating?
-
Melt white candy melts in 30-second intervals in the microwave, stirring between each session. Alternatively, use a double boiler on the stovetop over low heat. The coating should be smooth and fluid for even dipping.
- → Do I need cake pop sticks for these?
-
No, sticks are optional. These work perfectly as bite-sized balls without them. If you prefer the traditional cake pop presentation, insert sticks before chilling and dip holding the stick. Otherwise, simply use a fork or toothpick for dipping.
- → How do I prevent the cake balls from falling apart?
-
The key is getting the right ratio of frosting to cake crumbs. The mixture should hold together when pressed but not be overly sticky. Chilling the formed balls for 20 minutes before coating firms them up significantly. Work quickly when dipping to avoid the coating cracking from temperature changes.
