 Save to Pinterest
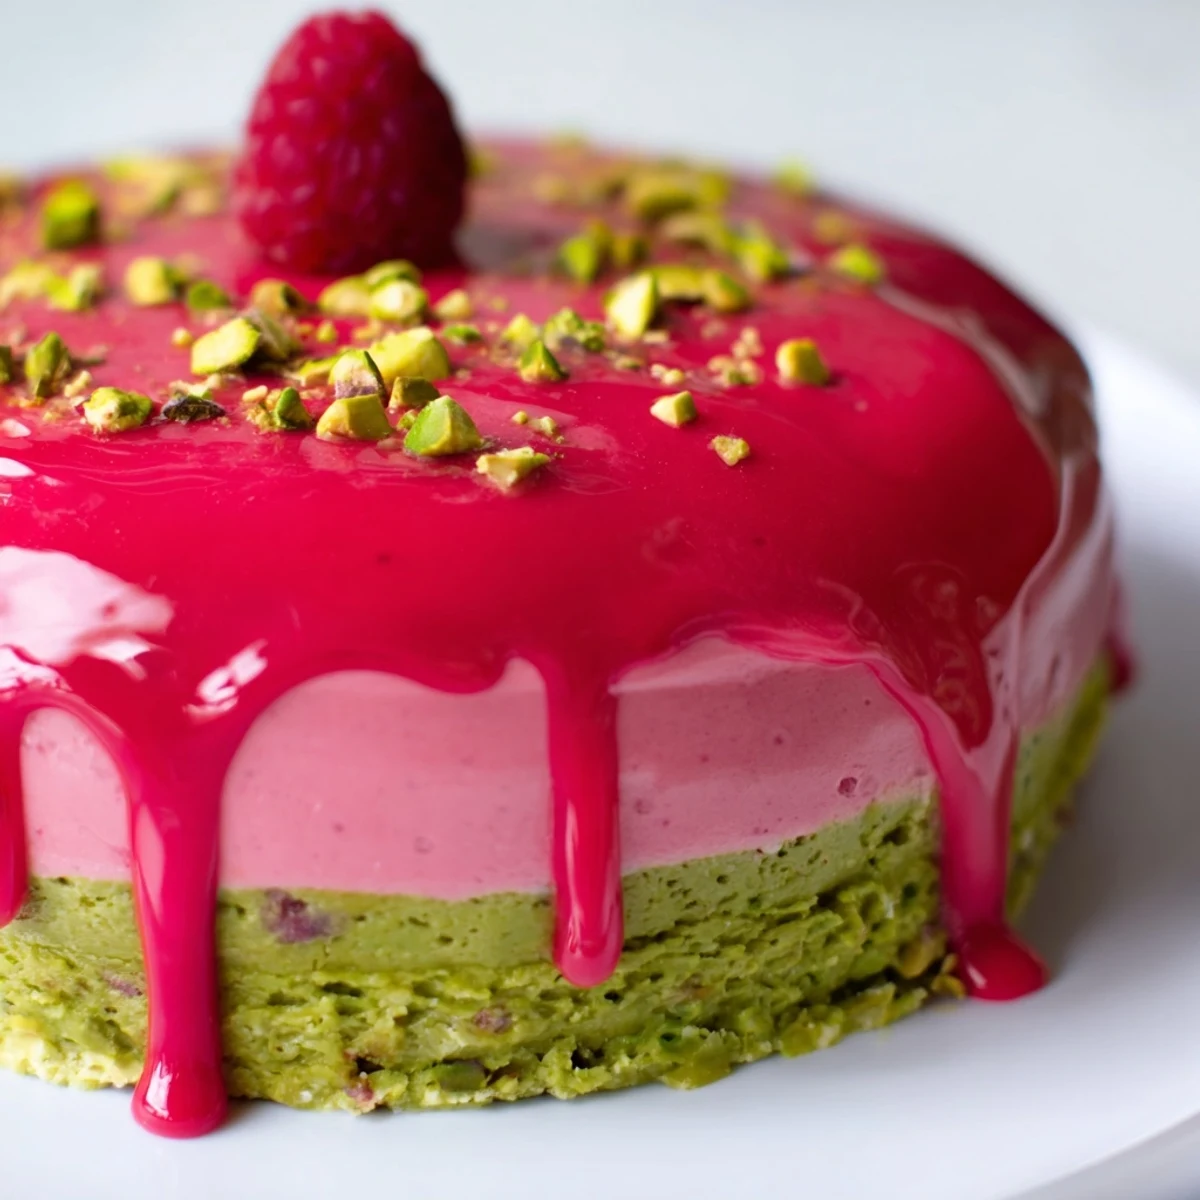
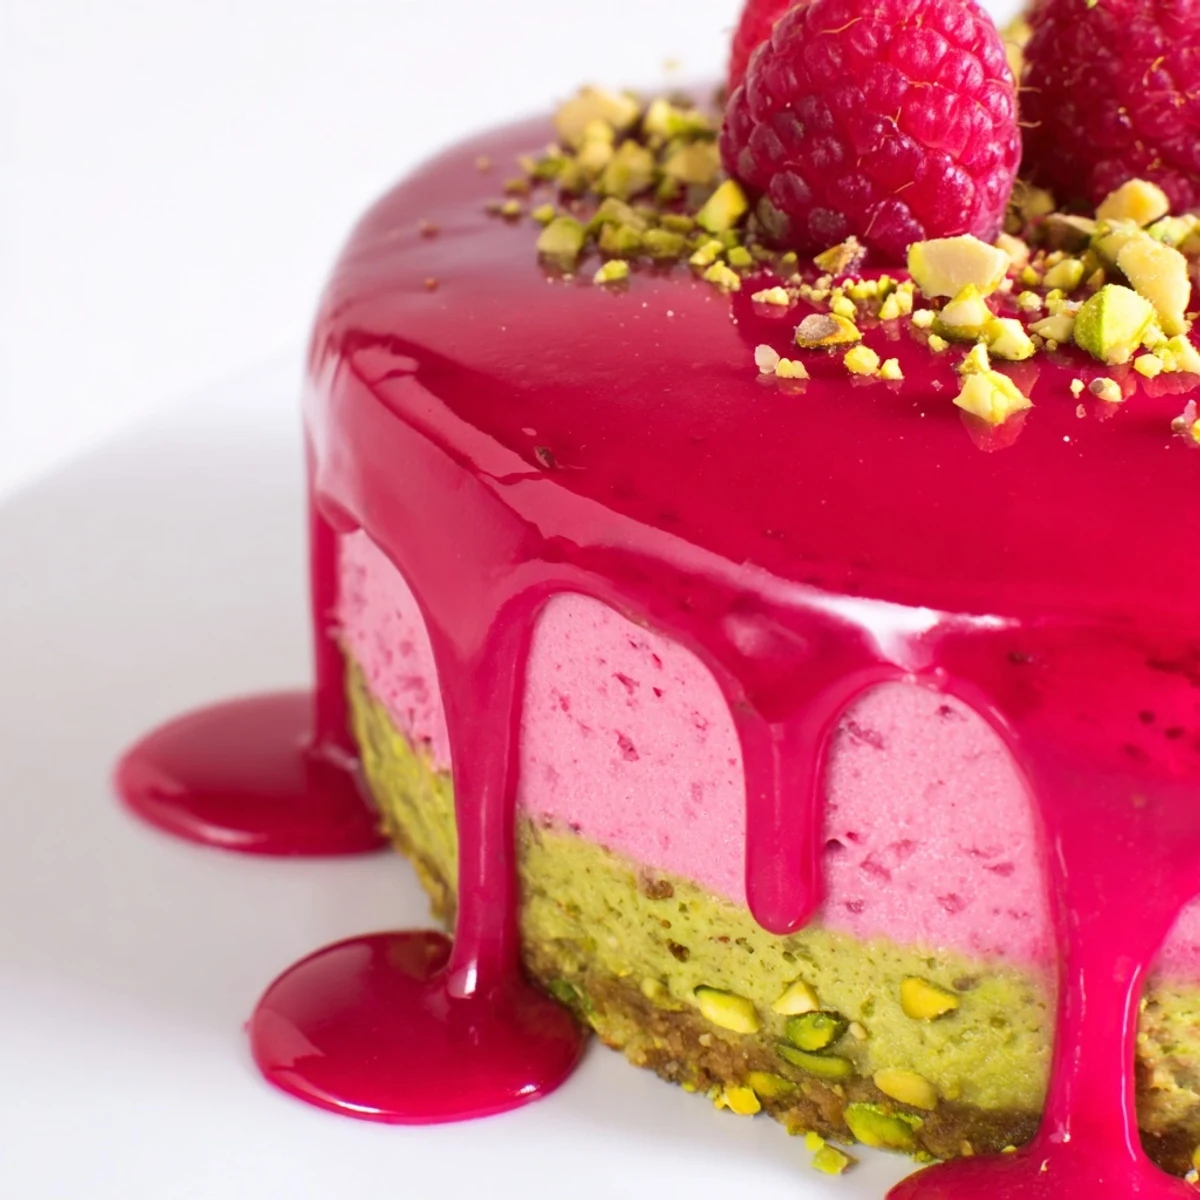
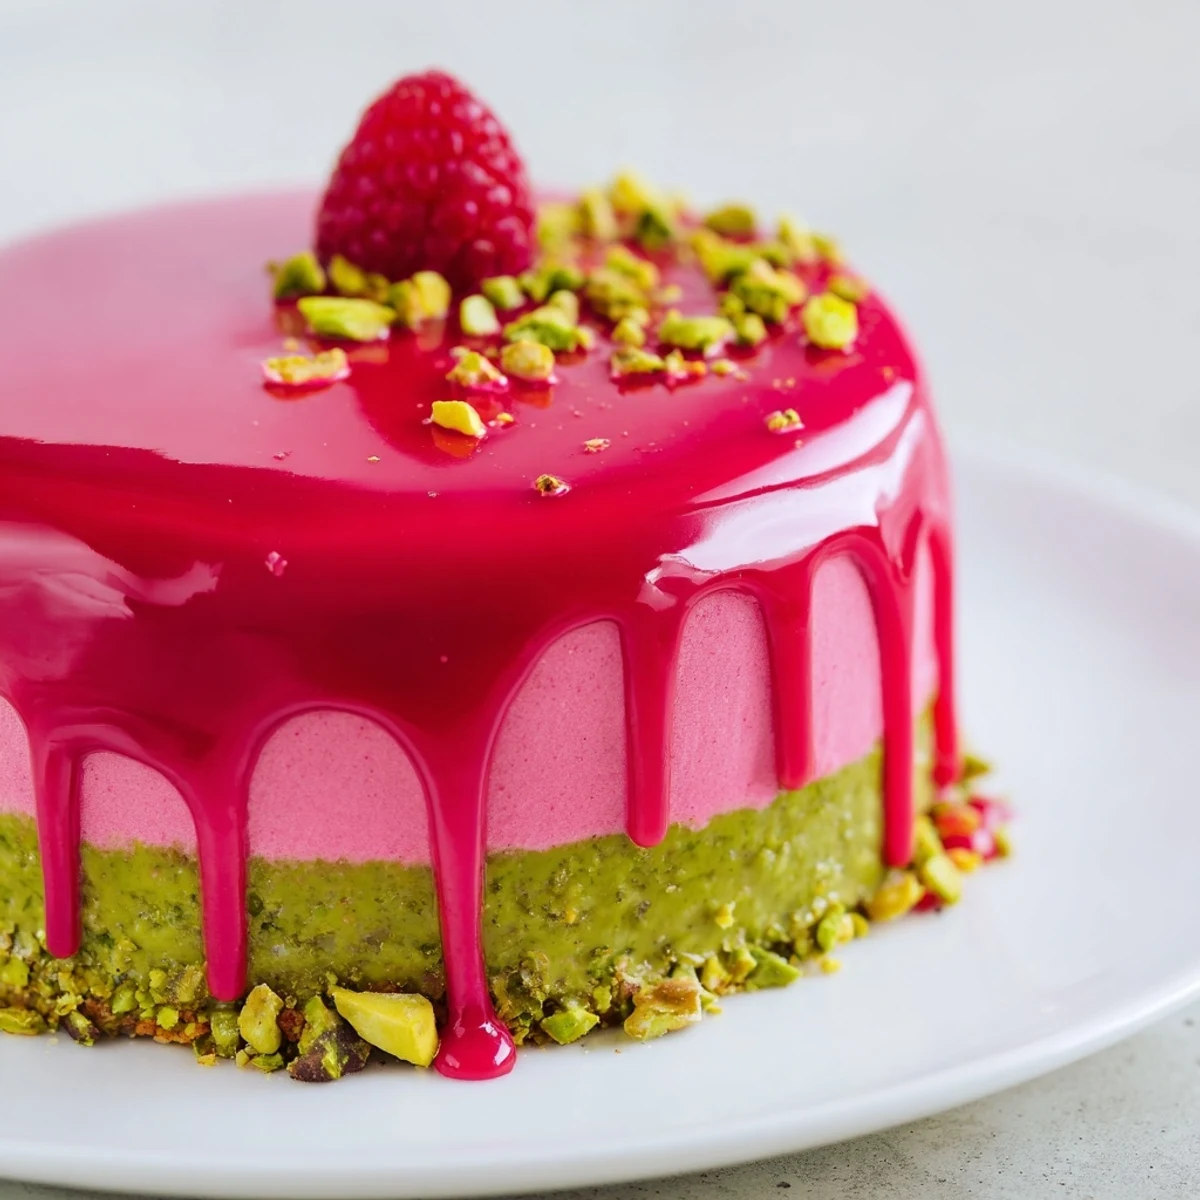
 Create stunning individual desserts with alternating layers of light pistachio sponge, nutty pistachio mousse, and bright raspberry mousse. These elegant mini cakes feature a glossy raspberry glaze finish and require assembly time plus freezing for perfect structure. The combination of earthy pistachios and tart raspberries creates a sophisticated French-inspired dessert ideal for dinner parties or celebrations.
The first time I attempted these delicate layered cakes, my kitchen looked like a construction zone of pistachio dust and raspberry splatters. I was attempting to impress dinner guests with something that sounded like it came from a Parisian patisserie window. What I learned is that these tiny desserts reward patience more than precision, and the messy process somehow always transforms into something elegant.
I made these for my mothers birthday last spring, and she kept asking what restaurant Id ordered them from. The way the raspberry glaze catches the light makes them look impossibly professional, but the assembly is actually quite forgiving. Now theyre my go to when I need to bring something that says I put real thought into this.
Ingredients
- Pistachios, finely ground: Freshly ground nuts release more aromatic oils than store bought flour, giving your sponge that distinctive perfume
- Pistachio paste: This concentrated paste carries the real pistachio flavor, so do not substitute with extract
- Gelatin sheets: Sheet gelatin dissolves more evenly than powder and gives a smoother set to delicate mousses
- Raspberries: Frozen berries work beautifully here, just thaw them completely before blending
- Heavy cream: Cold cream whips faster and holds more air, creating that light mousse texture
Instructions
- Bake the pistachio sponge:
- Whip eggs and sugar until they form a pale ribbon that holds its shape briefly when you lift the whisk. Fold in the dry ingredients gently to preserve all that air, then incorporate the melted butter last. Spread thin and watch closely after 10 minutes, as nut flours brown faster than wheat.
- Craft the pistachio mousse:
- Warm the milk and paste until steam just begins to rise, then temper your yolks slowly so they do not scramble. Cook the custard until it coats the back of a spoon, then melt in the gelatin. Let it cool completely before folding in the whipped cream, or you will deflate all the work you just did.
- Prepare the raspberry mousse:
- Blend those berries until completely smooth, then push the purée through a fine mesh sieve to catch every seed. Dissolve the gelatin in a portion of warm purée before mixing it back in, then fold in whipped cream when the mixture feels cool to the touch.
- Layer the cakes:
- Press your sponge circles firmly into the mold bottoms so the mousse has something stable to hold onto. Pipe pistachio mousse halfway up each mold, tap to settle any air bubbles, then chill until firm before adding the raspberry layer on top.
- Glaze with precision:
- Cool your glaze until it feels like warm syrup, then pour directly over frozen cakes while they sit on a wire rack with a sheet pan underneath. The glaze should set within moments, leaving you with that mirror shine that makes these cakes unforgettable.
 Save to Pinterest
 These have become my celebration dessert of choice because I can make them two days ahead and pull them out looking effortless. Something about those tiny layered slices feels like opening a present, every time someone takes that first bite.
Working With Gelatin
I spent years fearing gelatin until a pastry chef explained that sheet gelatin is basically foolproof if you respect the soaking time. Blooming your sheets in cold water for at least five minutes makes them pliable and ready to dissolve smoothly into warm mixtures without any grainy texture.
Achieving The Mirror Glaze
The secret to that professional glasslike finish is actually the temperature of your cakes and your glaze. Frozen cakes room temperature glaze equals a perfect coat that sets quickly and evenly, while anything warmer gives you streaks and thin spots that ruin the effect.
Make Ahead Strategy
These cakes freeze beautifully for up to two weeks before glazing, which means you can spread the work across multiple days. I often bake sponge on Sunday, make mousses Monday, assemble Tuesday, and glaze Wednesday for Friday dinner.
- Press plastic wrap directly against the mousse surface to prevent freezer burn
- Thaw glazed cakes in the refrigerator for two hours, never at room temperature
- Add garnish right before serving so chopped nuts stay crisp and vibrant
 Save to Pinterest
 Every time I serve these, someone asks for the recipe, convinced they could never make something so stunning. That is the beauty of these little cakes, they look like magic but are built from simple steps anyone can master.
Recipe FAQs
- → Can I make these ahead of time?
-
Yes, these assembled cakes freeze beautifully for up to 2 weeks. Add the glaze and garnish just before serving for the freshest appearance.
- → What size molds work best?
-
Silicone dome molds or ring molds measuring 6 cm (2.5 inches) in diameter yield perfect individual portions. Adjust baking time slightly if using larger sizes.
- → How do I achieve the glossy glaze finish?
-
Ensure the glaze cools to slightly thickened but still pourable consistency, around 30-35°C (85-95°F). Pour over frozen cakes in one smooth motion.
- → Can I substitute the pistachios?
-
Almond flour or hazelnut meal can replace ground pistachios in the sponge layer. Use almond paste instead of pistachio paste for the mousse component.
- → Why must the cakes be frozen before glazing?
-
Freezing firms the mousse layers completely, ensuring they hold their shape when unmolded and maintain structure while you pour the warm glaze over them.
- → How long does it take to prepare these?
-
Plan approximately 1 hour for active preparation across components. The majority of time is passive chilling and freezing—about 5 hours total from start to finished cakes.
