 Save to Pinterest
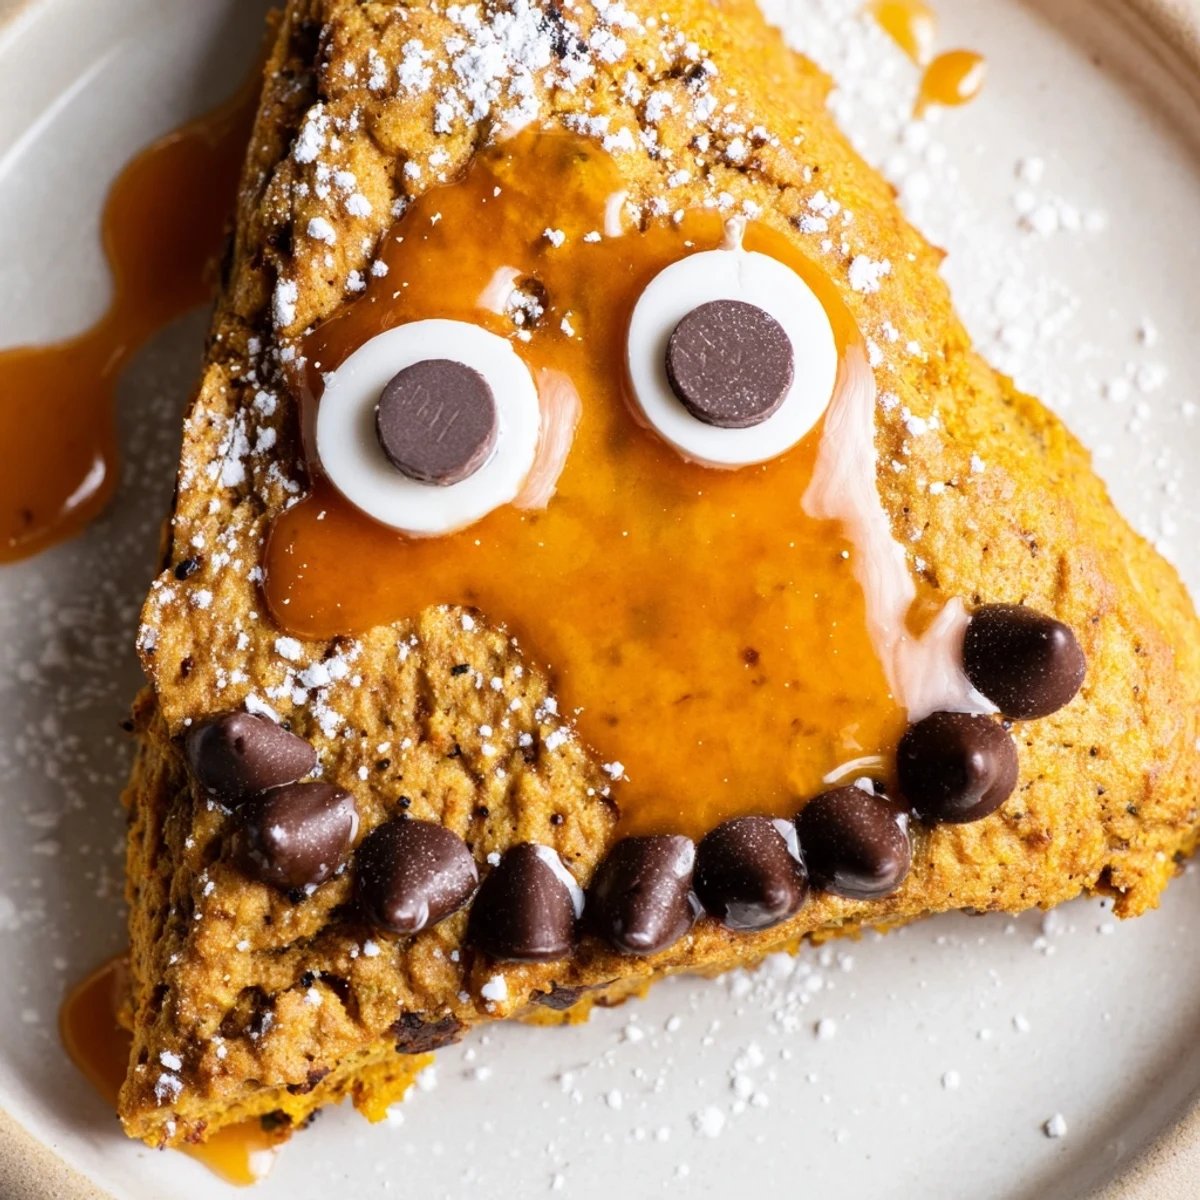
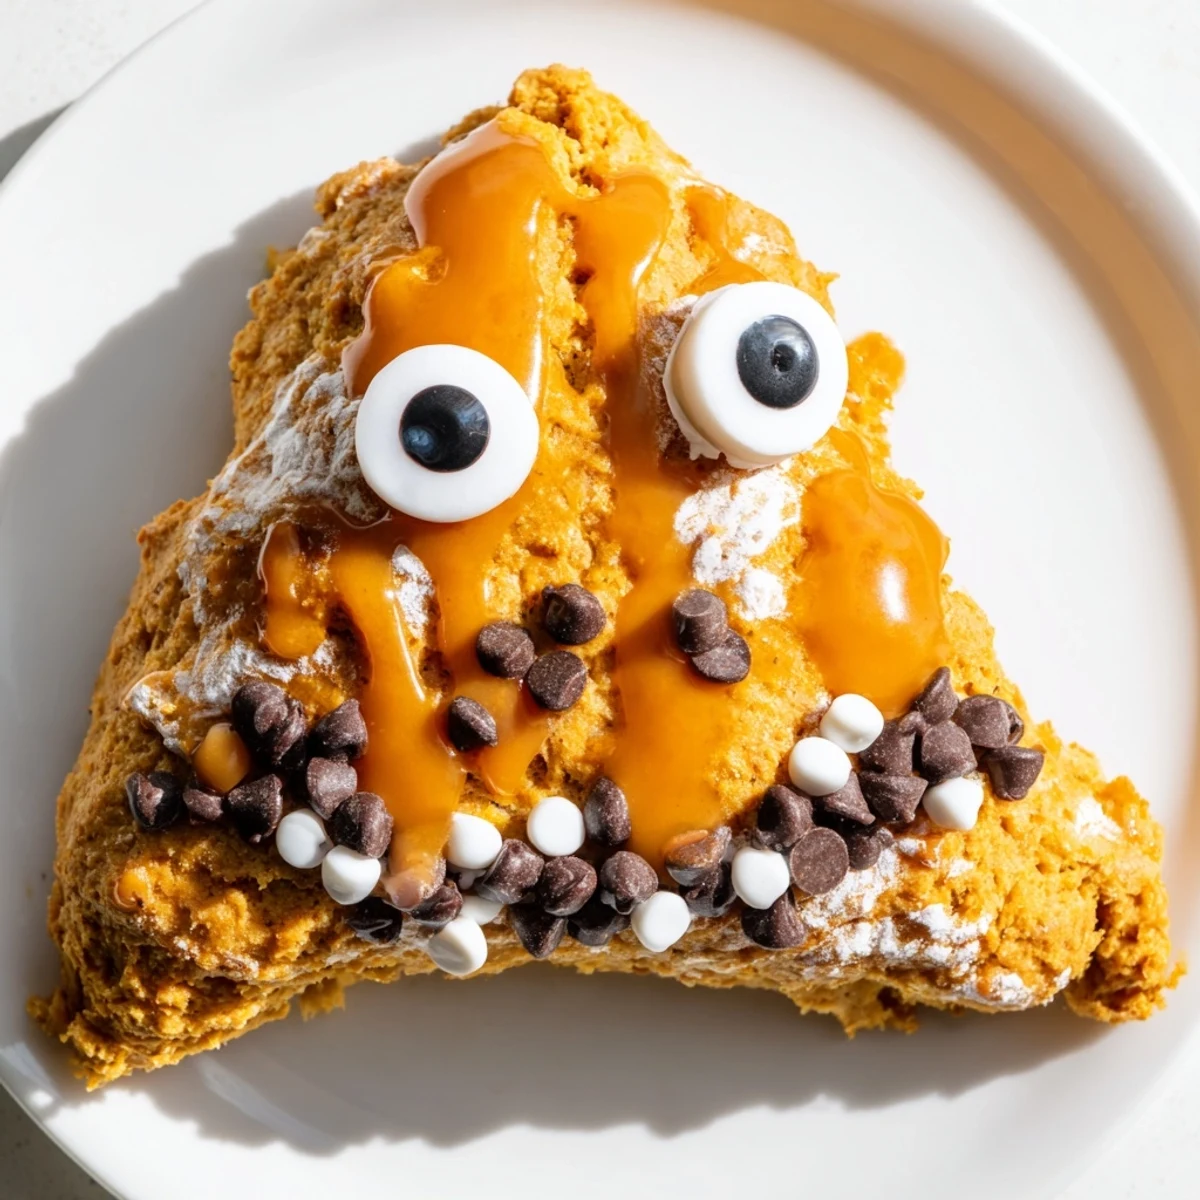
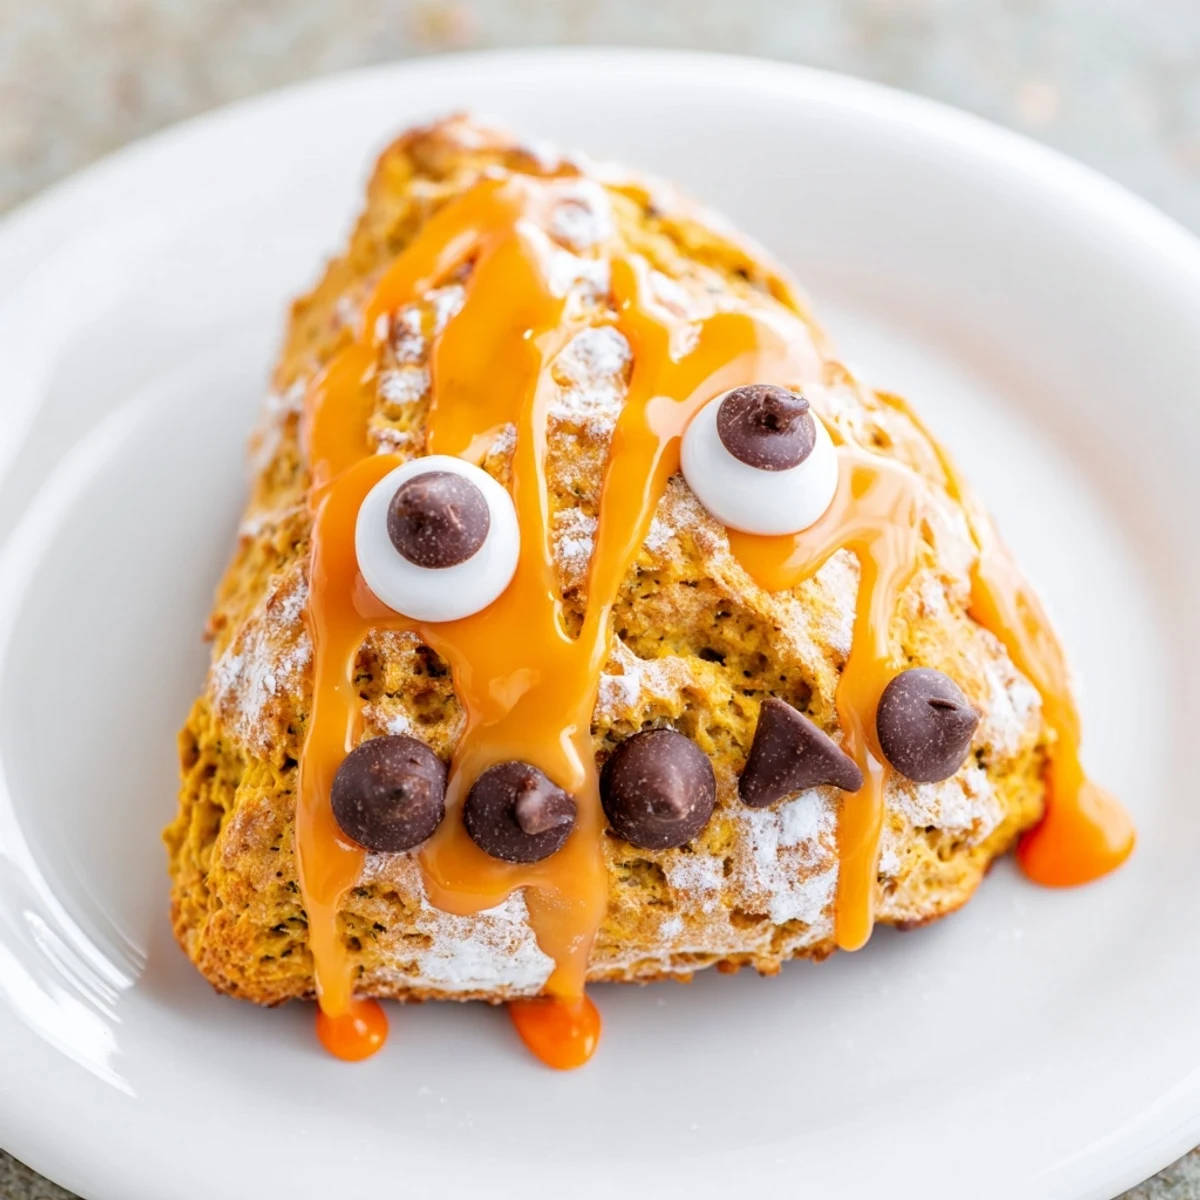
 These soft, spiced pumpkin scones bring warmth and whimsy to your autumn baking. Featuring cinnamon, ginger, nutmeg, and cloves, each golden wedge captures cozy fall flavors in every bite. The fun begins after baking—drizzle vibrant colored glaze and add candy eyes to create playful monster faces that kids and adults will love.
Ready in under 40 minutes, these treats are perfect for Halloween parties, classroom celebrations, or weekend family baking. Let everyone customize their own monster creations with edible decorations for memorable kitchen moments.
The kitchen smelled absolutely ridiculous when I first experimented with these—pumpkin spice everywhere, powdered sugar on my glasses, my 7-year-old niece threatening to eat the dough raw if I didn't let her help.
Last October I made three batches back to back because my neighbors kept wandering over, drawn by the cinnamon smell, and somehow everyone left with their own customized monster scone.
Ingredients
- All-purpose flour: The structure here matters—scone dough walks this fine line between tender and sturdy
- Light brown sugar: Adds moisture and a subtle molasses depth that white sugar just cannot replicate
- Baking powder and baking soda: This double lift combination gives scones their signature rise without being dense
- Cinnamon, ginger, nutmeg, cloves: Classic pumpkin pie spices but do not be afraid to adjust if you love one more than another
- Cold butter: Absolutely critical—keep it fridge cold and work quickly so those butter pockets create flaky layers
- Pumpkin purée: Use pure pumpkin not pie filling which has already sweetened and spiced
- Whole milk: Adds richness though you can get away with lower fat if that is what you have
- Egg: Binds everything together and helps the scones rise with a slightly tender crumb
- Vanilla extract: Do not skip this—it bridges all the spice flavors into something cohesive
- Powdered sugar: For the glaze base—sift it first or you will spend forever fishing out lumps
- Food coloring: Gel colors work better than liquid for keeping the glaze consistency thick enough
- Candy eyes and decorations: Hit the baking aisle or get creative with whatever spooky toppings catch your eye
Instructions
- Heat things up:
- Preheat your oven to 400°F and line a baking sheet with parchment paper because nothing ruins morning plans faster than scones stuck to the pan
- Whisk the dry team:
- In a large bowl combine flour brown sugar baking powder baking soda salt cinnamon ginger nutmeg and cloves until everything is evenly distributed
- Cut in the butter:
- Add those cold butter cubes and work them into the flour with a pastry cutter or your fingers until the mixture looks like coarse crumbs with some pea sized pieces remaining
- Mix the wet ingredients:
- In another bowl whisk together pumpkin purée milk egg and vanilla extract until smooth
- Bring it together:
- Pour the wet mixture into the dry and fold gently just until combined—the dough will look shaggy and that is exactly right
- Shape and portion:
- Turn the dough onto a floured surface pat it into a 1 inch thick circle and cut into 8 wedges like a pizza
- Bake to golden:
- Arrange wedges on your prepared sheet and bake 16 to 18 minutes until they are firm and golden on top
- Cool completely:
- Let them cool fully on the pan because glaze will just slide right off warm scones
- Make the monster magic:
- Whisk powdered sugar with 1 to 2 tablespoons milk until smooth divide into bowls and tint each with food coloring
- Decorate wildly:
- Spread or drizzle colored glaze over each scone and immediately press on candy eyes chocolate chips or whatever spooky decorations make you smile
 Save to Pinterest
 My niece still talks about the three eyed monster she made last year and honestly I think she ate more decorations than scone but that is kind of the point.
Getting the Right Dough Texture
Scone dough should feel slightly tacky but not sticky—if it is too wet to handle sprinkle a little flour and if it is too dry add a teaspoon of milk.
Glaze Consistency Secrets
Start with less milk than you think you need because you can always add more but you cannot take it back once the glaze becomes too thin.
Making These Ahead
You can cut the scones freeze them unbaked and pop them straight in the oven when you want fresh ones.
- Bake frozen scones for an extra 2 to 3 minutes
- Store baked undecorated scones in an airtight container for up to 2 days
- Glaze only the ones you plan to eat immediately
 Save to Pinterest
 Hope your kitchen ends up covered in powdered sugar and at least one monster has three eyes.
Recipe FAQs
- → Can I make these ahead of time?
-
Yes, bake the scones up to 2 days in advance. Store in an airtight container and glaze/decorate before serving for freshest appearance.
- → What if I don't have candy eyes?
-
Mini chocolate chips, colored sugar pearls, or dots of glaze work perfectly as alternatives. Get creative with whatever edible decorations you have on hand.
- → Can I freeze these scones?
-
Absolutely. Freeze undecorated baked scones for up to 3 months. Thaw at room temperature, then add glaze and decorations when ready to serve.
- → How do I prevent dense scones?
-
Keep butter cold and avoid overmixing the dough. Mix just until combined, and handle the dough gently when shaping and cutting.
- → Can I use fresh pumpkin instead of purée?
-
Yes, roast and purée fresh pumpkin, then drain excess moisture before using. Canned purée provides more consistent results.
- → What's the best way to store decorated scones?
-
Keep in a single layer in an airtight container at room temperature for 1-2 days. Refrigerate if storing longer, though glaze may soften.
