 Save to Pinterest
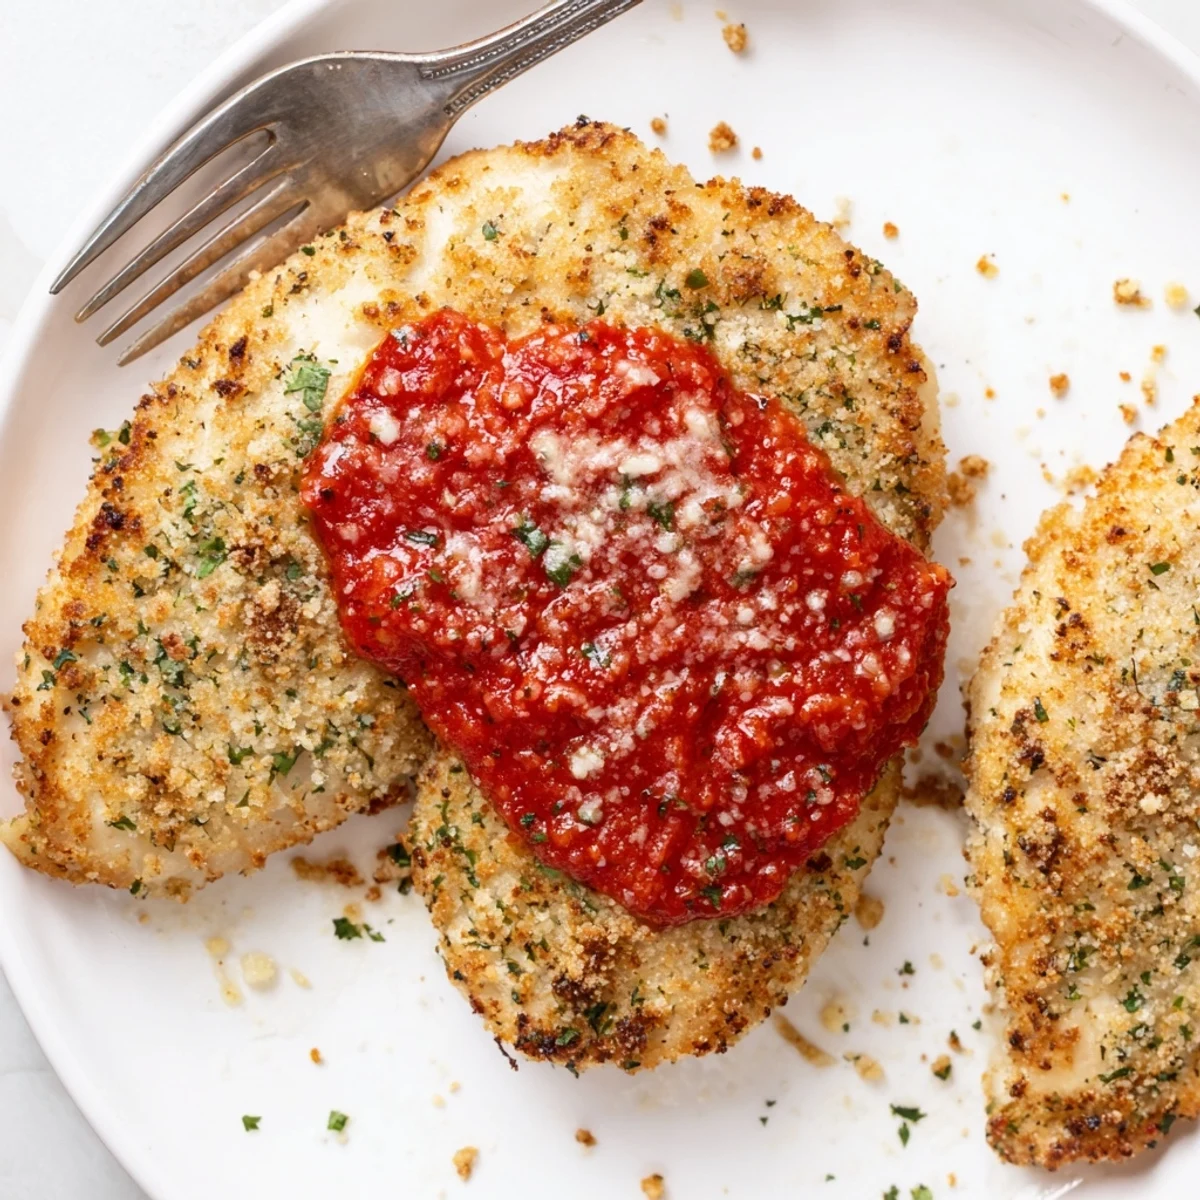
 Tender chicken breasts are seasoned, pressed into a Parmesan and breadcrumb crust, seared until golden, then finished in a 400°F oven for about 18–22 minutes until cooked through. A smoky roasted red pepper sauce—blended with garlic, olive oil, balsamic and smoked paprika—adds bright, savory contrast. Serve with roasted vegetables, pasta, or a fresh green salad and garnish with chopped parsley.
The first thing that caught my nose was the tangy sweetness of red peppers roasting in the oven one rainy Tuesday, the kind of scent that lingers long after dinner. I’d been craving something that felt like real comfort but didn’t weigh me down, and this recipe was a little experiment that hit all the right notes. Mixing crisp Parmesan with golden breadcrumbs for the crust felt like a minor kitchen epiphany, and the way the cheese smelled as it baked made the whole apartment a little cozier. There was a thrill in trying to nail the timing, chasing that perfect, juicy finish for the chicken.
Once, I made this dish for my roommate after a rough day — she barely spoke until she tasted the sauce, then broke into a grin that set the tone for the whole night. The chicken disappeared so quickly we ended up sopping the extra sauce with hunks of bread, wishing I’d made double. Sometimes food is the simplest way to turn the mood around.
Ingredients
- Boneless, skinless chicken breasts: Go for thicker pieces for juicier results, and pat them dry before seasoning so the crust sticks properly.
- Salt and black pepper: I learned the hard way not to skimp on seasoning, especially with a mellow chicken base.
- Garlic powder: This adds a cozy depth; sprinkle evenly for better flavor in every bite.
- Grated Parmesan cheese: Freshly grated Parmesan gives the best melt and golden crust, plus it’s saltier than the pre-shredded stuff.
- Fine breadcrumbs (gluten-free if needed): Use a super-fine crumb for even coverage — chunky ones fall off in the pan.
- Fresh parsley: Chopped parsley brings brightness and a burst of color; it’s more than just garnish here.
- Dried oregano: Even a little makes the crust taste like Italian comfort food.
- Roasted red bell peppers: Jarred or homemade both work; make sure to pat dry so the sauce isn’t watery.
- Garlic: One clove goes a long way blended into the sauce; don’t go overboard or it’ll overpower.
- Olive oil: Both in the sauce and for searing — a fruity variety perks up all the flavors.
- Balsamic vinegar: Just a splash punches up the sweetness of the peppers.
- Smoked paprika: I use this to sneak in extra smokiness without needing to char the peppers myself.
- Salt and pepper (to taste): Adjust as you blend — tasting is your best friend.
- Extra olive oil (for searing): Don’t be shy; it helps crisp the Parmesan crust to a deep gold.
Instructions
- Fire Up the Oven:
- Set the oven to 400°F and let it preheat while you gather everything — the kitchen will start to warm up, and so will your appetite.
- Season the Chicken:
- Pat the chicken dry and season on both sides with salt, pepper, and garlic powder, listening for that faint sizzle as the meat hits the hot pan later.
- Mix the Parmesan Crust:
- Stir together the Parmesan, breadcrumbs, parsley, and oregano; it’ll smell herby and a bit nutty as you crush any lumps with your fingers.
- Crust the Chicken:
- Press each breast firmly into the crust mixture — every edge should be well coated, so the topping turns golden, not spotty.
- Sear for Flavor:
- Heat olive oil in an ovenproof skillet until shimmering, then lay in the chicken; don’t crowd the pan, and don’t peek too soon — wait for a deep golden color before flipping.
- Bake It:
- Slide the skillet into the oven and bake for 18 to 22 minutes, just until the chicken’s juices run clear or a thermometer reads 165°F.
- Make the Red Pepper Sauce:
- While the chicken bakes, blend roasted peppers, garlic, olive oil, balsamic, paprika, salt, and pepper until smooth — it should smell smoky and sweet.
- Taste and Warm:
- Dip a spoon to check seasoning, then warm the sauce gently if you want to serve it hot — a tiny simmer helps the flavors meld.
- Serve and Enjoy:
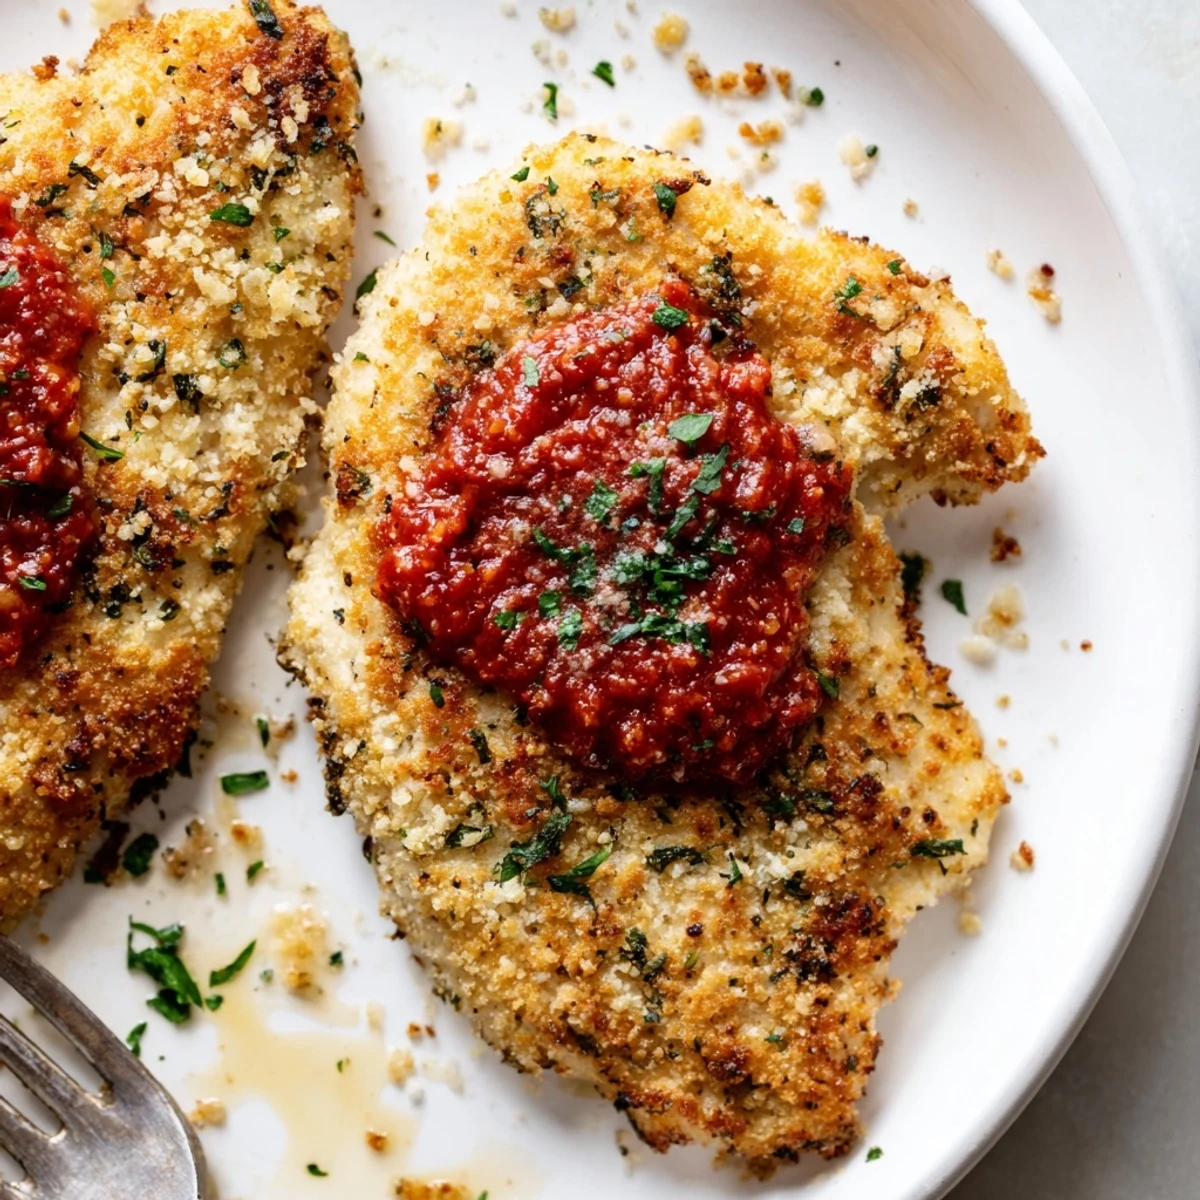
- Spoon the red pepper sauce generously over the chicken, finishing with a sprinkle of extra parsley for a burst of green.
 Save to Pinterest
 I never expected this chicken to become a stand-in for celebration food, but now when friends come over unexpectedly, this is what I make. There’s something about the blush of the sauce and crispy, cheesy edges that makes everyone feel like guests at a little party, even if it’s just a Tuesday.
Make-Ahead Magic
If you want to get ahead, you can blend the red pepper sauce a day early and stash it in a jar in the fridge without losing any of the punchy flavors. I’ve even breaded the chicken a few hours before, kept it covered in the fridge, which made dinner come together embarrassingly fast. That saved me when a friend dropped by hungry and I needed dinner in twenty minutes flat.
Fixing Dry Chicken
Everyone dries out chicken once — I’ve done it more than I’d like to admit. The key: check the temp, and trust your oven! If you don’t have a thermometer, poke the thickest piece and look for clear juices; rest it a few minutes before cutting so it finishes cooking and the juices don’t run all over the plate. Recovering from a dry batch, a little extra red pepper sauce can save the day with moisture and bold flavor.
Serving Like a Pro
The dish looks fancy enough to serve to company, but it’s also dead simple with whatever’s on hand. I love plating it with roasted broccolini or a mound of buttery polenta for an elegant feel. If you want it lighter, a handful of peppery arugula tossed with lemon makes it pop.
- Warm the plates for best results; the sauce stays glossy longer.
- If you drizzle extra olive oil at serving, it adds a little luxury.
- Don’t forget to sprinkle fresh parsley just before serving for a pop of color.
 Save to Pinterest
 This is one meal I come back to when I want to impress with comfort, no stress. Give it a try and you might find yourself wishing for leftovers, just for that extra swipe of sauce.
Recipe FAQs
- → What internal temperature indicates the chicken is done?
-
Cook until the thickest part reaches 165°F (74°C). After removing from the oven, let the chicken rest 5 minutes to redistribute juices and ensure moist slices.
- → Can I use chicken thighs instead of breasts?
-
Yes. Bone-in or boneless thighs work well; reduce searing time and extend oven time as needed. Thighs stay juicier, so check doneness with an instant-read thermometer.
- → How should I roast peppers if not using jarred?
-
Char whole peppers over a gas flame or under a broiler until skin is blackened. Place in a covered bowl to steam 10 minutes, then peel, seed, and blend with garlic and oil for a smooth sauce.
- → How can I make the coating gluten-free?
-
Swap fine breadcrumbs for gluten-free panko or almond flour. Press the coating firmly onto the chicken so it adheres during searing and baking for a crisp crust.
- → Any tips for preventing the crust from burning?
-
Sear briefly over medium-high heat just to develop color, then finish in a 400°F oven. If the crust browns too quickly, tent the skillet loosely with foil for the remainder of baking.
- → How long can leftovers be stored and reheated?
-
Store cooled leftovers in an airtight container in the fridge for up to 3 days. Reheat gently in a 325°F oven or in a skillet with a splash of oil to maintain crust texture; rewarm sauce separately.
