 Save to Pinterest
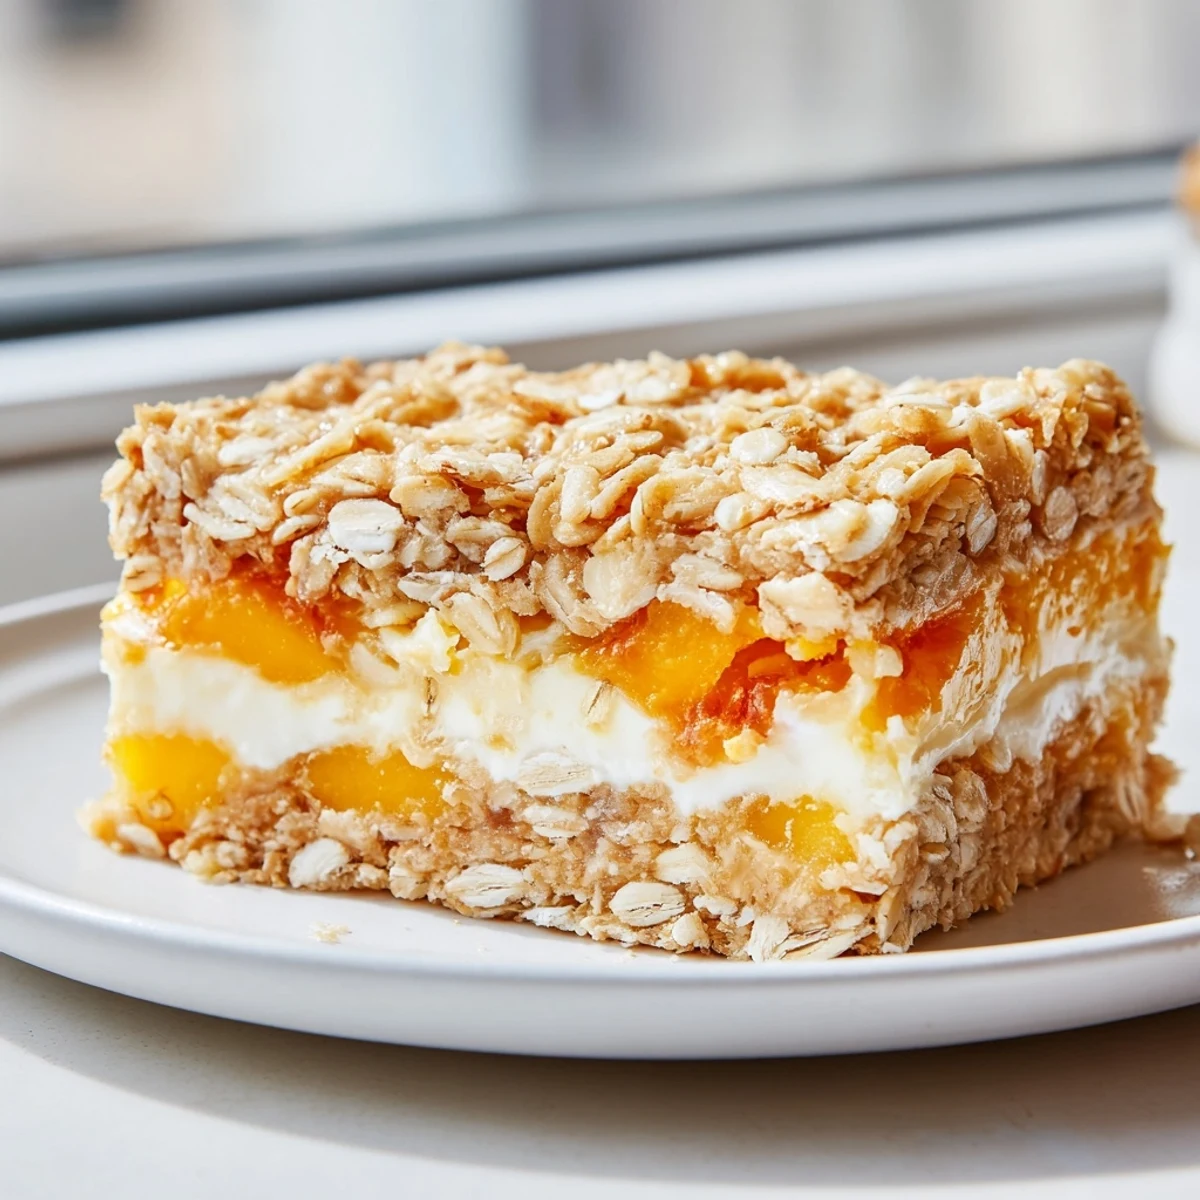
 These handheld bars feature three irresistible layers: a buttery oat crumble base, a tangy cream cheese filling, and juicy diced peaches topped with more crumble. The combination creates a perfect balance of textures and flavors.
Simple enough for bakers of any skill level, these bars come together in just over an hour. The key is pressing the base firmly and allowing ample cooling time for clean slices.
Perfect for picnics, potlucks, or summertime treats when fresh peaches are at their peak.
My grandmother used to say the best desserts come from wasting time in the kitchen, and these crumble bars prove her right every single time. I stumbled onto them during a July heatwave when my air conditioning died and turning on the oven seemed like madness. But there's something about peaches at their peak that makes you forgive yourself for anything, even heating up the house when it's already sweltering outside.
These made their debut at a neighborhood potluck last summer when I completely forgot I signed up to bring dessert. I threw everything together in a mild panic, cutting butter into flour while chatting with neighbors who'd arrived early. The next day three different people texted me for the recipe, which is how I measure success these days.
Ingredients
- All-purpose flour: The structural foundation that holds everything together, and honestly, regular flour gives the best texture here
- Old-fashioned rolled oats: Use these instead of quick oats because they hold their shape and create those irresistible nubby bits in the crumble
- Unsalted butter: Keep it ice cold straight from the fridge, and work quickly so it doesnt melt into your flour mixture
- Cream cheese: Let it soften completely at room temperature so your filling ends up silky smooth instead of full of tiny lumps
- Fresh peaches: You want them fragrant and slightly yielding when you give them a gentle squeeze
- Cornstarch: This little thickener is what transforms juicy peaches into something that holds together when you slice the bars
Instructions
- Get your oven ready:
- Preheat to 350°F and line a 9x13-inch pan with parchment paper that overhangs the edges, which will save your life later when lifting out the whole batch.
- Build the crumble:
- Whisk together flour, oats, sugar, salt, and cinnamon in a large bowl, then cut in that cold butter using your fingertips until everything looks like damp sand with some pea-sized chunks remaining.
- Create the foundation:
- Press about two-thirds of the crumble firmly into the bottom of your prepared pan, really pressing it down so it bakes into a solid base.
- Whip up the creamy layer:
- Beat the softened cream cheese with sugar until no lumps remain, then add the egg and vanilla and mix until it's silky and gorgeous.
- Spread it on:
- Pour that cream cheese mixture over your crust and gently spread it to the edges, trying not to disturb the base you just worked so hard to create.
- Prep the peaches:
- Toss your diced peaches with cornstarch, lemon juice, and a tablespoon of sugar, then scatter them evenly over the creamy layer.
- Add the crown:
- Sprinkle your reserved crumble over the top, leaving some irregular clumps because those browned bits are the best part of the whole experience.
- Bake until golden:
- Slide into the oven for 38 to 42 minutes until the top is turning golden brown and the center barely jiggles when you give the pan a gentle shake.
- Patience pays off:
- Cool completely, then refrigerate for at least two hours because trying to slice these warm will give you a sad, melty situation instead of neat bars.
 Save to Pinterest
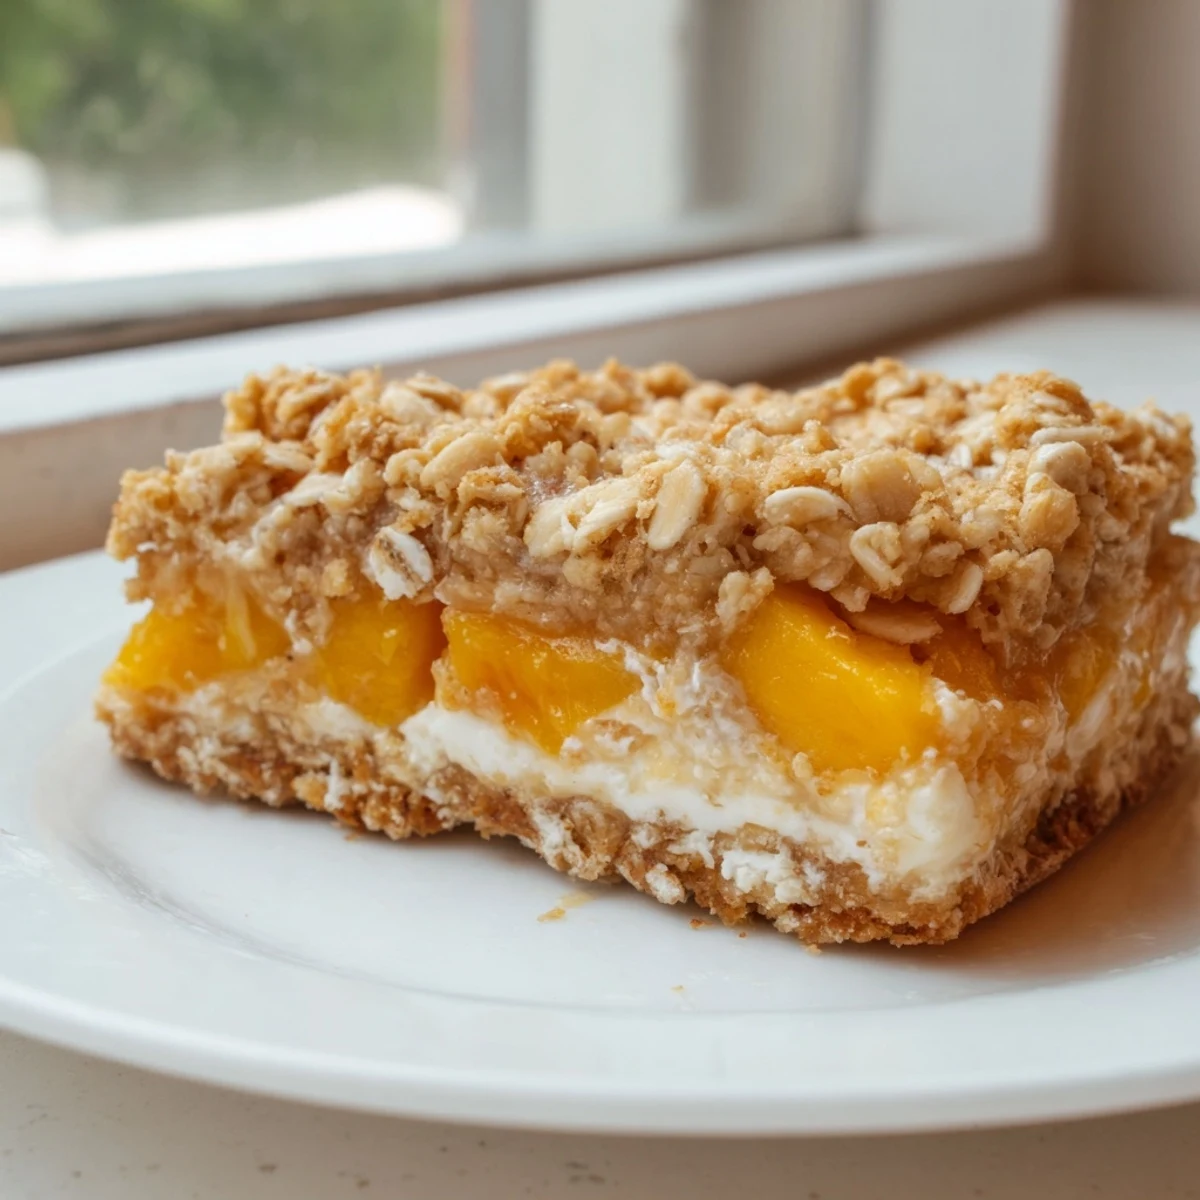
 These bars have become my answer to every summer invitation, from last-minute BBQs to carefully planned dinner parties. Something about the combination reminds everyone of childhood summers, but elevated enough that nobody feels like they're eating kids' dessert.
Making These Your Own
I've swapped in nectarines when peaches looked sad at the grocery store, and mixed berries have made appearances with great success. The formula is forgiving enough that you can follow your instincts while keeping the structure intact.
Getting The Texture Right
The key is pressing that bottom crust firmly enough that it bakes through completely. I use the bottom of a measuring cup to really pack it down, which prevents the dreaded soggy middle that can happen with fruit desserts.
Serving And Storage
These keep beautifully in the refrigerator for up to four days, assuming they last that long. I serve them slightly chilled because the contrast between cold filling and the texture of the crumble is absolutely perfect.
- Use a sharp knife and wipe it clean between slices for the neatest edges
- These freeze well if you wrap individual bars tightly in plastic wrap
- A scoop of vanilla ice cream alongside is never a bad decision
 Save to Pinterest
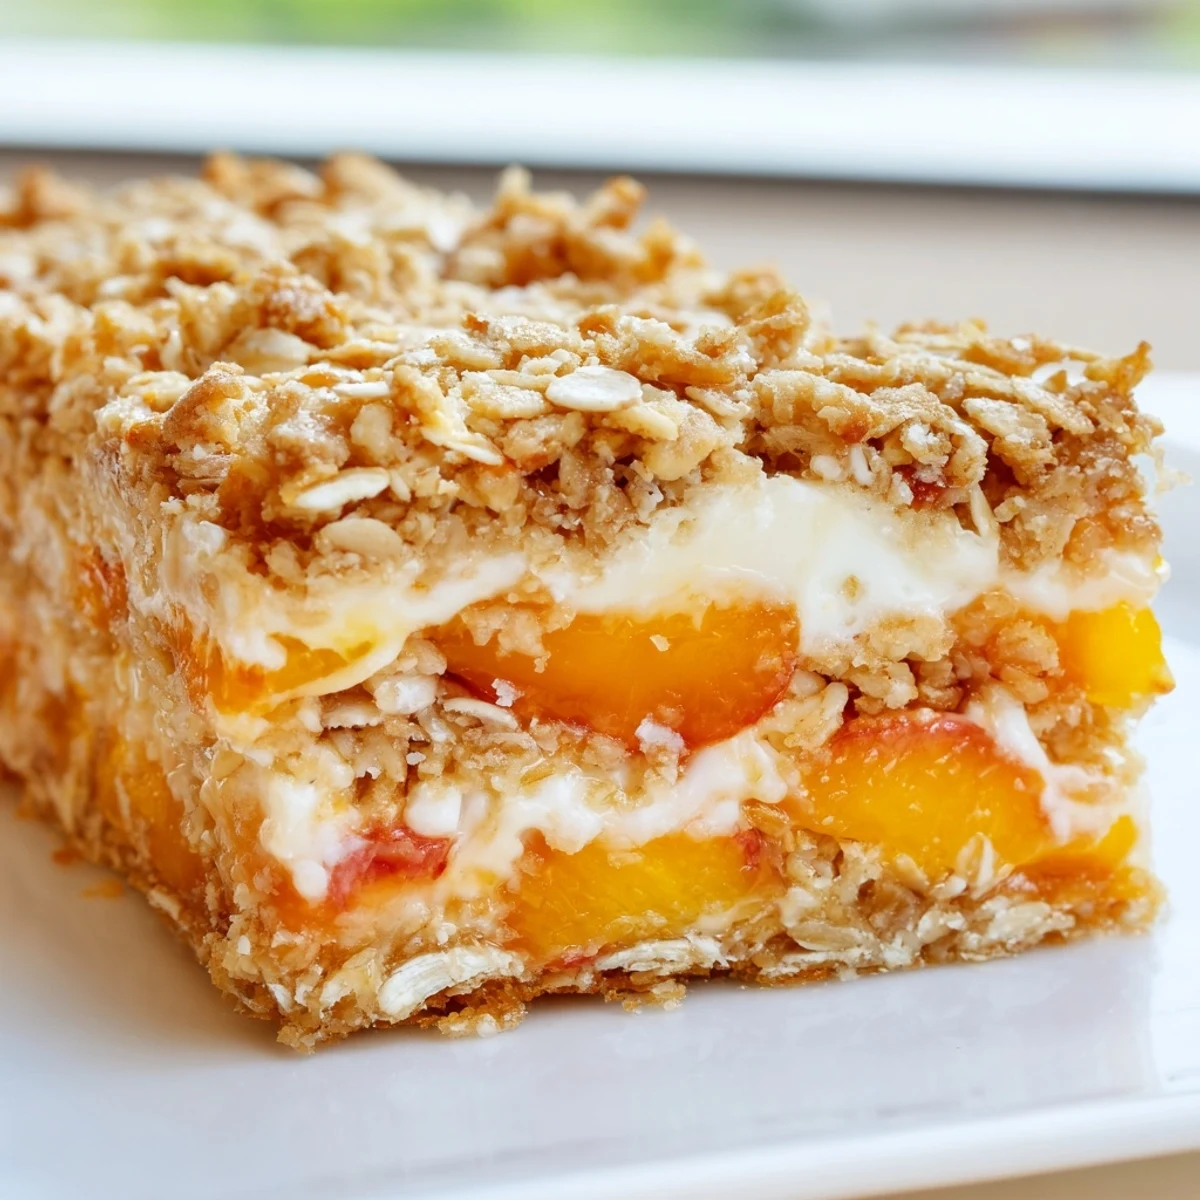
 Every time I make these, I think about how the simplest desserts often create the biggest moments around the table. Thats worth heating up the kitchen for.
Recipe FAQs
- → Can I use frozen peaches?
-
Yes, frozen peaches work well. Thaw completely and drain excess liquid before tossing with cornstarch to prevent a soggy filling.
- → How should I store these bars?
-
Keep refrigerated in an airtight container for up to 5 days. The cream filling requires cold storage to maintain freshness and texture.
- → Can I make these gluten-free?
-
Absolutely. Substitute certified gluten-free oats and a 1:1 gluten-free flour blend for the all-purpose flour. Results remain delicious.
- → Why must these cool completely before slicing?
-
The cream filling needs time to set. Chilling for at least 2 hours ensures clean, neat slices and allows flavors to meld together properly.
- → Can I substitute the peaches?
-
Nectarines work beautifully as a direct substitute. Berries like raspberries or blueberries also create delicious variations, though you may need to adjust sugar slightly.
- → What's the best way to achieve even slices?
-
Use a sharp knife and wipe clean between cuts. Chilling thoroughly beforehand makes the process much easier and yields cleaner edges.
