 Save to Pinterest
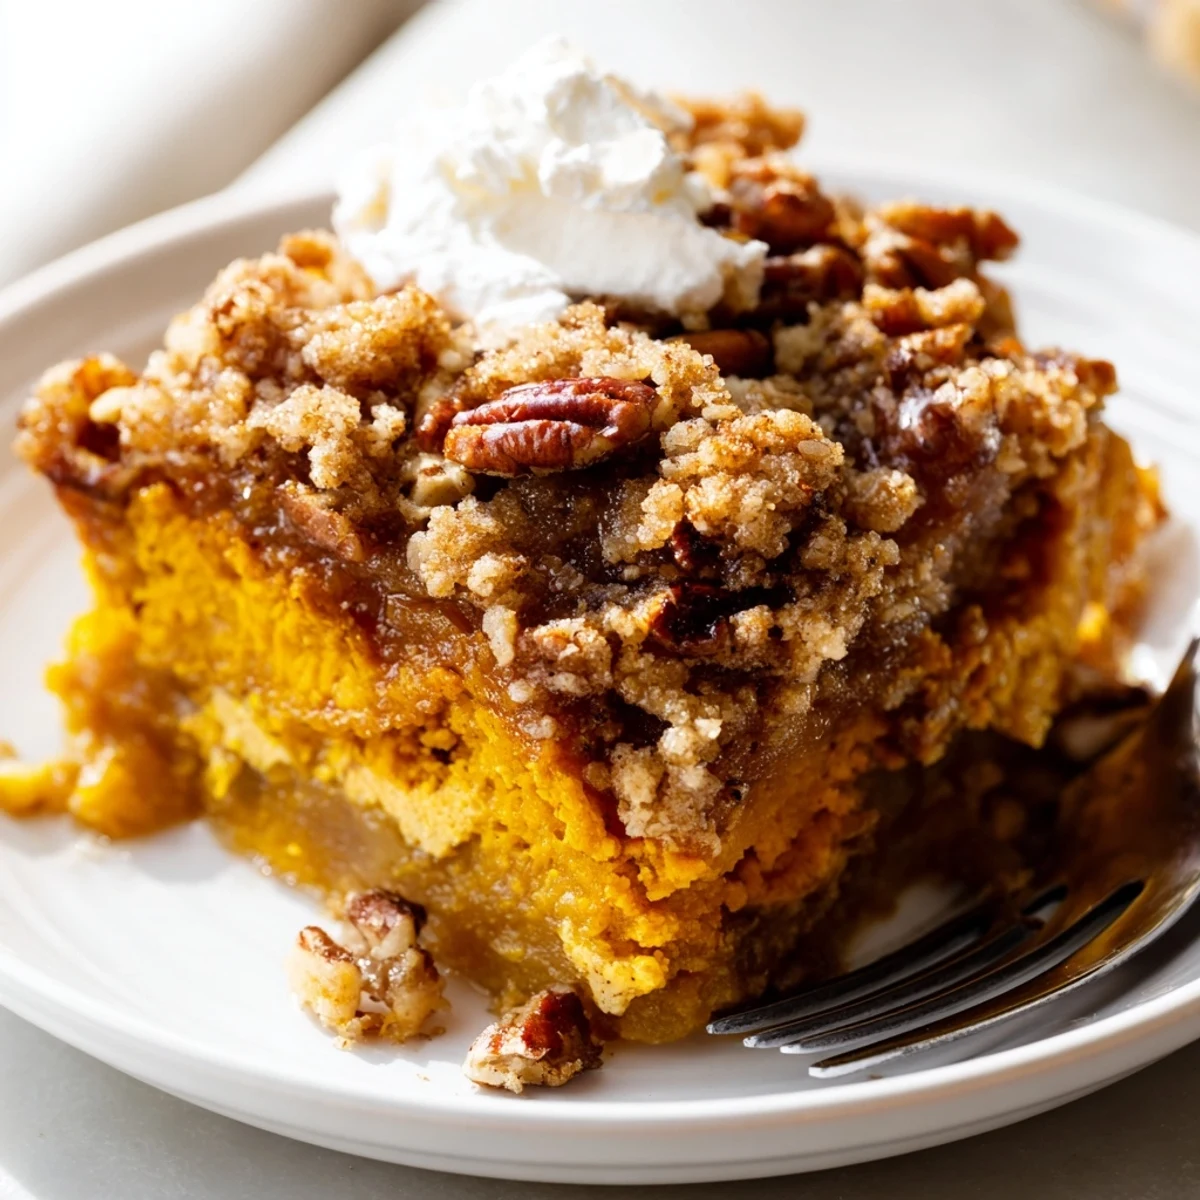
 This comforting autumn dessert layers velvety spiced pumpkin filling under a golden, buttery cake crust. With just 10 minutes of prep time, you'll have a warm crowd-pleasing treat that serves 12. The combination of pumpkin pie spice, brown sugar, and melted butter creates those nostalgic fall flavors everyone loves. Serve it warm with whipped cream or vanilla ice cream for the ultimate cozy finish.
My college roommate introduced me to dump cake during our first autumn away from home. She dumped everything into a borrowed pan while I stood there genuinely confused about the chemistry of it all. That bubbling golden topping emerging from the oven made me a believer in the magic of lazy baking.
Last November I brought this to a Friendsgiving and watched three different people ask for the recipe while scraping their plates clean. Someone actually went back for fourths which I consider the highest form of dessert compliment.
Ingredients
- Pumpkin purée: Use pure pumpkin not pumpkin pie filling to control the sweetness yourself
- Evaporated milk: This creates a creamier texture than regular milk and helps the filling set properly
- Eggs: Room temperature eggs incorporate better into the pumpkin mixture
- Granulated sugar: Balances the natural earthiness of the pumpkin
- Light brown sugar: Adds depth and a subtle caramel note that white sugar alone cannot provide
- Pumpkin pie spice: Make your own with cinnamon ginger nutmeg and cloves if you prefer adjusting the ratios
- Salt: Even desserts need a pinch to make all the spices pop
- Vanilla extract: Pure vanilla extract makes a noticeable difference in the final flavor
- Yellow cake mix: Do not accidentally use butter recipe mix as it changes the texture significantly
- Unsalted butter: Melt it completely but do not let it brown or it will affect the crust
- Pecans: Toast them lightly in a dry pan before sprinkling on top for extra crunch
Instructions
- Preheat your oven and prep the pan:
- A 350°F oven needs at least 15 minutes to fully heat. Greasing your baking dish with butter instead of oil adds flavor and helps the edges get extra crispy.
- Whisk the pumpkin filling:
- Combine everything until completely smooth. Any lumps will show up in the final texture so take your time here.
- Spread the pumpkin base:
- Pour it into your dish and use a spatula to create an even layer. The corners fill up last so give special attention to those edges.
- Add the cake mix layer:
- Sprinkle the dry mix slowly rather than dumping it all at once. This prevents clumping and ensures even coverage.
- Drizzle the butter:
- Pour in a zigzag pattern across the entire surface. Some dry spots will remain but the oven heat helps the butter spread during baking.
- Add pecans if desired:
- Scatter them evenly so every serving gets some crunch. Press them gently into the butter so they do not just roll off.
- Bake until golden:
- The top should turn deep golden brown and you might see some pumpkin bubbling through. This is exactly what you want to see.
- Let it rest before serving:
- Twenty minutes of cooling helps the filling set. Cutting too soon gives you soup instead of cake.
 Save to Pinterest
 This recipe saved me during a chaotic Thanksgiving when my pie crust failed completely. Everyone actually preferred the dump cake texture and I have never looked back.
Make It Your Own
Walnuts work beautifully if pecans are not your favorite. I once used half pecans and half walnuts and the texture variation was surprisingly nice.
Serving Suggestions
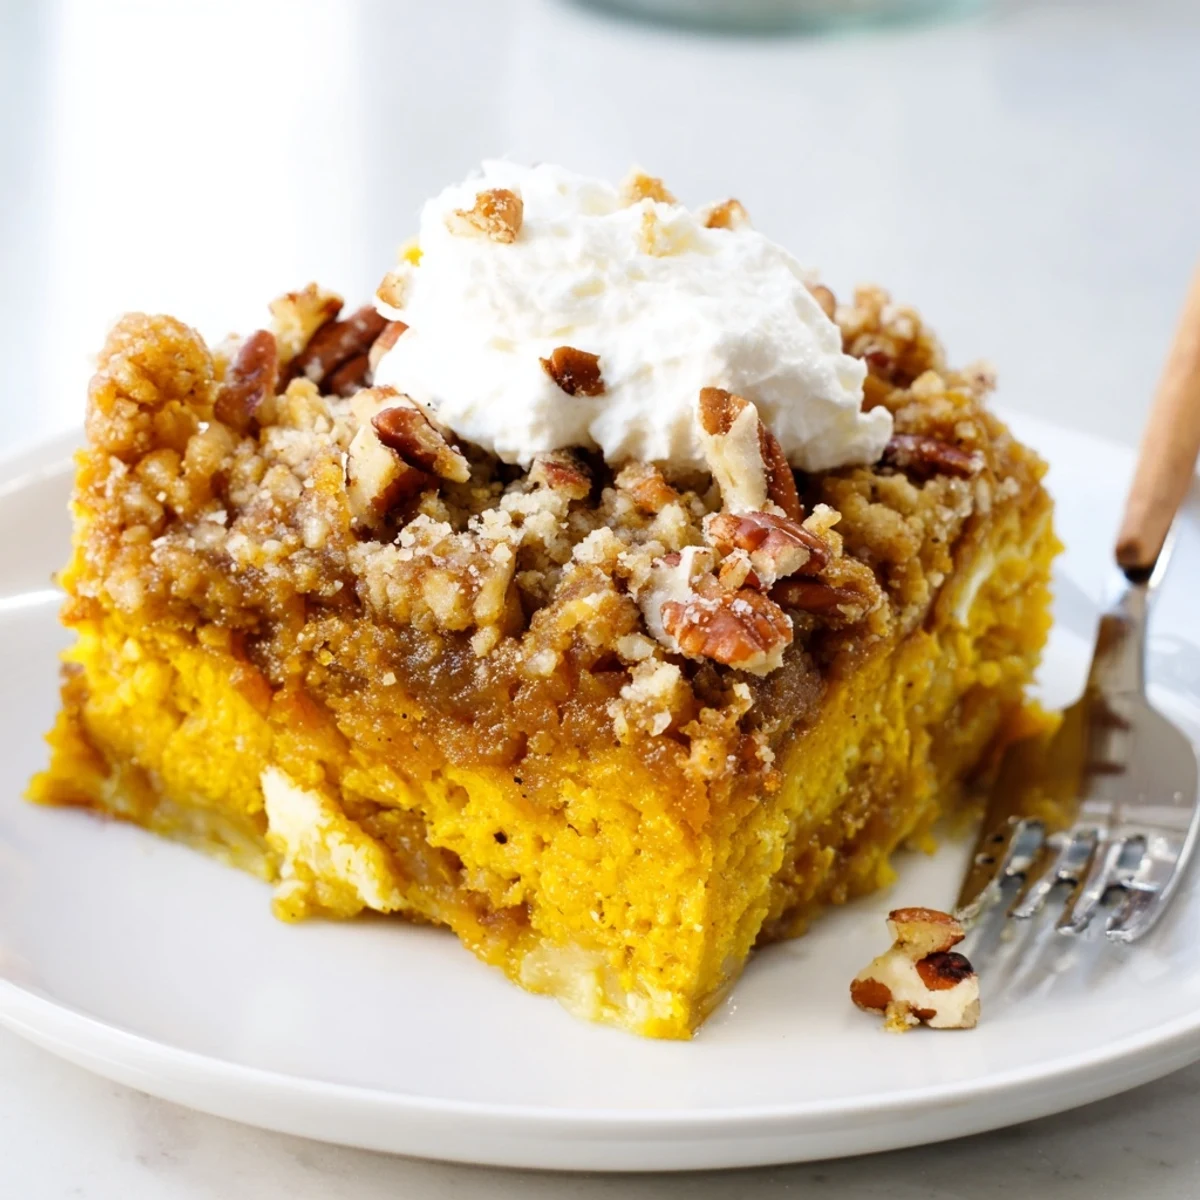
Warm slices with vanilla ice cream create that perfect hot and cold contrast. Whipped cream spiked with a little maple syrup feels fancy but takes zero extra effort.
Storage and Timing
This actually tastes better the second day when all the flavors have had time to mingle properly.
- Keep it covered in the refrigerator for up to three days
- Reheat individual portions in the microwave for about 20 seconds
- The crust will soften overnight but that just makes it more like bread pudding
 Save to Pinterest
 Some of the best desserts come from letting go of perfection and embracing the beautifully imperfect.
Recipe FAQs
- → What makes a dump cake different from regular cake?
-
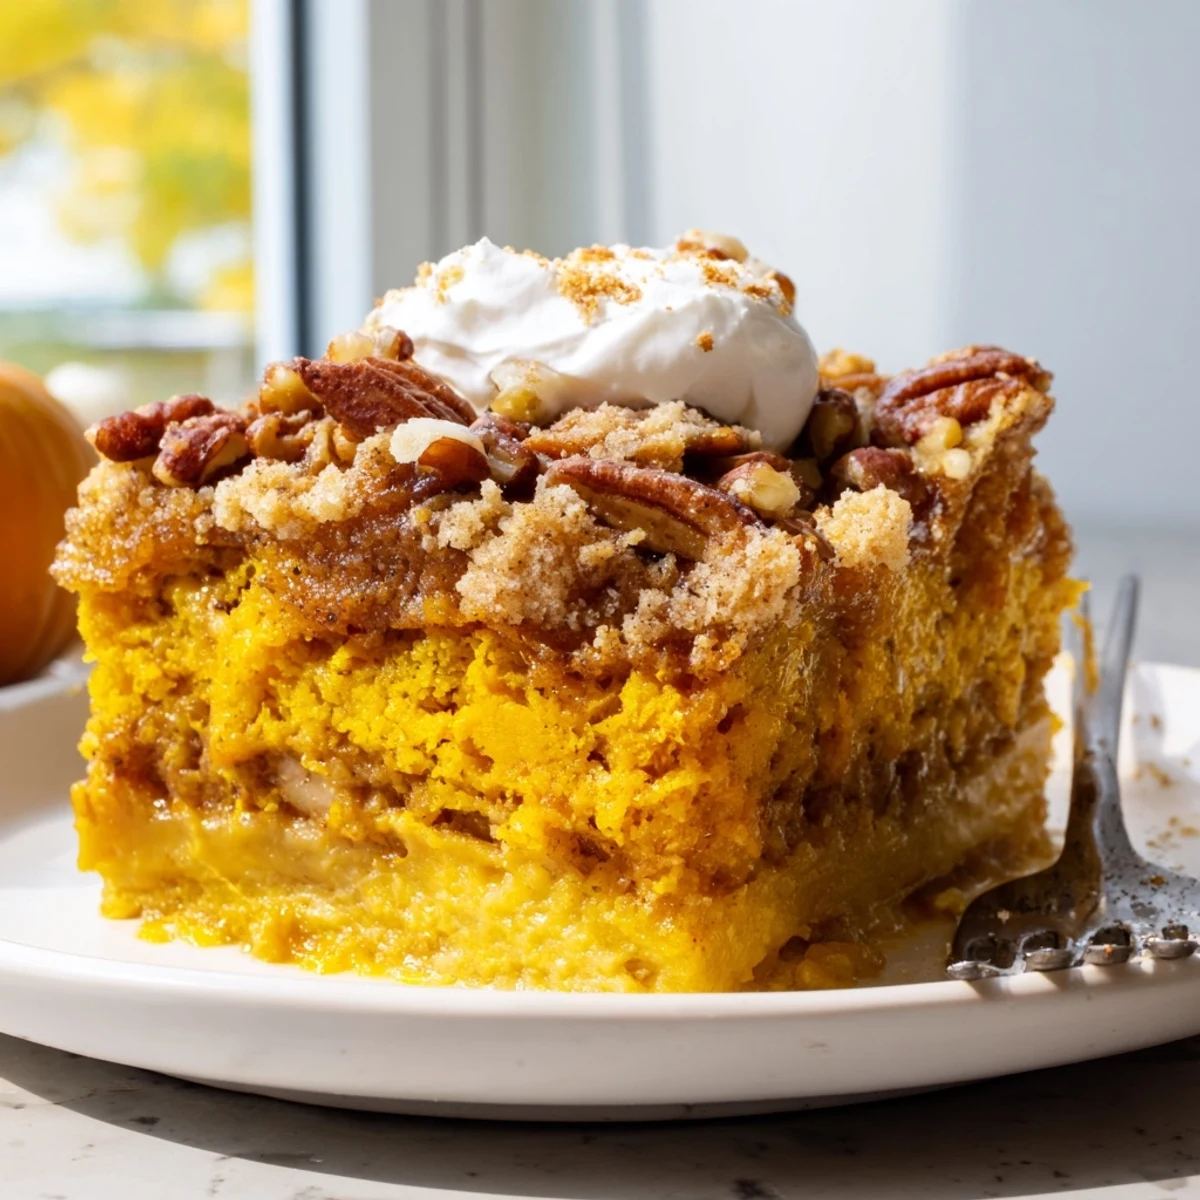
A dump cake gets its name from the simple method where ingredients are literally dumped into the baking dish—no mixing bowls or electric mixers needed. The dry cake mix sprinkled over the pumpkin mixture creates a unique cobbler-like texture with a crisp, buttery top and soft, pudding-like bottom layer.
- → Can I use fresh pumpkin instead of canned?
-
Yes, you can use fresh pumpkin purée. Roast or boil a sugar pie pumpkin until tender, then purée until smooth. Use 15 oz (about 2 cups) of fresh purée, but keep in mind fresh pumpkin has more water content so your filling might be slightly thinner. Canned pumpkin purée provides consistent results and is more convenient.
- → How do I know when the dump cake is done baking?
-
The cake is ready when the top is golden brown and bubbly, typically after 45-50 minutes at 350°F. Insert a toothpick into the center—it should come out mostly clean or with just a few moist crumbs. The center may still look slightly jiggly, which is normal due to the pumpkin filling, but it will set as it cools.
- → Can I make this dump cake ahead of time?
-
Absolutely! You can assemble the entire dish up to 24 hours before baking and store it covered in the refrigerator. When ready to bake, you may need to add an extra 5-10 minutes to the cooking time since it will be cold. Leftovers also keep well covered in the refrigerator for up to 2 days and reheat beautifully in the microwave.
- → What can I serve with pumpkin dump cake?
-
Warm servings pair perfectly with whipped cream, vanilla ice cream, or even a dollop of Greek yogurt for contrast. For extra indulgence, drizzle with salted caramel sauce. The cake is delicious on its own, but a cold creamy topping balances the warm spices beautifully. It's also lovely alongside a cup of coffee or hot cider.
- → Is there a way to make this dairy-free?
-
Yes! Substitute the evaporated milk with full-fat coconut milk or a dairy-free evaporated milk alternative. Replace the butter with plant-based butter sticks or melted coconut oil for the topping. Keep in mind that coconut milk will add a subtle coconut flavor, while dairy-free alternatives provide a more neutral taste profile.
