 Save to Pinterest
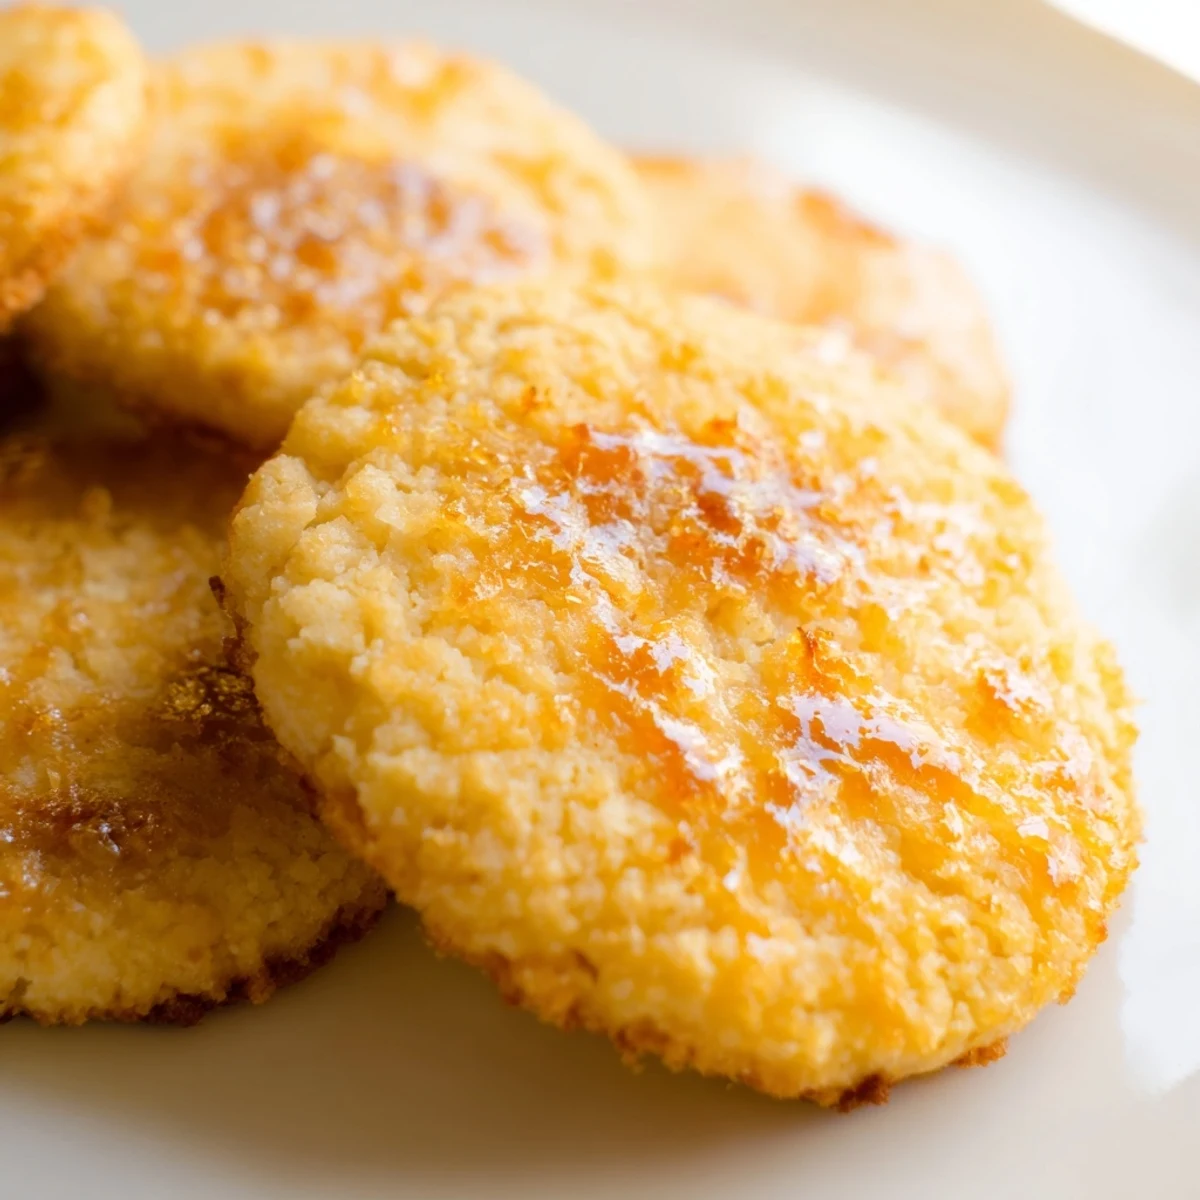
 These indulgent cookies capture the essence of traditional crème brûlée in a handheld format. The soft, buttery vanilla dough encases a rich cream cheese filling, while the signature caramelized sugar topping creates that satisfying crackle. Perfect for entertaining or a sophisticated dessert at home, these French-inspired treats deliver the familiar flavors of vanilla custard and burnt sugar in every bite.
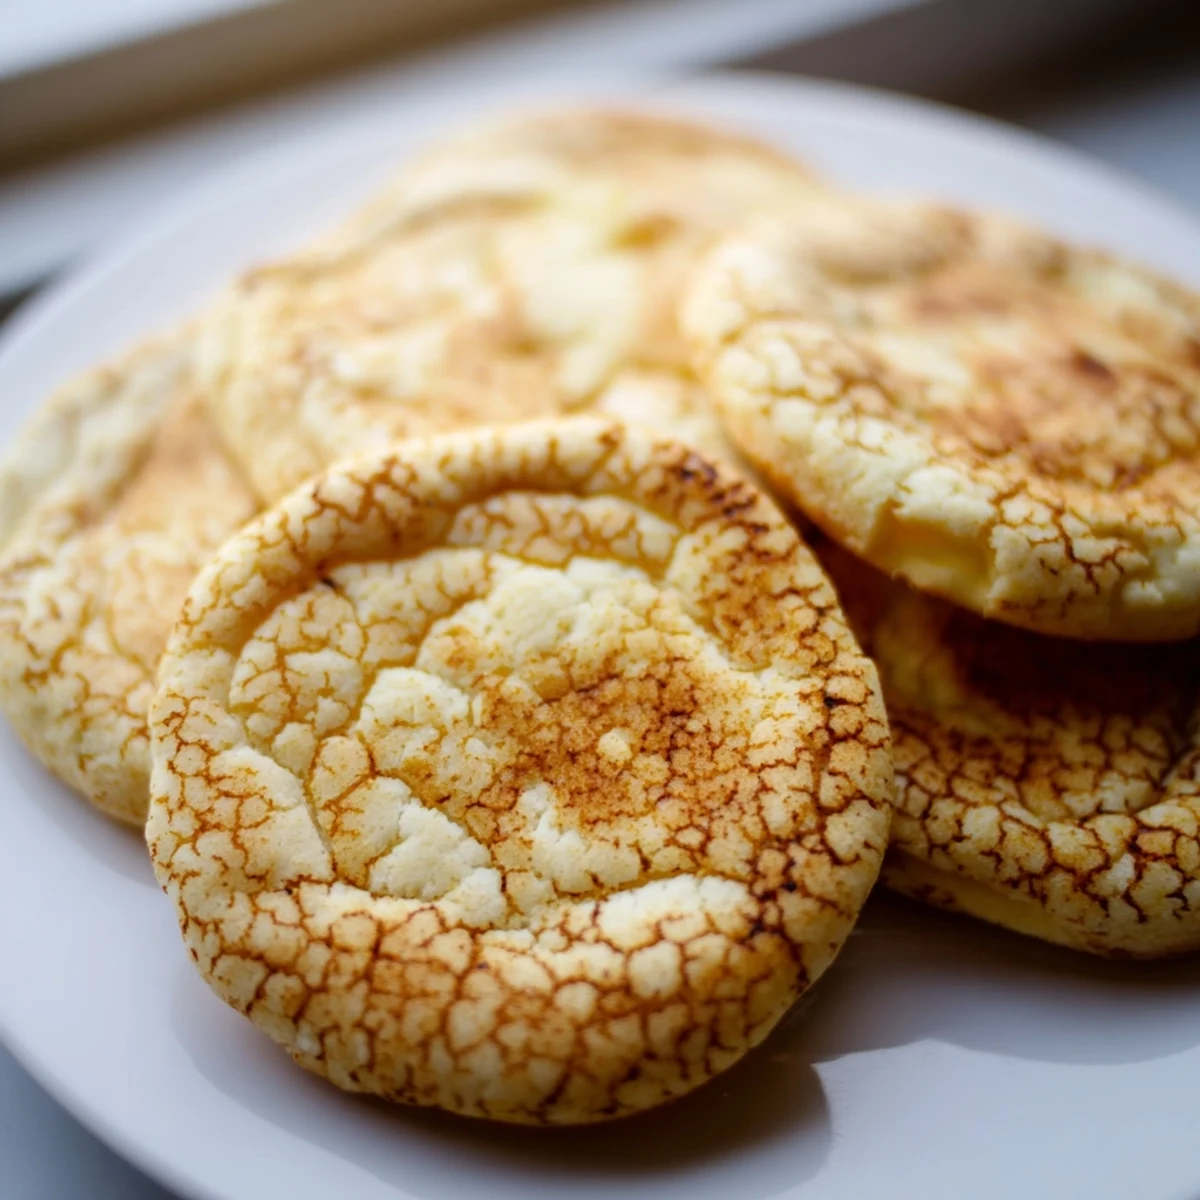
The smell of vanilla always pulls me back to my grandmother's kitchen, where she'd let me stand on a chair to reach the counter. These cookies happened on a rainy Sunday afternoon when I was craving something fancy but comforting, like crème brûlée without the fussy ramekins. My kitchen torch had been gathering dust in the back of a cupboard, and I figured if it could work on custard, why not a cookie? That first batch came out of the oven with edges just slightly golden, and when I torched the sugar tops, the crackle sound was absolutely perfect.
I brought these to a dinner party once, and my friend Sarah actually gasped when she bit into her first one. She'd been having a rough week at work, and watching her eyes light up at that first crunch through the sugar made my entire night. Now every time I make them, I think about how food can be such a small, simple way to show someone you care. The best part is assembling them while you chat, hands busy with dough while the kettle whistles in the background.
Ingredients
- All-purpose flour: The backbone of these cookies, providing structure without making them tough or dry
- Unsalted butter: Keep it at room temperature for about 30 minutes before you start baking
- Granulated sugar: Cream this thoroughly with the butter until it looks pale and fluffy, which creates those tender cookie edges
- Egg yolks only: The extra richness from yolks makes these cookies incredibly soft and gives them a beautiful golden color
- Sour cream: My secret ingredient for keeping the dough moist and adding a subtle tang that balances the sweetness
- Cream cheese: Make sure this is completely softened so your filling will be silky smooth without any lumps
- Vanilla bean paste: Worth every penny for those tiny black specks and intense flavor, though extract works perfectly fine too
Instructions
- Preheat your oven and prepare your space:
- Set your oven to 350°F and line two baking sheets with parchment paper, making sure the paper lies flat so your cookies bake evenly
- Whisk the dry ingredients together:
- Combine the flour, baking soda, and salt in a medium bowl, then set it aside while you work on the wet ingredients
- Cream the butter and sugar:
- Beat the softened butter with granulated sugar until the mixture looks pale and fluffy, which usually takes about 3 minutes of serious mixing
- Add the wet ingredients:
- Mix in the egg yolks, vanilla extract, and sour cream until everything is fully combined and the batter looks smooth and glossy
- Combine everything gently:
- Gradually stir in the dry ingredients just until a soft dough forms, being careful not to overmix which can make your cookies tough
- Prepare the creamy filling:
- In a separate small bowl, beat together the softened cream cheese, sugar, and vanilla bean paste until the mixture is completely smooth
- Stuff the cookies:
- Scoop about 2 tablespoons of dough, flatten it into a disc, and place 1 teaspoon of filling in the center before folding the dough around it and pinching the edges closed
- Bake to perfection:
- Place the cookies seam side down on your prepared sheets, spacing them 2 inches apart, and bake for 11 to 13 minutes until the edges are set but the centers still look slightly soft
- Cool completely before the final step:
- Let the cookies rest on the hot baking sheet for 10 minutes, then move them to a wire rack until they're completely cool to the touch
- Create the brûlée topping:
- Sprinkle a thin, even layer of granulated sugar on each cookie, then use your kitchen torch to caramelize it until it turns golden brown and forms a crisp shell
 Save to Pinterest
 My daughter helped me make these last holiday season, and we made such a mess with the sugar everywhere, but her face when she torched her very first cookie was absolutely worth the cleanup. She said it felt like being a scientist in the kitchen, watching the sugar bubble and turn into that beautiful amber glass. Now whenever she sees me reach for the kitchen torch, she gets this knowing little grin and asks if we're making 'the crackle cookies' again.
Getting That Perfect Torched Sugar
The secret to restaurant-quality brûlée topping is patience and an even hand with the sugar. I've learned through many slightly burned batches that a thin, consistent layer of sugar works much better than a thick clumpy one. Hold your torch about 2 inches from the cookie surface and keep it moving in small circles, watching as the sugar melts and turns from white to golden to that perfect deep amber color. The sugar will bubble up slightly as it caramelizes, which is exactly what you want to see happen.
Making These Ahead
While the brûlée topping is best done right before serving, you can actually prepare the stuffed cookies a day in advance and store them in an airtight container at room temperature. The filling stays perfectly creamy and the cookies remain soft. When you're ready to serve, just pull them out, sprinkle with sugar, and torch them in front of your guests for a little kitchen magic show that always impresses everyone at the table.
Perfecting Your Cookie Shape
Getting the filling completely sealed inside the dough takes a little practice, and my first few batches definitely had some cream cheese leakage situations in the oven. The key is making sure your dough disc is slightly larger than you think you need, then bringing all the edges together and giving them a good, firm pinch. Roll the sealed dough gently between your palms to smooth out any seams before placing it on the baking sheet. If you see any tiny cracks or thin spots, patch them with a little extra dough before baking.
- Chill the assembled cookies for 15 minutes before baking if your dough feels too soft to handle
- Use a cookie scoop for consistent portions so all your cookies bake at the same rate
- If some filling does leak during baking, don't worry, those cookies still taste absolutely delicious
 Save to Pinterest
 There's something deeply satisfying about combining two beloved desserts into one handheld treat that brings people together. Hope these cookies bring as much joy to your kitchen as they've brought to mine.
Recipe FAQs
- → Can I make these cookies without a kitchen torch?
-
Yes, you can caramelize the sugar under your oven broiler. Place the cooled cookies on a baking sheet and broil for 1–2 minutes, watching closely to prevent burning. The torch method provides more control and even results.
- → How should I store these cookies?
-
Store in an airtight container at room temperature for up to 3 days. Note that the caramelized sugar topping may soften slightly over time. For best texture, add the brûlée topping just before serving.
- → Can I freeze the dough or baked cookies?
-
Yes, freeze assembled unbaked cookies on a tray, then transfer to a freezer bag for up to 3 months. Bake from frozen, adding 2–3 minutes to baking time. Baked cookies can also be frozen, but add the sugar topping after thawing.
- → What's the difference between vanilla bean paste and extract?
-
Vanilla bean paste contains tiny vanilla seeds and has a more intense, complex flavor similar to whole beans. Extract works perfectly fine as a substitute—the flavor difference will be subtle in these rich cookies.
- → Why do my cookies spread too much during baking?
-
This usually happens if the dough or butter is too warm. Chill the assembled filled cookies for 15–20 minutes before baking to help them hold their shape. Also ensure your oven is fully preheated.
- → Can I use a different filling?
-
The cream cheese filling complements the vanilla dough beautifully, but you could try adding lemon curd, chocolate ganache, or even fruit preserves for variation. Adjust the sugar accordingly based on your filling's sweetness.
