 Save to Pinterest
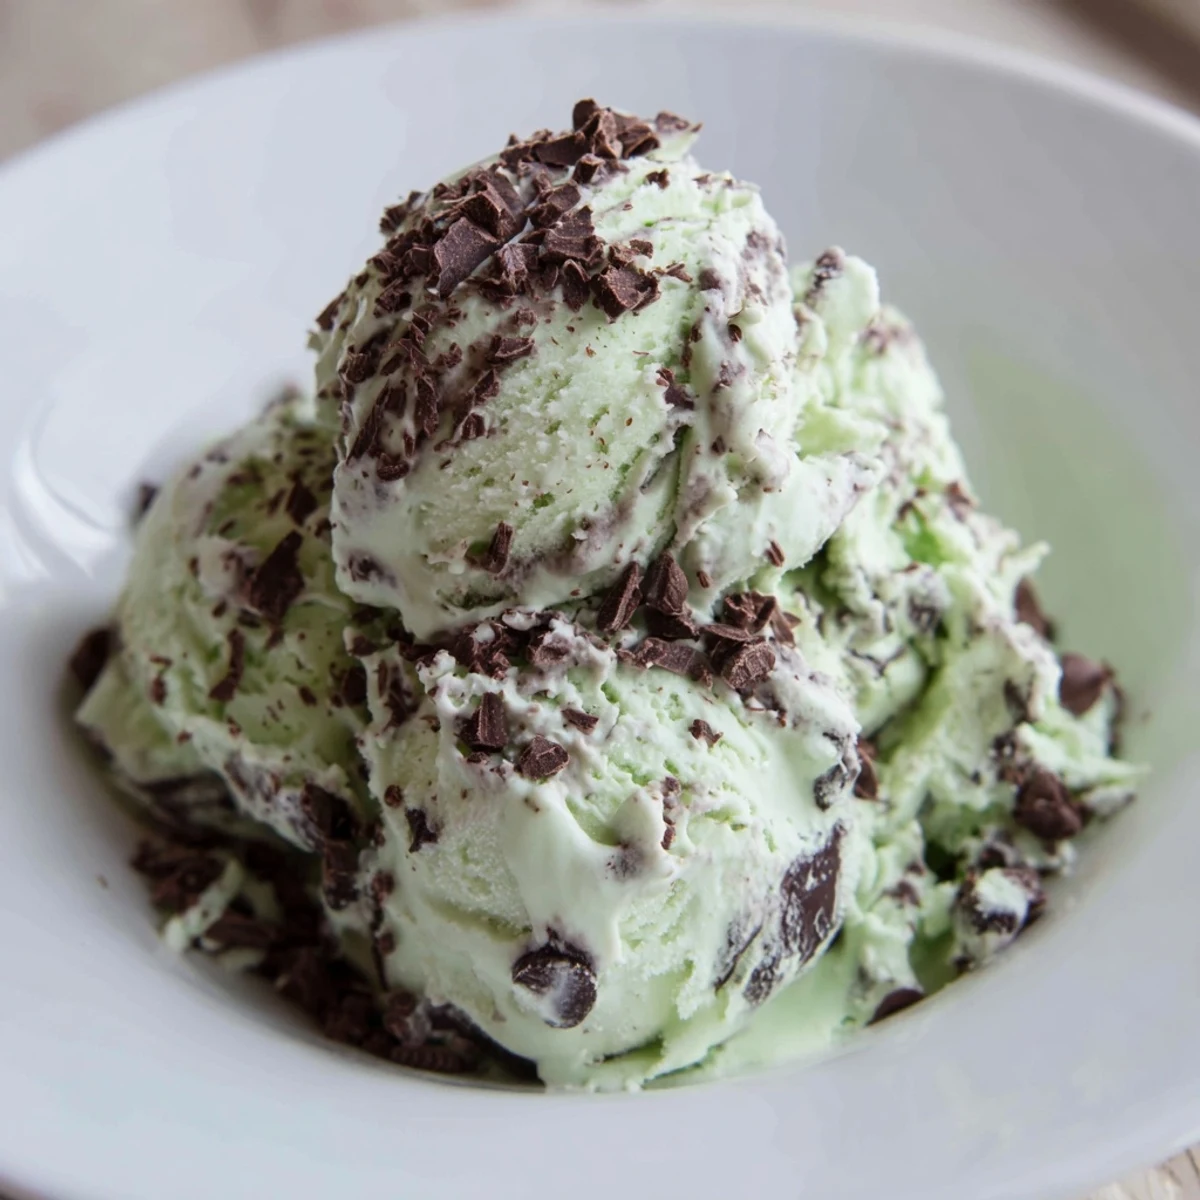
 This creamy mint ice cream combines fresh peppermint essence with rich chocolate chips, creating a cool, refreshing dessert ideal for festive occasions. It requires careful tempering of egg yolks and slow cooking to achieve a smooth custard base, which is then chilled and churned to silky perfection. The final touch of chocolate chips adds texture and indulgence, making it a delightful treat to enjoy on St. Patricks Day or any celebratory moment.
The winter after college, I got it in my head that I needed to master homemade ice cream, and mint chocolate chip felt like the obvious starting point. Something about that perfect balance of cool mint and rich chocolate called to me. I made batch after batch, tweaking and tasting until my roommates stopped asking what was for dessert and started just grabbing spoons.
Last March, my niece announced she was hosting her first St. Patricks Day party and casually asked if I could bring something festive. I showed up with a container of this green speckled perfection, and honestly, it was gone before anyone even touched the soda bread. Watching everyone light up at that first cool, minty bite reminded me why I fell in love with ice cream making in the first place.
Ingredients
- 2 cups heavy cream: This creates that luxurious, restaurant quality texture were after
- 1 cup whole milk: Balances the richness so the ice cream isnt overwhelmingly heavy
- 3/4 cup granulated sugar: Just enough sweetness without masking the mint
- 4 large egg yolks: The secret to a velvety custard base that holds its shape beautifully
- 1/4 teaspoon fine sea salt: Intensifies the chocolate and makes the mint sing
- 1 1/2 teaspoons pure peppermint extract: Go for the good stuff here, it makes all the difference
- 1/2 teaspoon pure vanilla extract: Adds depth and rounds out the mint flavor
- Green food coloring: Optional, but that festive color never hurts
- 3/4 cup semisweet chocolate chips: Chop them yourself for those perfect irregular flecks
Instructions
- Heat the cream mixture:
- Combine heavy cream, milk, and half the sugar in a medium saucepan over medium heat until you see tiny bubbles around the edges and steam rising, but never let it come to a rolling boil
- Prepare the egg yolks:
- Whisk yolks, remaining sugar, and salt in a separate bowl until the mixture turns pale yellow and slightly thickened, about 2 minutes
- Temper the eggs:
- Slowly drizzle about 1/2 cup hot cream into the yolks while whisking frantically, then gradually pour that warmed egg mixture back into the saucepan
- Cook the custard:
- Stir constantly over mediumlow heat with a wooden spoon until it thickens enough to coat the back of the spoon, 170 to 175 degrees on an instantread thermometer
- Add the flavorings:
- Remove from heat immediately and stir in peppermint extract, vanilla, and food coloring if youre going for that classic green look
- Chill thoroughly:
- Pour through a fine mesh sieve into a clean bowl, cool to room temperature, then refrigerate at least 4 hours until completely cold
- Churn the ice cream:
- Freeze in your ice cream maker according to the manufacturers directions, adding chopped chocolate in the last 2 minutes of churning
- Set the texture:
- Transfer to a freezer safe container and freeze at least 2 hours until firm enough to scoop
 Save to Pinterest
 My dad swears he doesnt like mint chocolate chip anything, but I caught him eating this straight from the container at midnight with the refrigerator light illuminating his guilty face. Now he requests it by name every time he visits.
Getting The Perfect Texture
The difference between good homemade ice cream and great homemade ice cream comes down to patience. That four hour chill time isnt a suggestion, its absolutely essential. I learned this the hard way when I tried to rush a batch and ended up with something closer to a slushie than the creamy dream I was aiming for.
Chocolate Chip Strategy
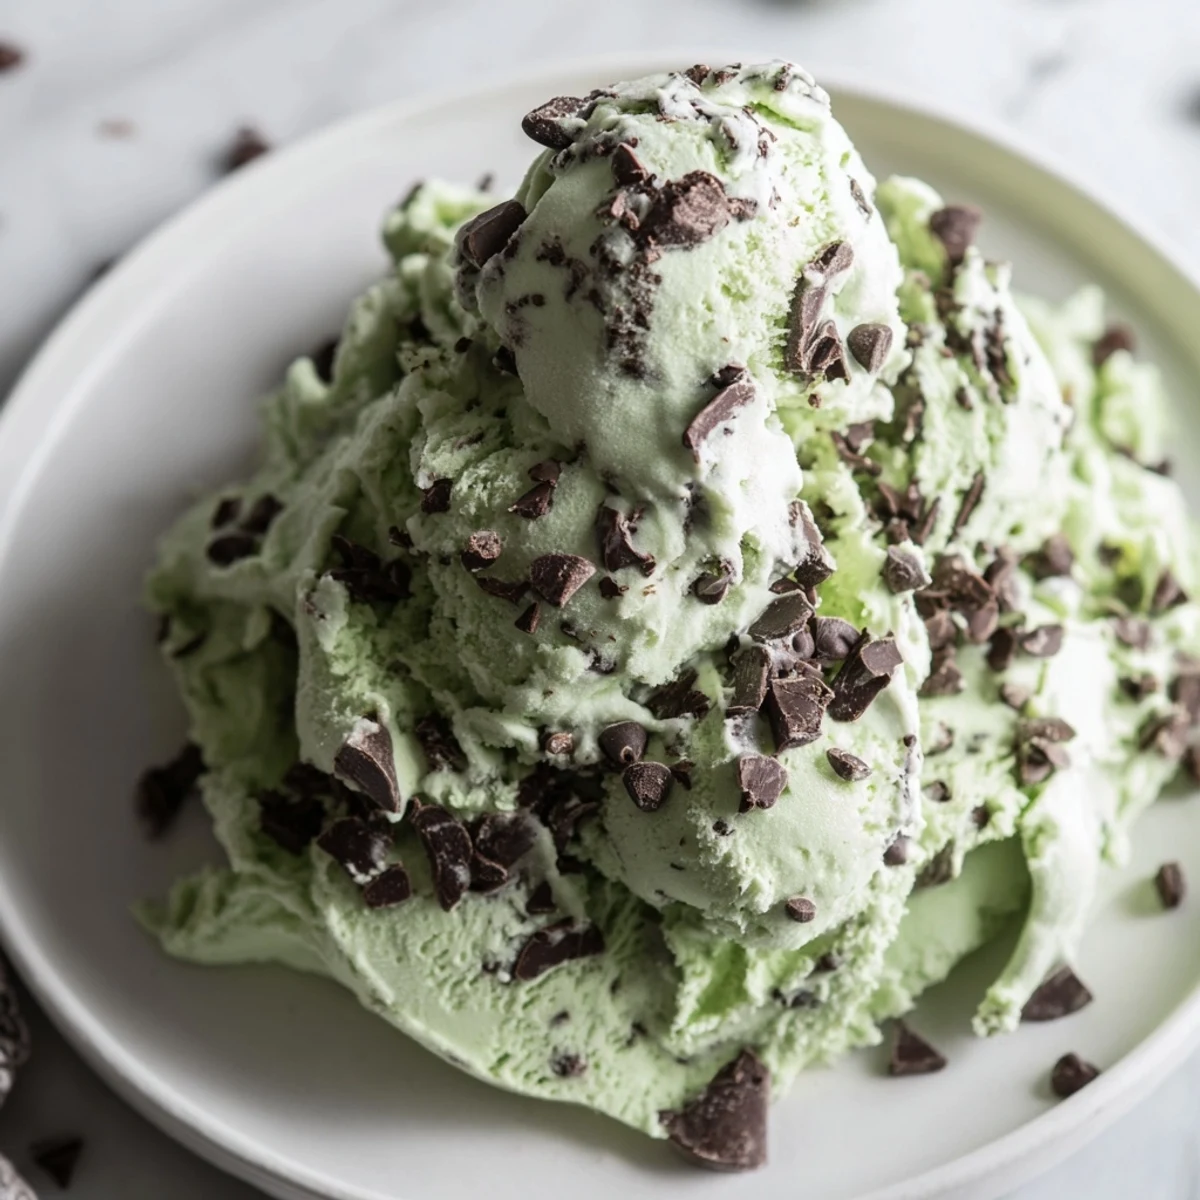
Chopping your own chocolate chips instead of buying miniature ones gives you those irregular, satisfyingly sized pieces throughout. I use a chefs knife and work quickly so the chocolate doesnt melt from the heat of my hands. Larger chunks create these incredible ribbons of chocolate throughout the mint base.
Storage And Serving
Homemade ice cream freezes harder than commercial versions, so I always take mine out about 10 minutes before serving. Letting it soften slightly makes scooping effortless and improves the texture on the tongue. A warm ice cream scoop dipped in hot water helps too.
- Press a piece of parchment paper directly onto the surface before freezing to prevent ice crystals
- Store in the back of your freezer where temperature stays most consistent
- This recipe keeps beautifully for about two weeks, though its never lasted that long at my house
 Save to Pinterest
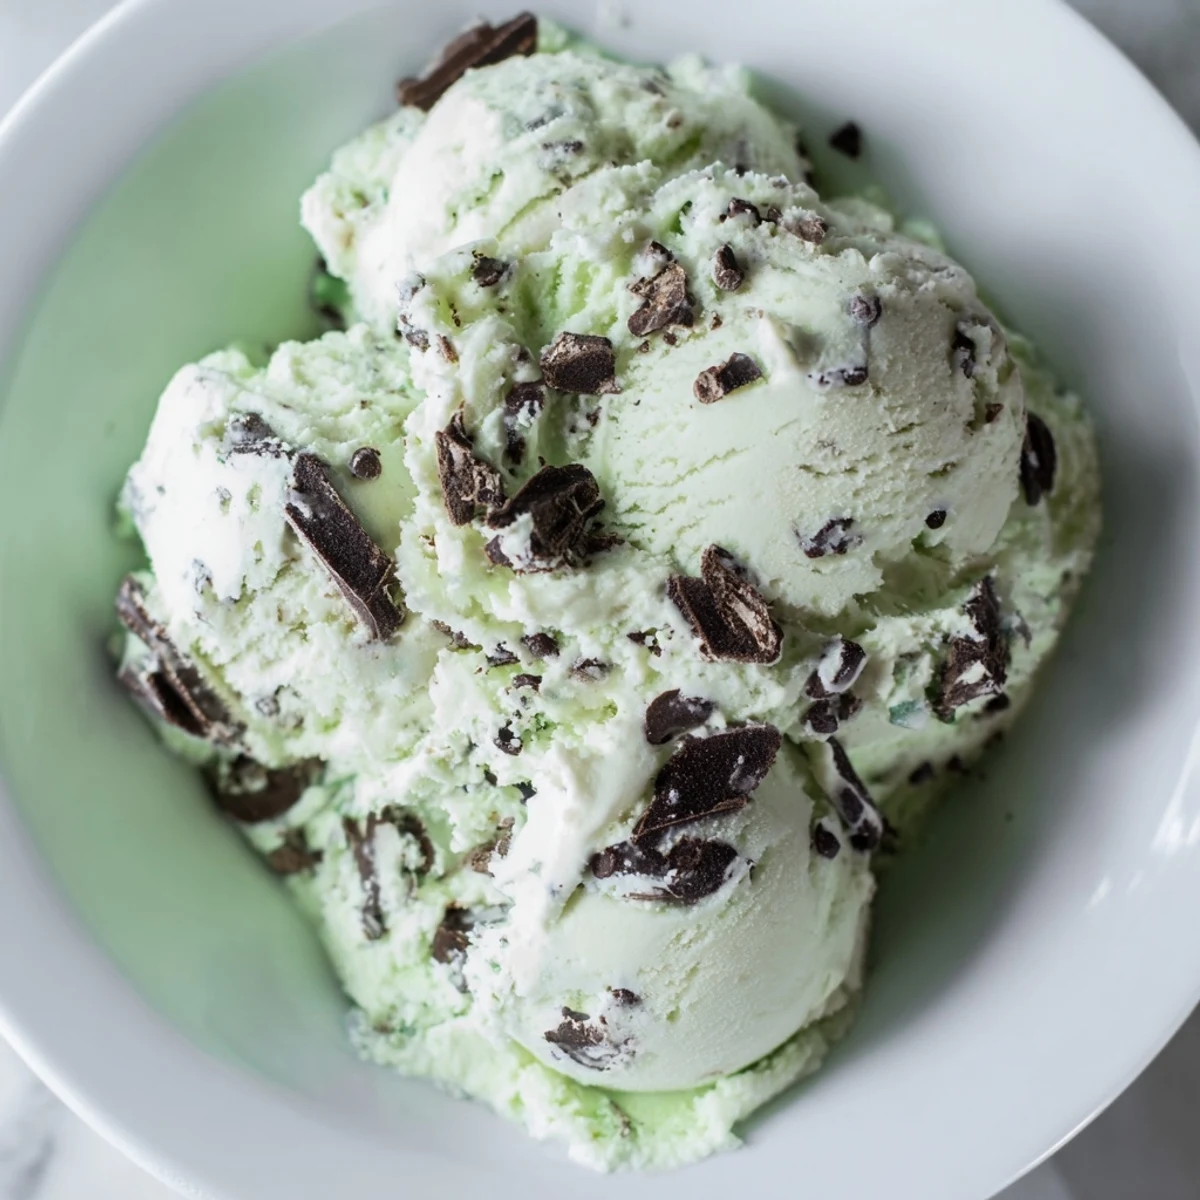
 Theres something deeply satisfying about scooping out that first perfect dome of homemade ice cream, watching it curl onto the cone like it came straight from an old fashioned parlor. I hope this recipe finds its way into your St. Patricks Day traditions and beyond.
Recipe FAQs
- → How do I ensure a smooth custard base?
-
Slowly temper the egg yolks by gradually adding hot cream while whisking constantly, then cook gently to thicken without curdling.
- → Can I omit the green food coloring?
-
Yes, the ice cream will have a classic pale appearance but retain its fresh mint flavor perfectly.
- → When should chocolate chips be added?
-
Add chopped chocolate chips during the last few minutes of churning for even distribution.
- → What is the best way to store this ice cream?
-
Transfer it to a freezer-safe container and freeze for at least two hours to firm up before serving.
- → Can this be made gluten-free and vegetarian?
-
Yes, this version is naturally vegetarian and gluten-free when using suitable chocolate chips.
