 Save to Pinterest
 Beat four room-temperature eggs with sugar and a pinch of salt until tripled in volume for a pale, airy sponge. Gently fold in sifted flour and vanilla, divide into two 20 cm tins and bake 20–25 minutes. Cool completely. Whip double cream with powdered sugar to soft peaks, layer with jam (optional) and sliced strawberries, finish with cream and berries, then chill at least 30 minutes. Use a serrated knife and chilled slices for clean serving.
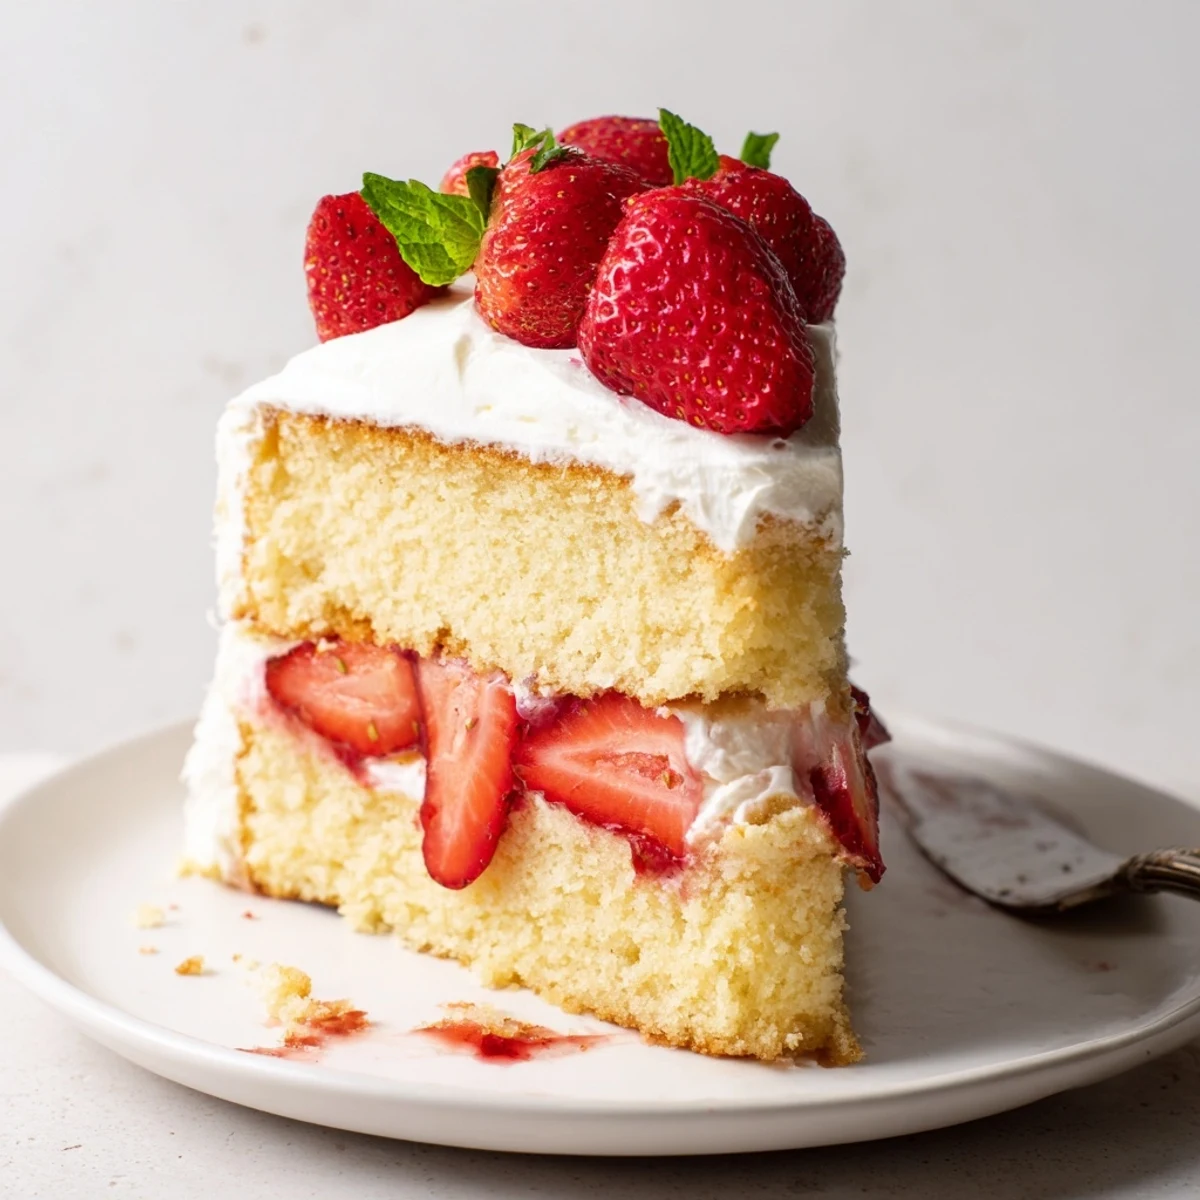
The first time I made this strawberries and cream sponge cake, the kitchen filled with the scent of warm vanilla and the gentle perfume of ripe strawberries. It was a drizzly Saturday, and I found myself humming along to the rain as I carefully whipped the cream by hand, stealing tastes with a wooden spoon. There is something quietly joyous about slicing through the pillowy sponge and having a tumble of berries spill out. It never fails to impress, but it’s much easier than it looks.
I made this for a garden party last June, when my neighbor peeked in through the window and asked if she could borrow a spatula—she ended up staying to help hull strawberries, and we both laughed when the cream splattered all over the counter.
Ingredients
- Large eggs (4, room temperature): Leaving eggs out of the fridge for an hour makes them whip up fluffier for the lightest sponge.
- Granulated sugar (120 g): White sugar dissolves easily, ensuring the cake base isn’t grainy.
- All-purpose flour (120 g): Sift it gently over the egg mixture to avoid clumps and keep things feathery.
- Vanilla extract (2 tsp): The difference real vanilla makes is truly worth it.
- Salt (1/4 tsp): Just a pinch makes everything taste more vivid.
- Heavy cream (300 ml): Double cream holds its shape beautifully and is easy to whip without overbeating.
- Powdered sugar (2 tbsp): Prevents grainy whipped cream and melts instantly.
- Fresh strawberries (400 g): The fresher and riper, the more their sweetness shines between the layers.
- Strawberry jam (2 tbsp, optional): A thin layer intensifies the berry flavor—don’t skip unless you prefer it subtle.
- Fresh mint leaves (optional): Adds a pop of color and a whisper of freshness at the end.
Instructions
- Preheat and prep:
- Set your oven to 180°C (350°F), then grease and line two 20 cm round cake pans with parchment so nothing sticks.
- Whip eggs and sugar:
- With your mixer on high, beat eggs, granulated sugar, and salt until the mixture is pale, airy, and billowy—like marshmallow fluff.
- Fold in flour and vanilla:
- Sift flour over the mixture and drizzle in vanilla, then use a spatula to fold gently, taking care not to crush the air bubbles.
- Bake the sponge:
- Divide the batter into pans. Bake 20–25 minutes, watching for golden tops and a gentle spring when poked.
- Cool the cakes:
- Let cakes rest in their pans for 10 minutes, then turn them onto a wire rack and leave untouched until completely cool.
- Whip the cream:
- Beat cold double cream with powdered sugar and vanilla until soft peaks form—the texture should softly droop off your whisk.
- Add strawberry jam (optional):
- If using, spread a thin veil of jam over one cooled cake layer for an extra fruity punch.
- Layer with cream and berries:
- Spoon half the cream over the base layer, scatter with half the strawberries, then gently set the second sponge on top.
- Finish and decorate:
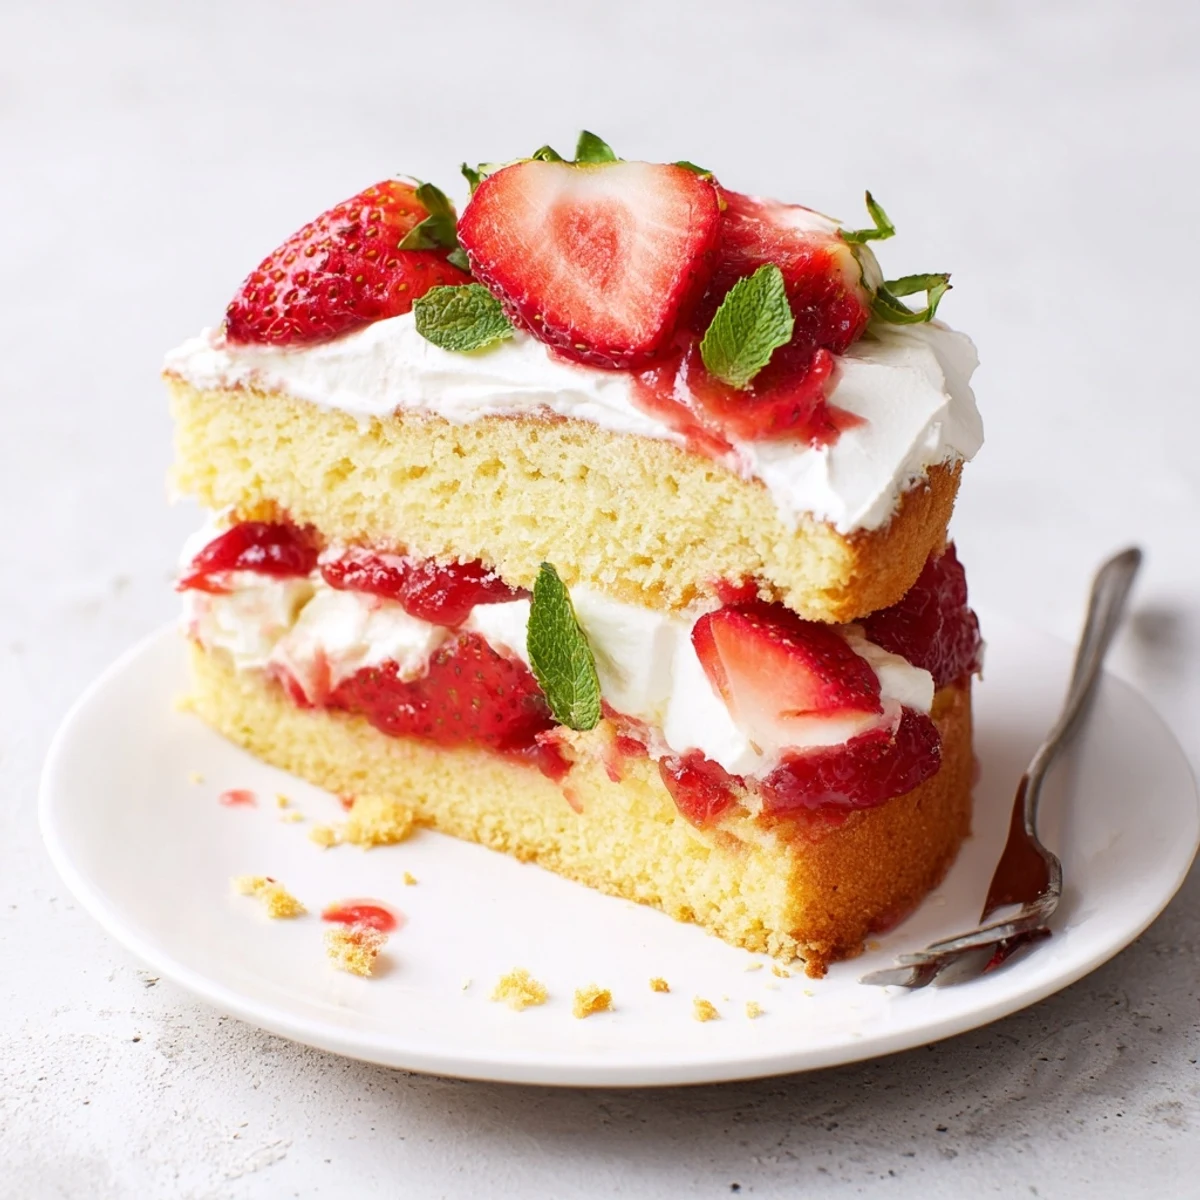
- Cover the top with remaining cream and arrange the rest of the strawberries however you like. Garnish with mint leaves if you have them.
- Chill and serve:
- For the cleanest slices, chill the assembled cake for at least 30 minutes before bringing it to the table.
 Save to Pinterest
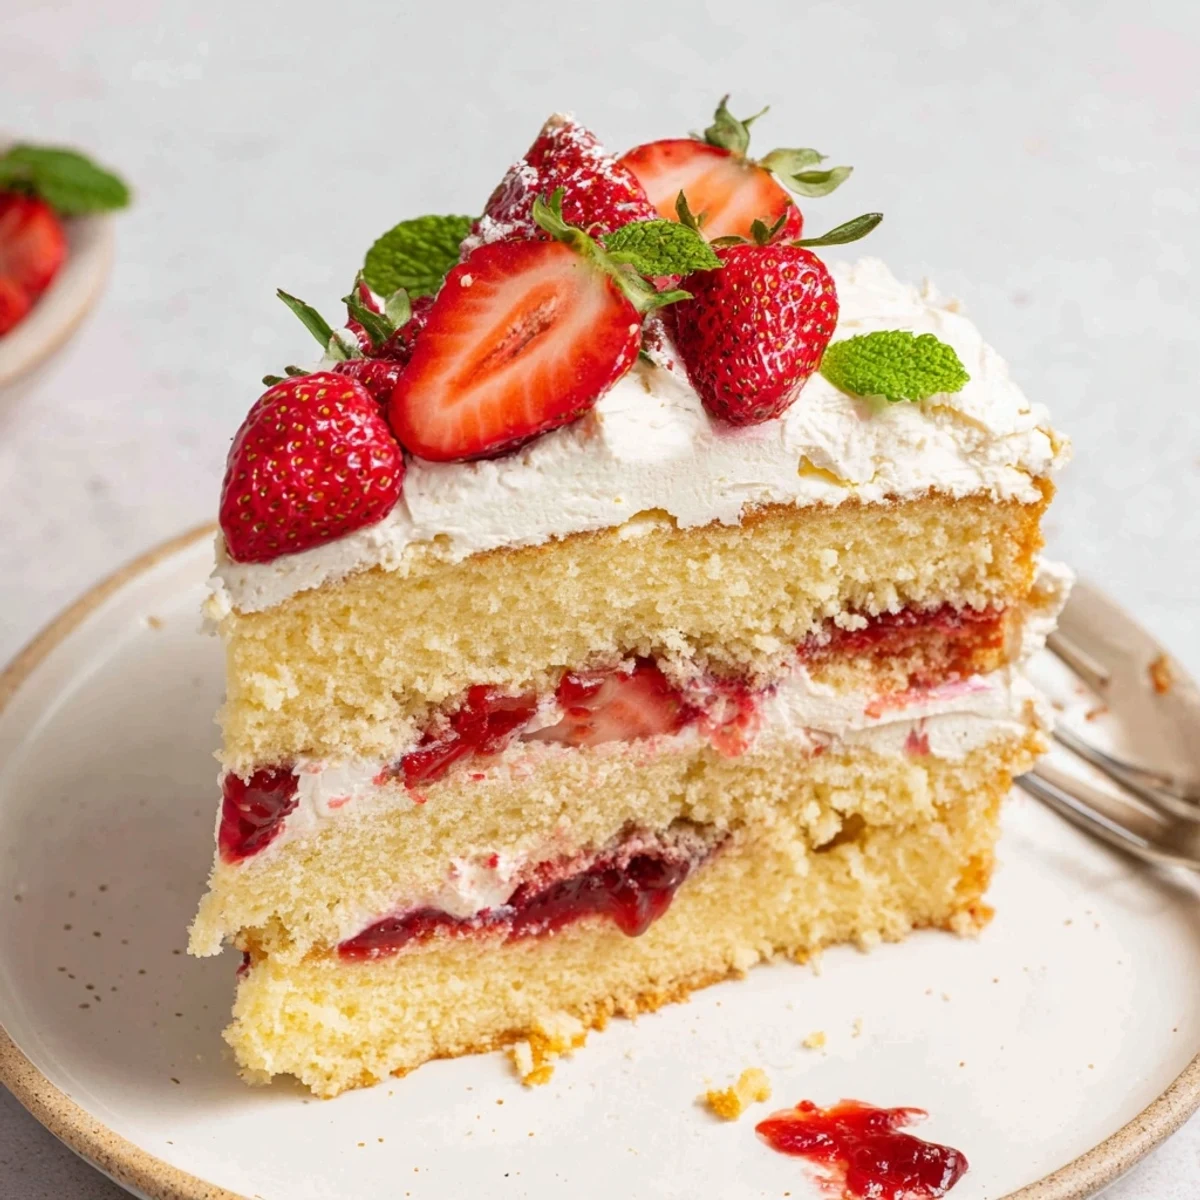
 The moment I dusted powdered sugar over the finished cake and heard the surprised cheers from my friends, I realized how a simple dessert can turn an ordinary afternoon into a little celebration.
Making the Sponge Ultra-Light
If I’m honest, I used to dread sponge cakes collapsing out of the oven. I learned that using eggs at room temperature and beating until the ribbon stage gives the cake its signature light texture. It’s more about patience and confidence than any fancy technique.
Keeping Strawberries Fresh and Juicy
One hot summer day I accidentally left my strawberries out too long and they started looking sad. Now, I always hull and slice them right before assembling the cake so that each bite bursts with flavor and juiciness—no soggy berries here.
Assembly Secrets for a Stunning Finish
Stacking the cake can be messy but it’s where the magic happens, and gaps filled with cream are never a bad thing. I like to let some strawberries peek out the edges for a rustic look. A serrated knife makes the cleanest cuts.
- Chill the bowl and beaters before whipping cream for best results.
- A turntable makes frosting and decorating less awkward.
- Let the cake fully chill before slicing for tidiest layers.
 Save to Pinterest
 However you make it your own, this cake is always a centerpiece—and sharing each generous, creamy slice is a pleasure every time.
Recipe FAQs
- → How do I keep the sponge light and airy?
-
Beat the eggs and sugar until pale and tripled in volume, then fold in sifted flour gently to avoid deflating the batter. Use room-temperature eggs and avoid overmixing once the flour is added.
- → Can I swap strawberries for other fruit?
-
Yes. Raspberries or mixed berries work well; choose firm, ripe fruit to avoid excess moisture and consider a thin jam layer to protect the sponge from sogginess.
- → How can I prevent the cream and fruit from making the cake soggy?
-
Pat berries dry, use a thin layer of jam on the sponge as a barrier, and chill the assembled cake at least 30 minutes before slicing so the cream firms and juices settle.
- → What is the best way to slice neat pieces?
-
Chill the cake thoroughly, use a long serrated knife, and wipe the blade between cuts. Cutting with a gentle sawing motion preserves the airy crumb and clean layers.
- → How long can I store the assembled cake?
-
Keep chilled in an airtight container and consume within 2 days for best texture. Freshness and cream stability decline after that, so assemble close to serving when possible.
- → Can I make components ahead of time?
-
Yes—bake the sponge layers a day ahead and wrap tightly; whip the cream just before assembly. You can also freeze cooled layers for longer storage and thaw before filling.
