 Save to Pinterest
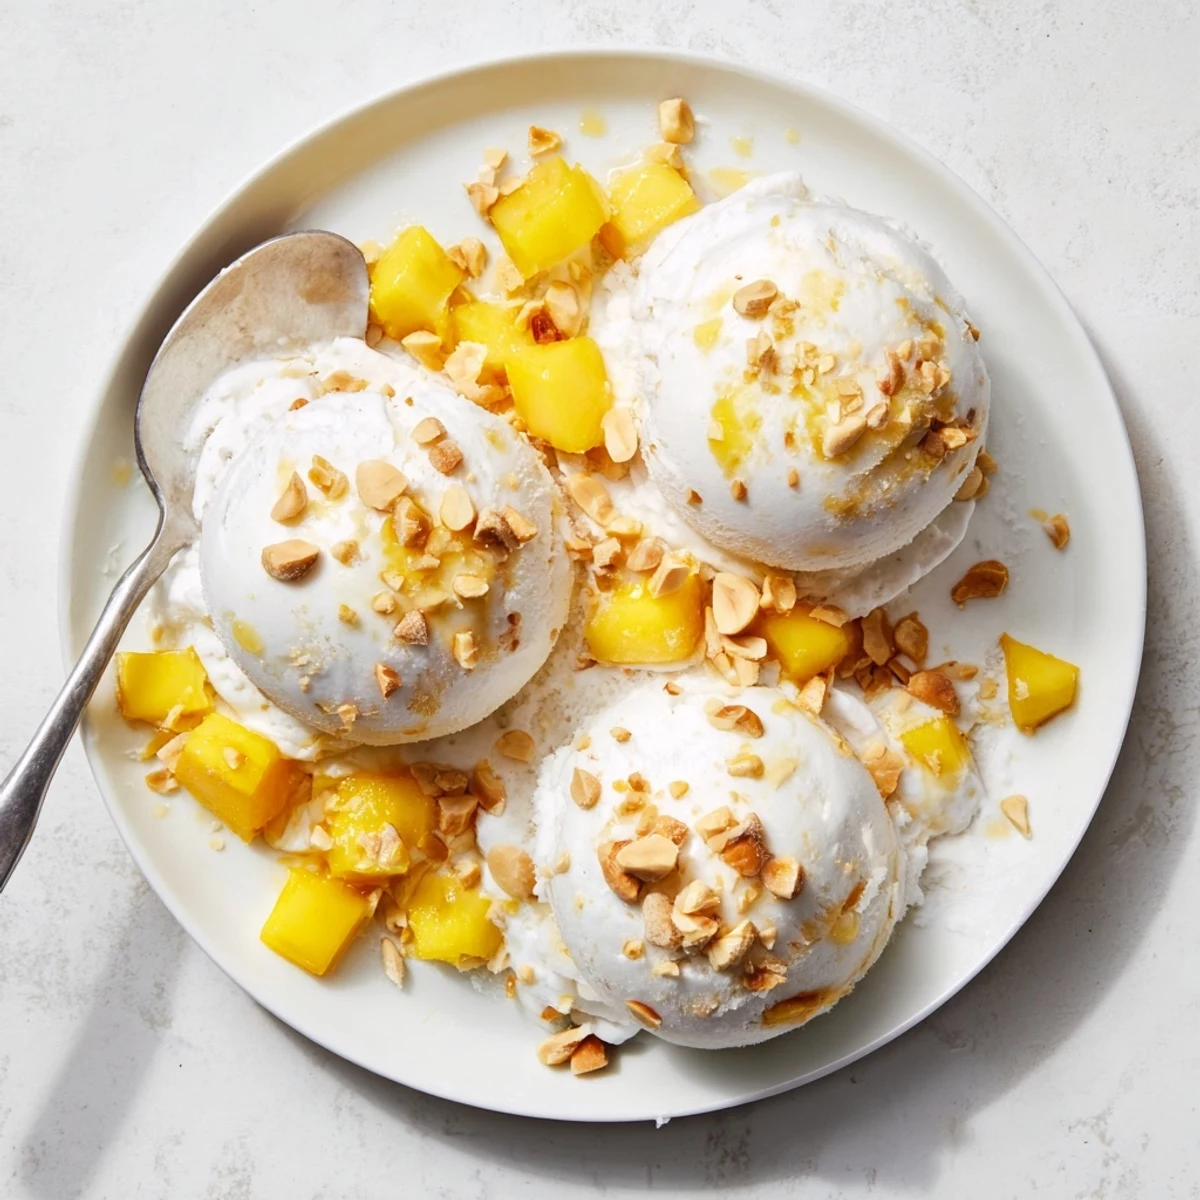
 Create an indulgent dairy-free frozen dessert that brings the authentic flavors of Thai street cuisine to your kitchen. This rich coconut milk ice cream combines full-fat coconut milk and cream for an incredibly luscious texture. A hint of vanilla and touch of sea salt enhances the natural tropical sweetness.
Perfect for vegans and those avoiding dairy, this treat delivers all the creamy satisfaction of traditional ice cream. The base comes together in just 15 minutes of active prep time. Customizable with toasted coconut flakes, roasted peanuts, or fresh diced mango for extra texture and authentic Thai flair.
Churn in an ice cream maker for smooth results, or use the freeze-and-stir method if you don't have one. Serve alongside sticky rice for the complete Thai dessert experience, or enjoy solo as a refreshing tropical treat.
The first time I had coconut ice cream in Bangkok, it came served inside a young coconut itself, scooped out by a vendor who had been doing this for decades. The humidity was thick that day, and that cool, creamy scoop tasted like absolute heaven. I came home determined to recreate that magic in my own kitchen, and after many batches of icy, grainy experiments, I finally cracked the code. Now this recipe is my go-to summer rescue whenever the thermometer climbs past ninety.
Last summer, I made this for a backyard barbecue when my friend Sarah mentioned she had gone dairy-free. Everyone gathered around the freezer door, watching it churn, and the way her face lit up after that first taste made all the prep worth it. Now she requests it every time she visits, and honestly, I never say no.
Ingredients
- Full-fat coconut milk: The backbone of this recipe, providing richness and that signature velvety texture. I have learned the hard way that light coconut milk just does not deliver the same luxurious mouthfeel.
- Coconut cream: This intensifies the coconut flavor and ensures the final product stays creamy straight from the freezer instead of turning into an ice block.
- Granulated sugar: Sugar does more than sweeten, it actually lowers the freezing point for a smoother texture. Do not be tempted to reduce it too much or you will regret the icy results.
- Fine sea salt: Just a pinch wakes up all the flavors and keeps the coconut from tasting flat or overly sweet.
- Pure vanilla extract: Warm and floral, this bridges the gap between the coconut notes and adds a comforting familiarity.
- Toasted coconut flakes: Optional but highly recommended for those little crunch pockets that make every scoop interesting.
- Roasted peanuts: They add a salty crunch that cuts through the richness, especially if you are serving this after a spicy meal.
- Diced ripe mango: Fresh mango turns this into something completely transportive, like a tropical vacation in a bowl.
Instructions
- Warm the coconut base:
- Combine coconut milk, coconut cream, sugar, and salt in a medium saucepan over medium heat, stirring constantly until the sugar completely dissolves. Keep a close watch, because if the mixture boils, the coconut can separate and turn grainy.
- Add the vanilla:
- Remove from heat immediately and stir in the vanilla extract, letting its warm aroma bloom into the mixture.
- Chill thoroughly:
- Let the base cool to room temperature, then refrigerate for at least two hours, or until completely cold through. This step is non-negotiable for proper churning and the smoothest final texture.
- Churn to perfection:
- Process in your ice cream maker according to the manufacturers instructions, typically 20 to 25 minutes, until it reaches a soft-serve consistency that holds its shape on a spoon.
- Fold in your mix-ins:
- If you are adding toppings, gently fold them in at the very end of churning to distribute evenly without deflating all that air you just worked so hard to incorporate.
- Freeze until firm:
- Transfer to a lidded freezer-safe container and freeze for at least two hours, or until firm enough to scoop.
- Serve at the right temperature:
- Let the ice cream sit on the counter for five to ten minutes before scooping, which makes all the difference between serving frustration and perfect, scoopable mounds.
 Save to Pinterest
 This became my daughters favorite dessert last year, and she now asks to help toast the coconut flakes every single time. There is something about watching her carefully stir the flakes in the pan that makes me feel like I am passing down something more than just a recipe.
The Secret to Ultra Creamy Texture
I discovered that chilling the mixture overnight instead of just the minimum two hours makes a noticeable difference in creaminess. The extra time lets the flavors deepen and the fats relax, resulting in a smoother churn. It requires planning ahead, but the texture improvement is worth the wait.
No Ice Cream Maker? No Problem
Before I owned an ice cream maker, I used the shallow pan method with surprisingly good results. Pour your chilled base into a wide freezer-safe dish and freeze, stirring vigorously every thirty minutes for about three hours. It takes more effort, but you will still end up with something delicious and scoopable.
Serving Ideas That Elevate the Experience
Sometimes the simplest presentations make the biggest impact. Try scooping into halved young coconuts for that authentic street food vibe, or serve alongside warm mango sticky rice for a truly spectacular dessert combination. A drizzle of coconut sweetened condensed milk over the top never hurt anyone either.
- Toast your coconut flakes until they are golden brown, which brings out their natural oils and intensifies the flavor.
- Sprinkle a pinch of flaky sea salt on top just before serving for that sweet-salty contrast.
- Store any leftovers with a piece of parchment pressed directly on the surface to prevent ice crystals.
 Save to Pinterest
 Whether you are serving this after a spicy Thai feast or just craving something cool on a hot afternoon, this coconut ice cream hits the spot every single time.
Recipe FAQs
- → Is this coconut ice cream suitable for vegans?
-
Yes, this dairy-free frozen dessert uses entirely plant-based ingredients. Full-fat coconut milk and cream replace dairy products completely, making it perfect for vegan diets while maintaining that rich, creamy texture everyone loves.
- → Can I make this without an ice cream maker?
-
Absolutely. Pour your chilled mixture into a shallow freezer-safe dish and freeze. Every 30 minutes for the first 3 hours, stir vigorously with a fork to break up ice crystals. This method creates similar creamy results, though slightly more dense than machine-churned versions.
- → How long does homemade coconut ice cream keep in the freezer?
-
Properly stored in an airtight container, this will maintain optimal quality for 2-3 weeks. Beyond that, it remains safe to eat but may develop ice crystals or become harder. Always thaw 5-10 minutes before scooping for the best serving consistency.
- → What's the difference between coconut milk and coconut cream?
-
Coconut cream contains less water and more fat than coconut milk, making it richer and thicker. This recipe uses both: the cream adds luxurious texture while the milk provides the perfect consistency. You can substitute more cream for milk if you prefer an extra decadent result.
- → What mix-ins work best with Thai coconut flavors?
-
Toasted coconut flakes add crunch and amplify the tropical taste. Roasted peanuts provide salty contrast. Fresh diced mango brings authentic Thai street dessert vibes. Pandan extract creates that distinctive green color and aromatic flavor found in traditional Thai sweets.
- → Why does the mixture need chilling before churning?
-
Cold mixtures freeze faster and more evenly in your ice cream maker, resulting in smaller ice crystals and smoother texture. If you churn warm base, you'll end up with icy, grainy results. Plan ahead—those 2 hours of chilling time make all the difference.
