 Save to Pinterest
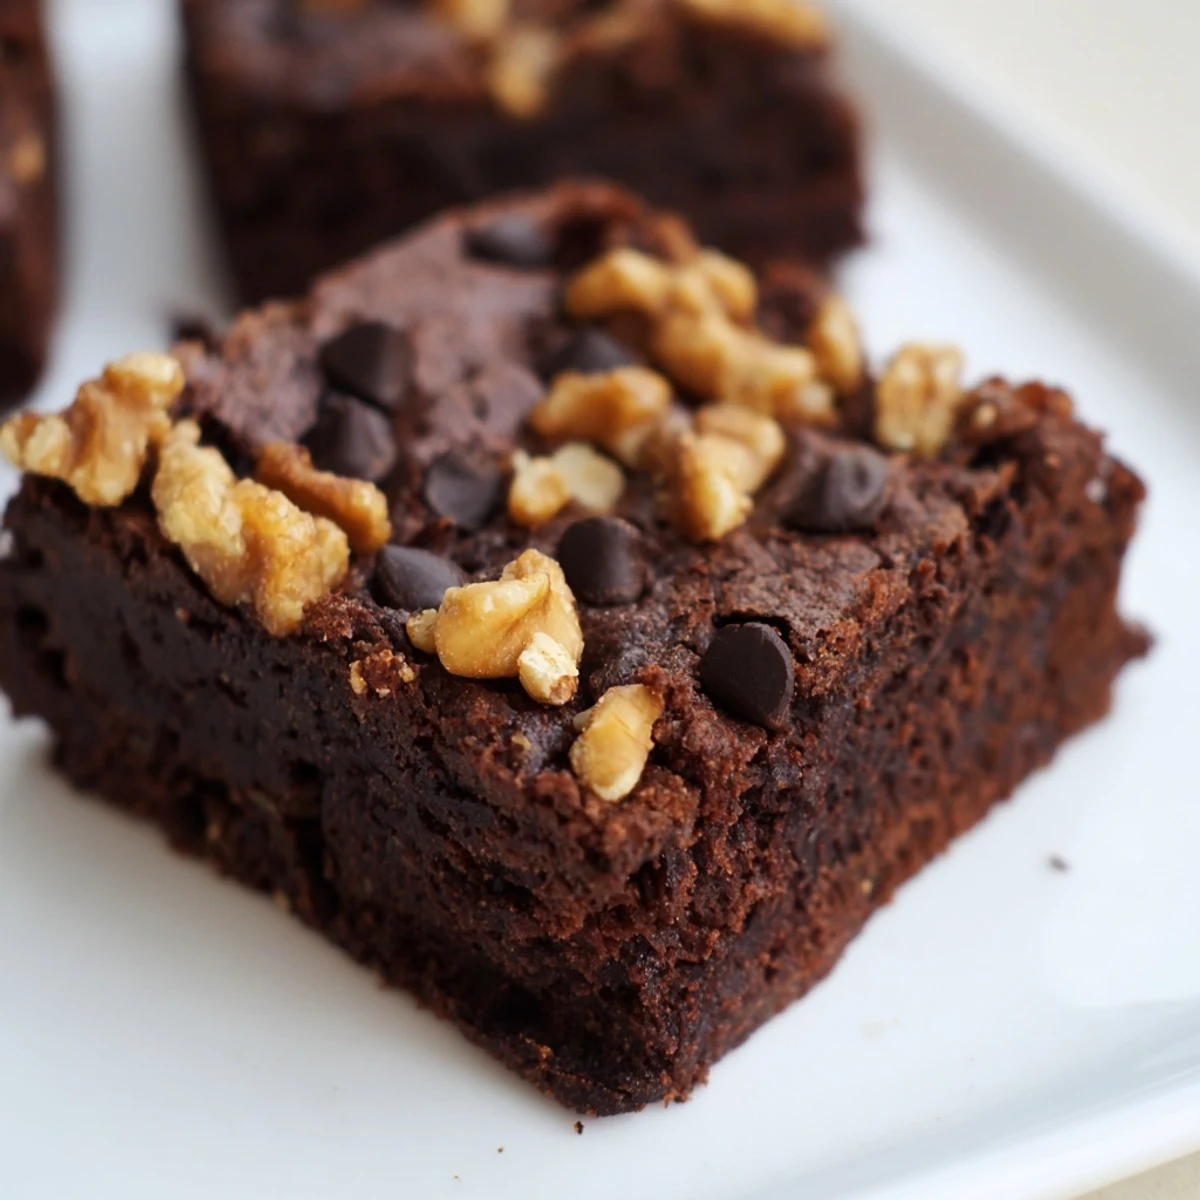
 These chocolate fudge brownies combine a rich, intense cocoa taste with buttery smoothness and crunchy walnuts. Prepared with a careful melting and mixing process, the batter yields moist, chewy squares with a tender crumb. The walnuts add a delightful texture contrast, elevating every bite. Baking to the perfect doneness ensures fudgy centers without being undercooked. Best cooled fully and stored airtight for days of enjoyment.
There's something about the smell of melting chocolate that stops me mid-task, every single time. Years ago, I'd wander into my aunt's kitchen on lazy Sunday afternoons and find her standing over a saucepan, chocolate and butter pooling into glossy ribbons. She made these brownies without measuring spoons, just feel and instinct, but the crackly tops and fudgy centers were always perfect. Now when I make them, I chase that same magic—that moment when cocoa powder meets melted chocolate and the kitchen fills with something richer than just a dessert.
I made these for a potluck once and forgot them in my car for twenty minutes—I was sure they'd be ruined. When I finally pulled them out and cut into them at someone's kitchen counter, they were actually still warm, and watching people's faces when they took that first bite was worth every second of panic. That's when I learned that good brownies are forgiving, almost impossible to truly mess up, which makes them perfect when you're nervous about baking for others.
Ingredients
- All-purpose flour (1 cup): Use fresh flour if you can; old flour can make the texture gritty. Weigh it for accuracy—scooping from the bag compacts it and throws off the ratio.
- Unsweetened cocoa powder (1/2 cup): Don't skip the sifting step; cocoa powder clumps stubbornly and ruins the crumb if you just stir it in.
- Baking powder (1/2 tsp): This is just enough to lift the batter slightly without making it cakey—respect the small amount.
- Fine sea salt (1/2 tsp): Salt pulls out the chocolate's depth; it's not about tasting salt, it's about tasting more chocolate.
- Bittersweet or semisweet chocolate chips (1 cup): Quality matters here since chocolate is the star; cheap chips taste waxy compared to the real thing.
- Unsalted butter (1/2 cup): Unsalted gives you control over the salt level, and it melts into the chocolate more gracefully than salted.
- Granulated sugar (1 cup): This creates structure; the combination of both sugars builds complexity that one type alone can't achieve.
- Packed light brown sugar (1/2 cup): Brown sugar adds moisture and a subtle molasses undertone that rounds out the cocoa flavor.
- Large eggs (3), at room temperature: Room temperature eggs emulsify better with the chocolate and create a denser, more luxurious crumb.
- Pure vanilla extract (1 tsp): Vanilla isn't there to taste vanilla; it amplifies every other flavor and makes the chocolate taste more like itself.
- Chopped walnuts (1 cup): Toast them lightly first if you have time—it wakes up their nuttiness and keeps them from tasting flat.
Instructions
- Set your stage:
- Preheat to 350°F and line your pan with parchment, leaving edges that overhang slightly so you can lift the whole batch out once cooled. This detail saves you from crumbly edges and makes cutting clean squares possible.
- Melt chocolate and butter together:
- Use low heat and stir constantly so the chocolate melts smoothly without seizing—once cocoa solids and fat separate, you can't bring them back together. You'll know it's ready when there are no streaks of unmelted chocolate and it looks like liquid silk.
- Whisk eggs and sugar until pale:
- This takes about two minutes of whisking by hand (or thirty seconds with a mixer), and you want to see the mixture lighten visibly and thicken slightly. This whisking incorporates air, which gives the brownies their tender crumb instead of a dense, heavy texture.
- Combine wet and dry:
- Fold the cooled chocolate into the egg mixture gently—rough stirring breaks down those air bubbles you just created. When you fold in the chocolate, move slowly and deliberately, even if it takes a bit longer.
- Sift and fold the dry ingredients:
- Sift the flour, cocoa, baking powder, and salt right into the bowl so you avoid lumps of cocoa that will stay gritty in the finished brownie. Fold just until you don't see streaks of flour—overmixing makes brownies tough and cake-like.
- Fold in the walnuts:
- A gentle fold ensures the nuts are distributed evenly without crushing them into fine powder.
- Bake with intention:
- Pour the batter into the prepared pan, smooth it gently with a spatula, and slide it into the oven. Bake for 28-32 minutes—the toothpick test is your friend, and you want moist crumbs, not dry ones or wet batter.
- Cool completely:
- This is hard because warm brownies smell incredible, but cutting them warm makes them crumbly. Let them cool in the pan first, then lift out using the parchment handles and cool on a rack so air circulates underneath.
 Save to Pinterest
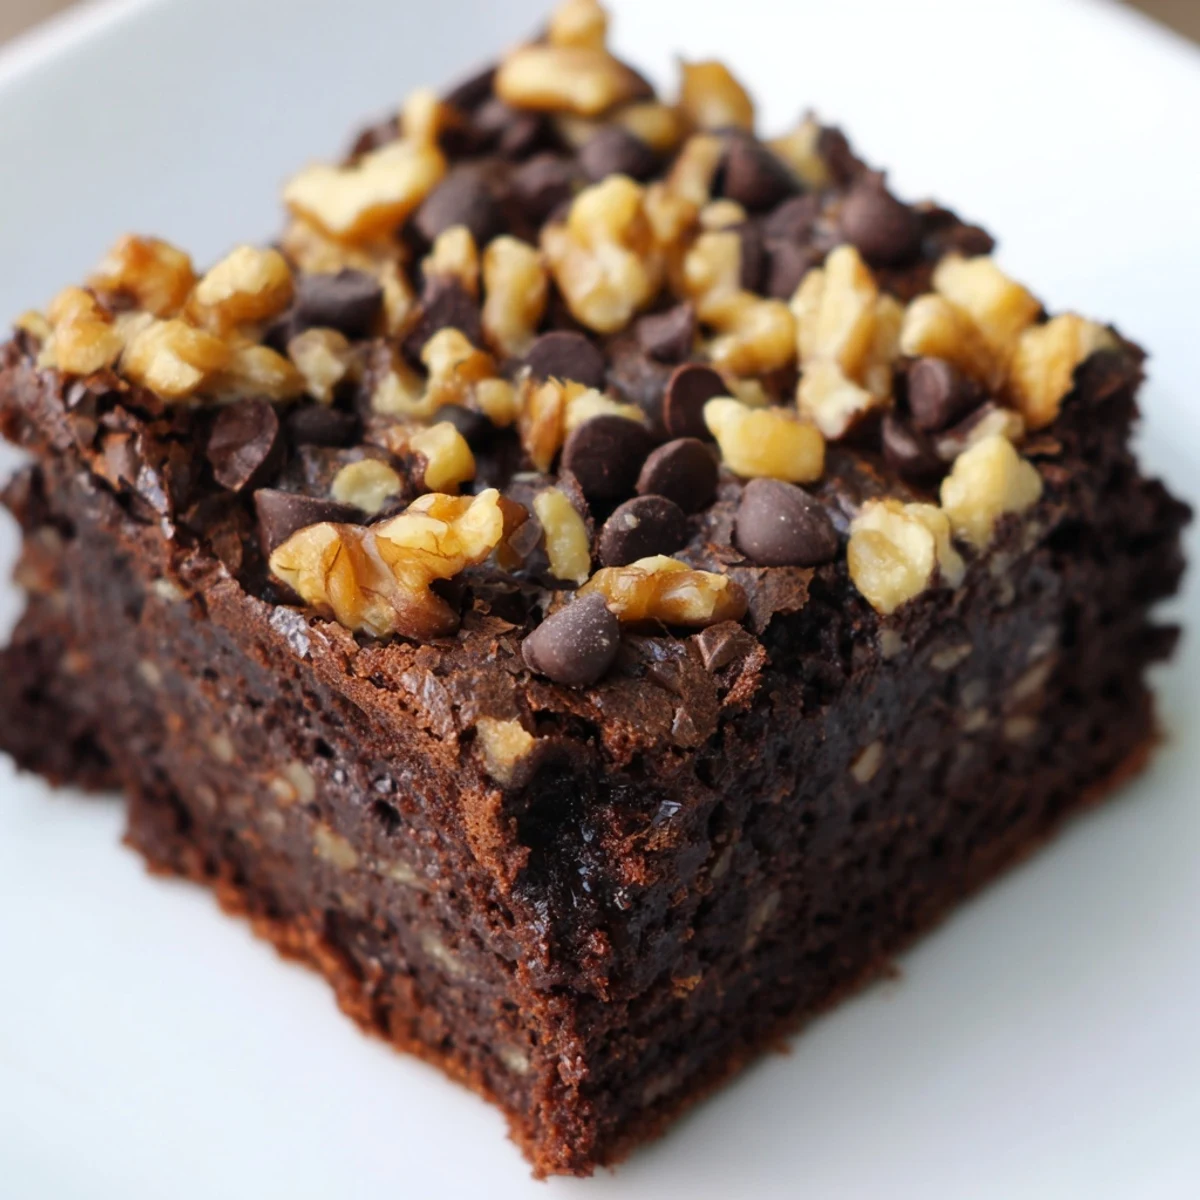
 There was a moment when I made these for someone I was trying to impress, and they asked for the recipe immediately, mid-bite. That's when I realized these aren't fancy brownies or complicated ones—they're just honest, and honesty turns out to be exactly what people want. Something about chocolate, walnuts, and the patience to fold gently speaks to people in a language that doesn't need explanation.
The Walnut Question
Walnuts get a bad reputation in baking because many people encounter stale ones, but fresh walnuts change everything. If you're skeptical, try toasting them in a dry skillet for three minutes before chopping—this coaxes out their earthiness and keeps them from tasting like cardboard. Pecans work beautifully too if walnuts aren't your thing, and hazelnuts will make you feel like you're eating a European bakery creation.
Chocolate Choices Matter
I've made these brownies with supermarket chips and with higher-end chocolate, and the difference is real but subtle—not a dealbreaker, just a quality shift. The bittersweet versus semisweet choice comes down to how sweet you like your desserts; semisweet is sweeter and approachable, bittersweet is deeper and more intense. If you have a favorite chocolate bar, you can chop it up instead of using chips, though chips melt more evenly and won't leave chunks of unmelted chocolate.
Storage and Serving Wisdom
These brownies actually improve slightly after a day or two as the flavors marry together, so there's no rush to eat them immediately. Keep them in an airtight container at room temperature for up to four days, or freeze them wrapped individually for up to three weeks. On cold mornings, a thawed brownie and coffee feels like a small luxury.
- For extra decadence, sprinkle a handful of chocolate chips on top of the batter before baking—they'll sink slightly and create pockets of melted chocolate.
- If your brownies seem dry, you overbaked them slightly; next time, pull them out at the lower end of the time range.
- Dusting cooled brownies with powdered sugar or a pinch of fleur de sel adds visual appeal and a subtle complexity.
 Save to Pinterest
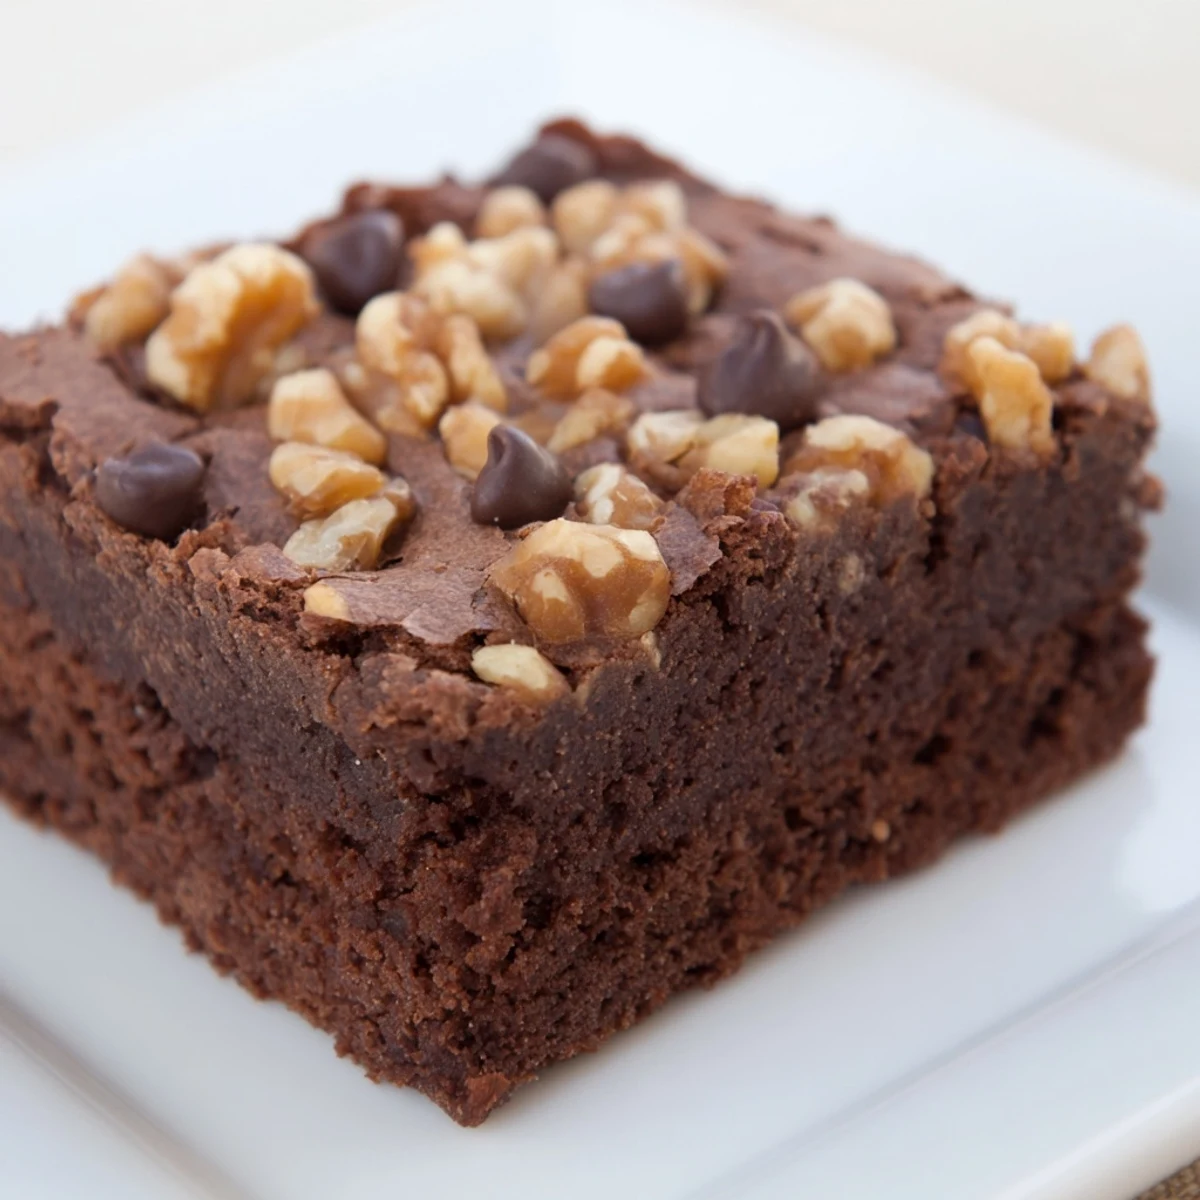
 These brownies remind me that the best recipes aren't the ones with the longest ingredient lists or the trickiest techniques—they're the ones that deliver joy every single time you make them. There's comfort in that reliability, and there's genuine pleasure in sharing something this simple and delicious with people you care about.
Recipe FAQs
- → How do I prevent brownies from overbaking?
-
Check with a toothpick at around 28 minutes; it should come out with moist crumbs but no wet batter, ensuring fudgy texture.
- → Can I substitute walnuts with other nuts?
-
Yes, pecans or hazelnuts can be used for a different yet complementary crunch and flavor.
- → Why should butter and chocolate be melted together gently?
-
Gently melting ensures a smooth mixture without seizing or burning, which maintains the rich texture and taste.
- → What is the benefit of folding the flour mixture in gently?
-
Folding avoids overmixing, preserving the delicate crumb and preventing toughness in the finished brownies.
- → How can I store these brownies for freshness?
-
Keep them in an airtight container at room temperature for up to four days to maintain moisture and texture.
